Update a Shirt with Crochet Trim
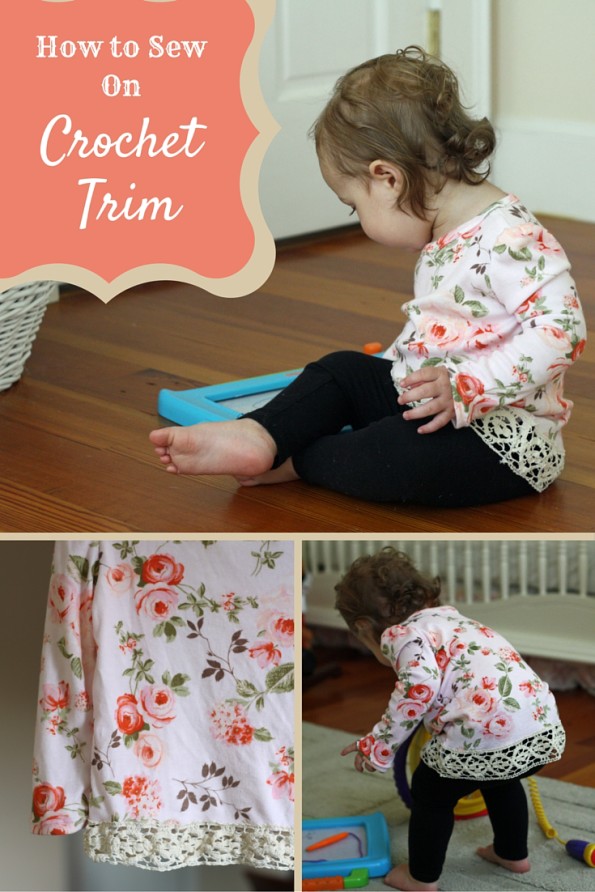
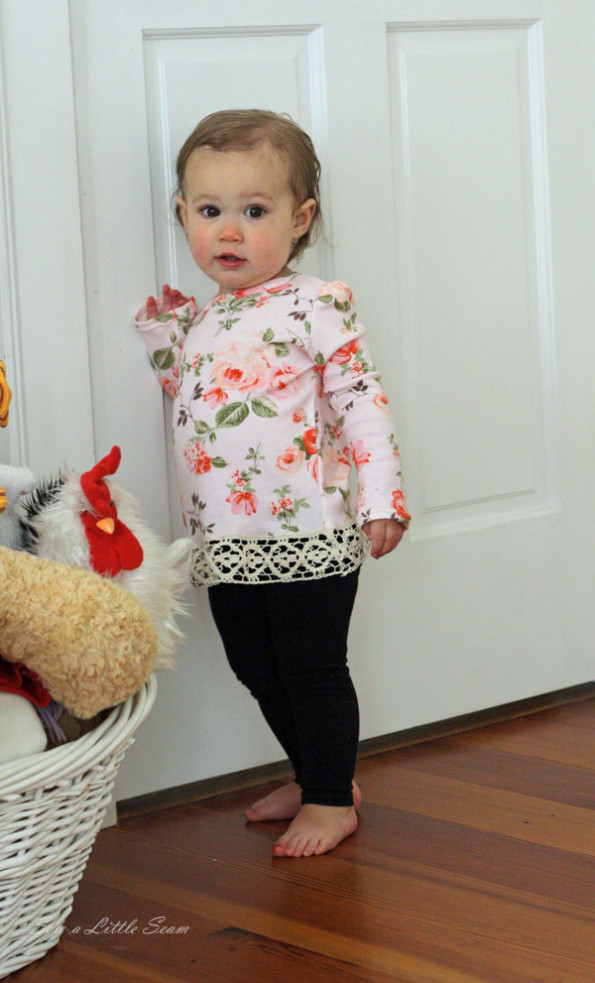
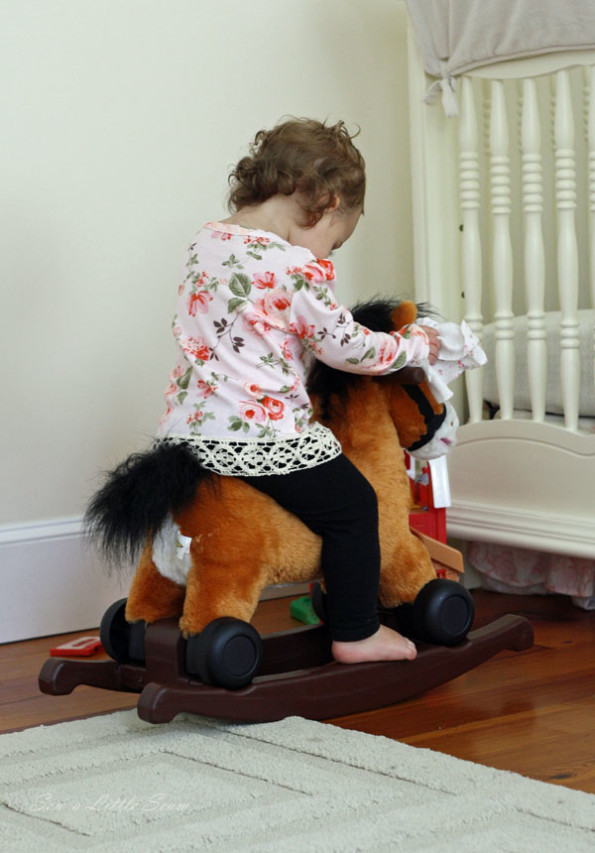
I am all about the extra detail to simple clothes and I love this crochet hem! And the bonus…there really isn’t much to adding a hem like this to any shirt.
The trim goes perfect with this gorgeous floral baby rib knit that I bought from Funkalicious Fabric. I am such a sucker for any floral fabric and this one is so soft! The crochet trim came from Oh Sew Rylee.
So for the super simple process of adding trim to your project. (Note: this tutorial is for knit fabrics–those that won’t unravel.)
If you are adding the trim to a shirt that already has a hem, you can either sew the trim to the very bottom of the hem if you want a longer shirt, or you can trim off the hem and add it the way I did below.
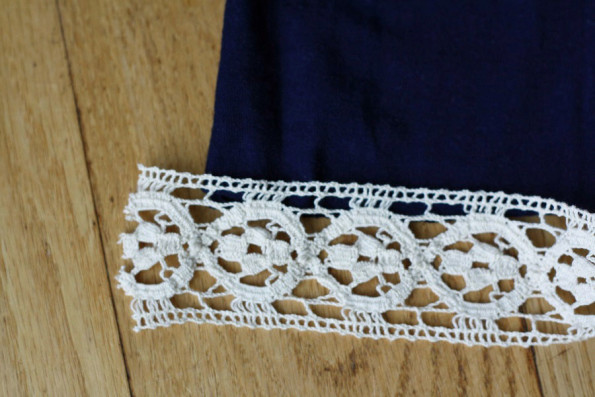
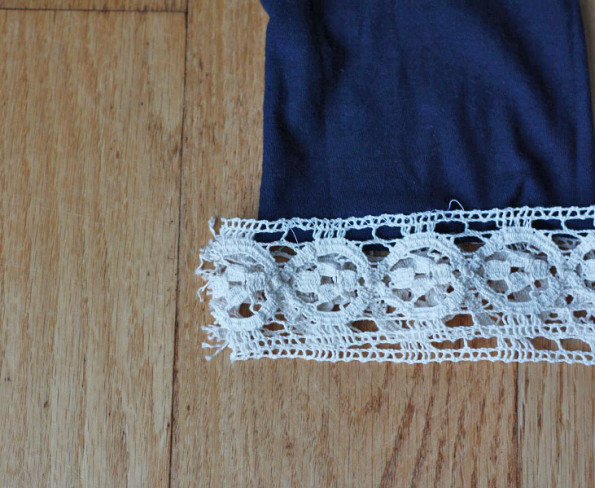
Starting at one of the side seams, overlap the seam by about a 1/2″ to 1″, laying the trim right side up and pinning about 1/2″ from the bottom.
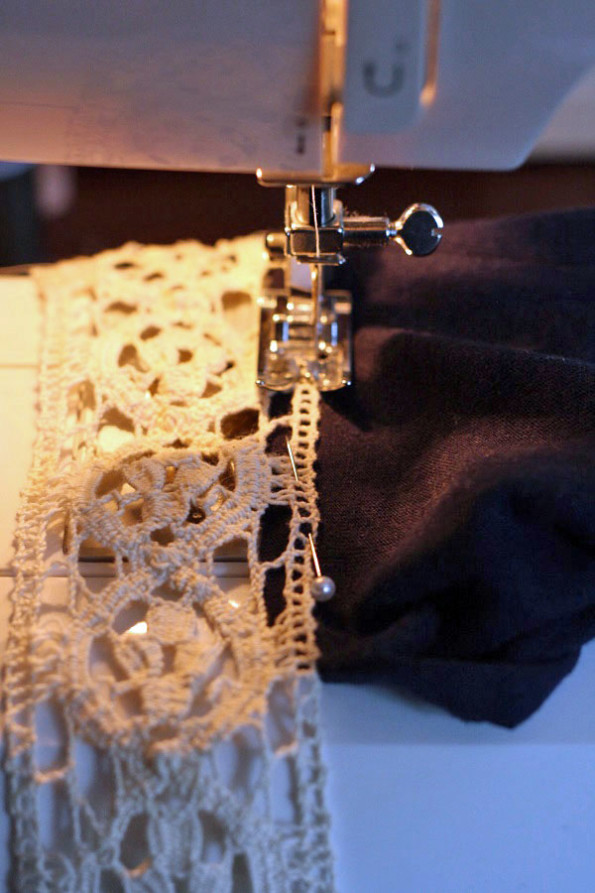
Then, set your stitch to a zig zag (wide enough to cover the top piece of your crochet trim, but not so wide that it will be very noticeable. Starting about 1″ past the side seam where you started, stitch around the shirt until you are about 1″ from the start and backstitch.
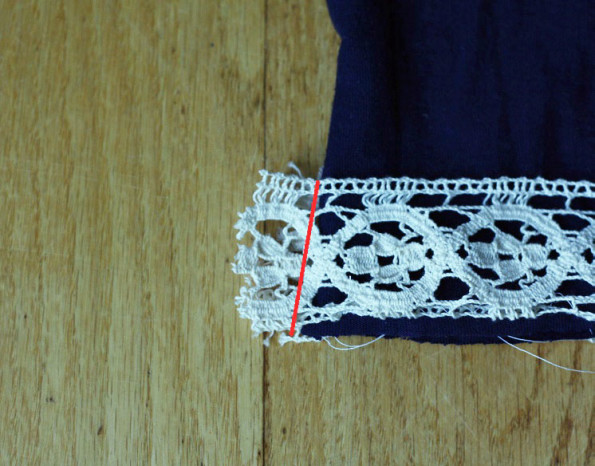
You should now have both raw edges coming together at one of the side seams.
Flip your trim up and find where the pieces should meet along the shirt’s seam and mark it with a pin. Push your excess shirt out of the way and sew down the trim. Trim off the excess and then finish sewing around the top of your trim so it is completely attached to the shirt.
Then just trim off the bottom of your shirt as close to the trim as you can and you are all set!
* If you are using a woven fabric, you’ll first want to finish your hem so it wont unravel and stitch your trim on as close to the edge of your hem as possible.

