Paper Bag Waist Tutorial
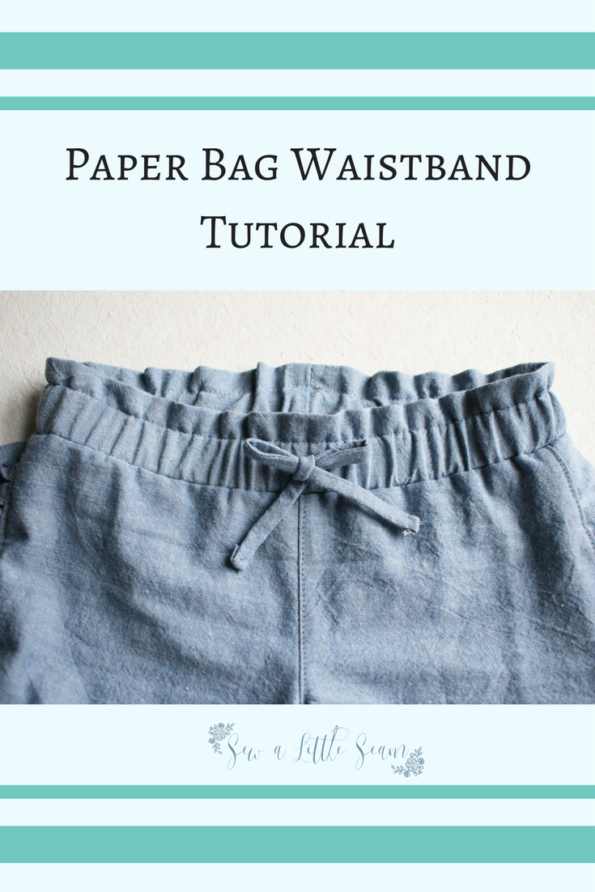
Adding a paper bag waistband is a quick and cute way to change up your Linden shorts or skirt.
If making sizes 12mo to 5 years, you will need 3/4″ elastic. If making sizes 6 to 12 years, you will need 1″ elastic. Cut elastic the length noted in the full length elastic chart.
Cut your pattern pieces as you would normally, using the full elastic waistband option.
Sew your shorts together as instructed in the pattern, until you get to the step of adding the waistband to your shorts.
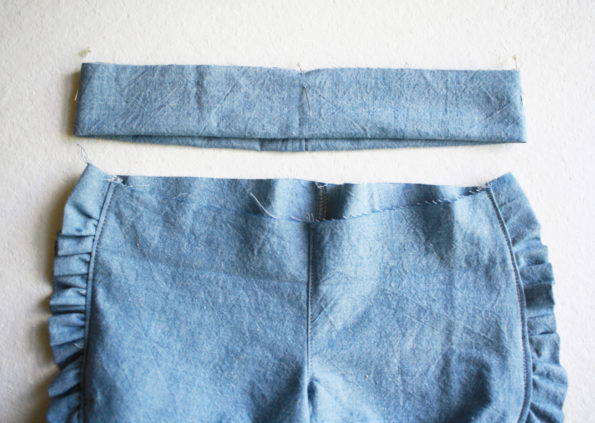
At this point your waistband will be sewed together and folded wrong sides together. Mark the center front, back, and sides on your waistband and shorts.
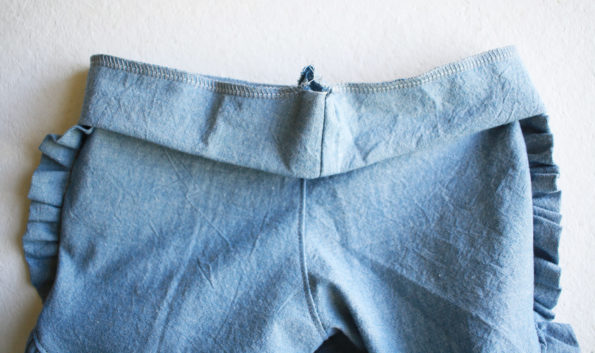
Line up your marks and sew your waistband to your shorts with a 3/8″ seam allowance, leaving a 1″ section unsewn at the back.
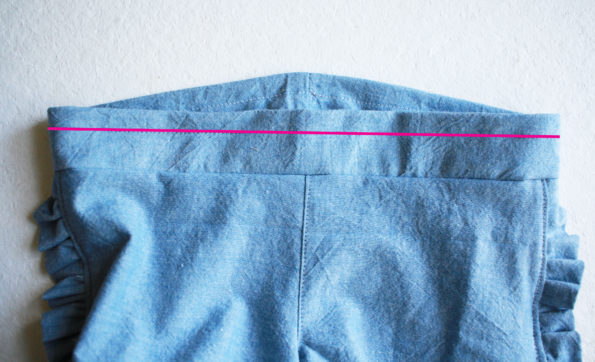
Press your waistband up and your seam allowance down toward the shorts. Then sew 1/2″ from the top of your waistband all the way around the shorts.
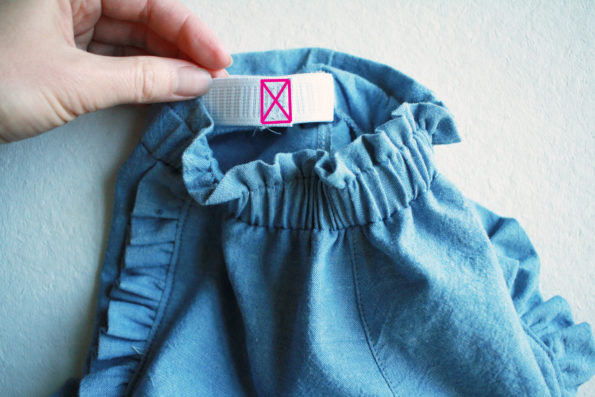
Insert your elastic through the opening you left in the back. Overlap by 1/2″ and sew together.
Sew the hole closed at the back of the shorts and you’re finished!

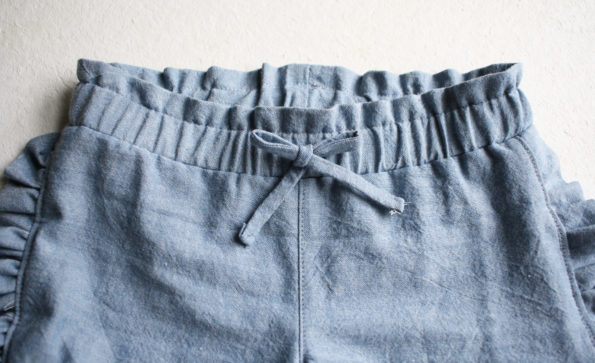
Why is it called a paper bag waistband? I have always wondered and never actually asked! Lol
I think it’s called that because it looks like a paper bag when the top is tied closed.