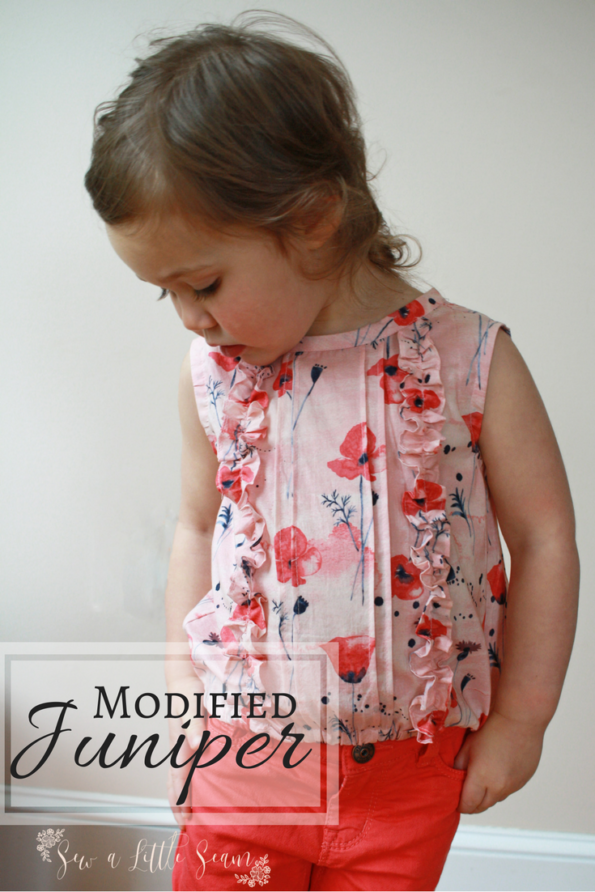
Juniper Hack: Ruffles and Elastic Bottom
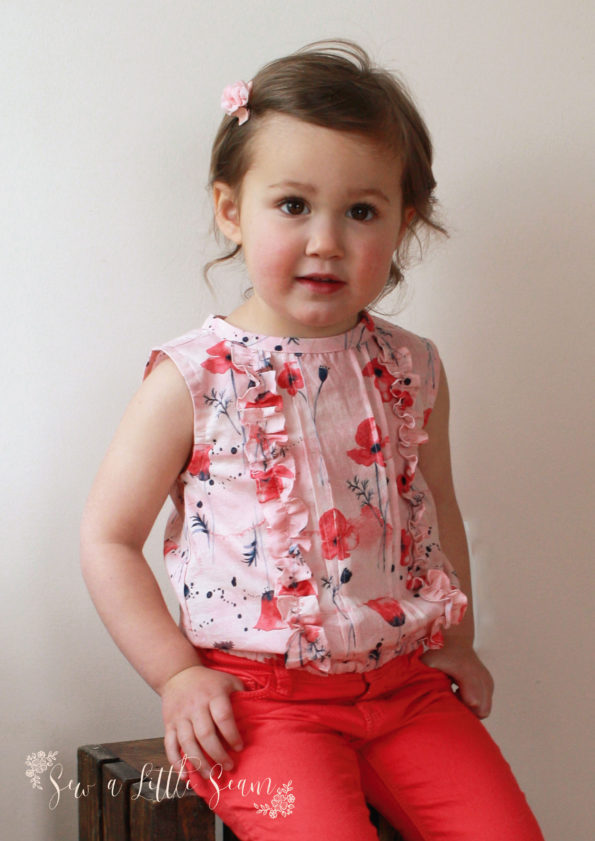
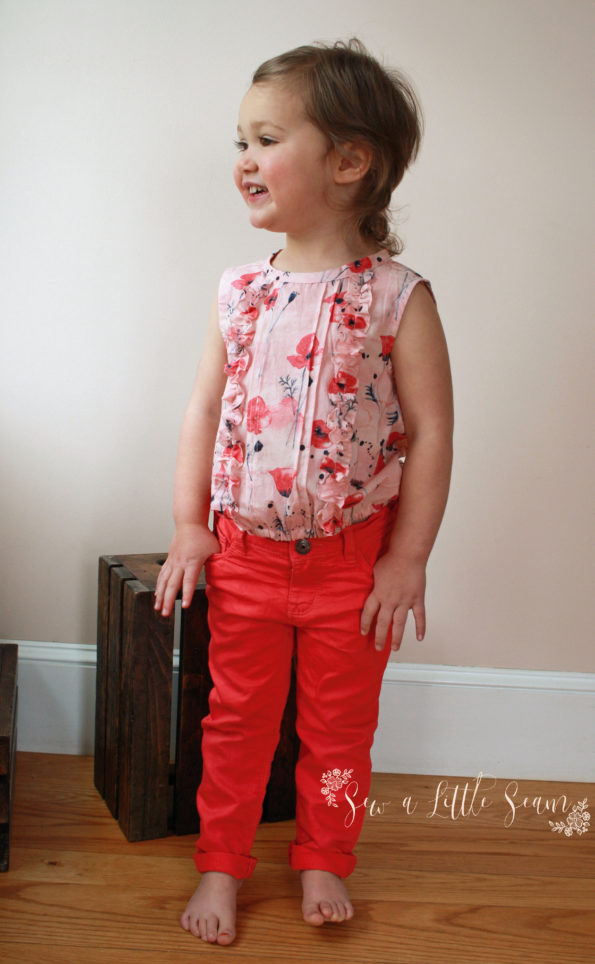
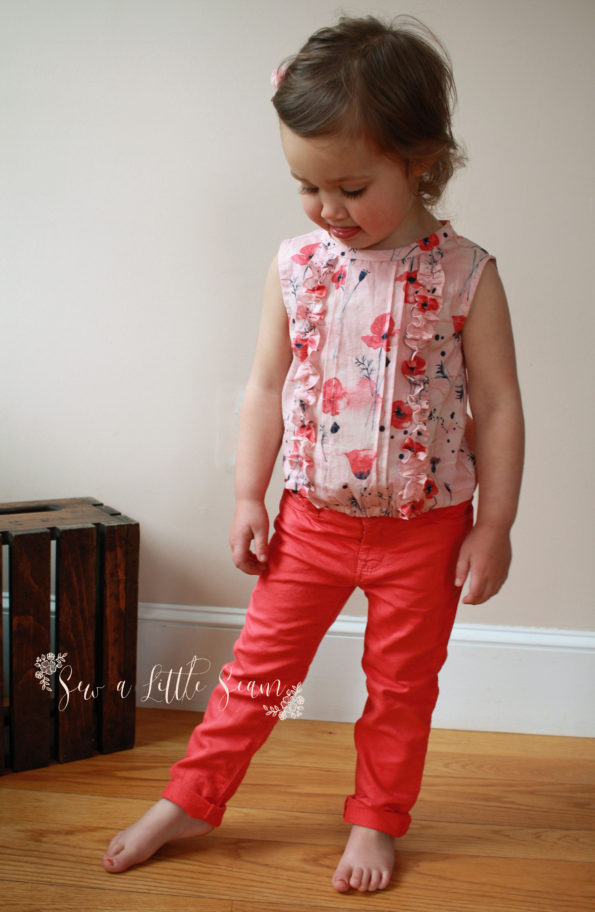
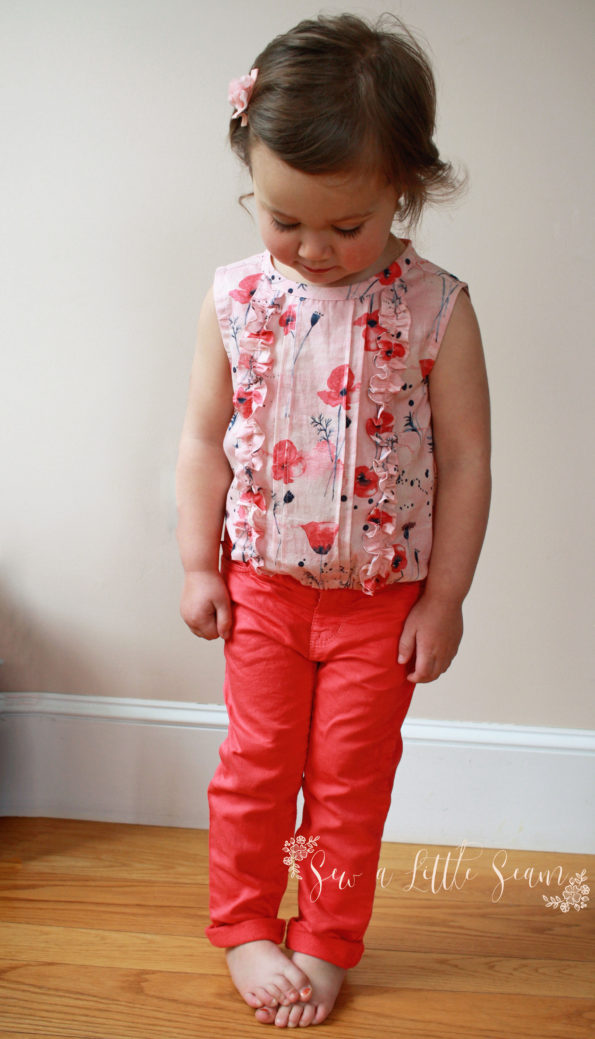
One of my favorite things to do is modify my patterns. There are so many ways to switch them up with just some simple changes. Today I’m going to show you how to add this cute ruffle detail and elastic bottom to the Juniper Top and Dress.
You could choose to add just ruffles, just the elastic bottom, or mix and match between the other Juniper options–front placket and elastic bottom or dress with ruffles–there are a ton of options.
I’ve had this fabric sitting on my cutting table waiting to be made into a Juniper, and this version went so perfectly with it. It is one of my all time favorite fabrics. It’s the Wanderlust collection from Monaluna and I got mine from Punkin Head Threads. Check out her Facebook group, where you can preorder at a discount.
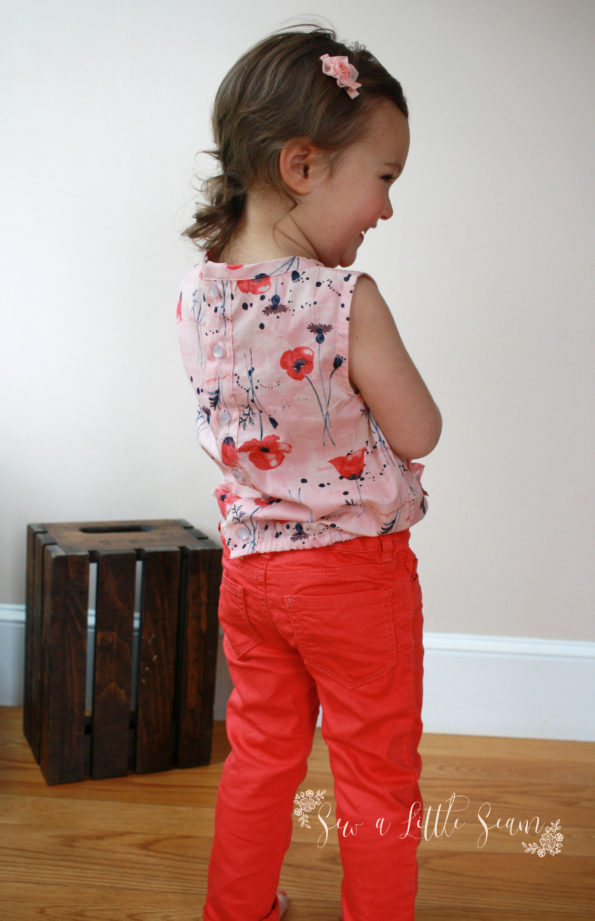
I opted for the back button placket, but as mentioned above, you could also choose to make the front button placket, which I think I’ll have to try soon. She likes to do the buttons herself now, but when we’re in a hurry in the morning, this is a good excuse for me to do it without causing any meltdowns (or to a lesser extent hopefully).
So, let’s get started!
First you’ll need the Juniper pattern, which you can find here.
If you are making the elastic bottom version, you will need 3/8″ (1 cm) elastic 1/2″ shorter than your child’s high hip measurement. Or follow the lengths in the chart below.
Also, if you are making the elastic bottom version, you may want to shorten your front and back pattern pieces slightly so it hits at the high hip. I removed 1″ from my size 3 pattern.
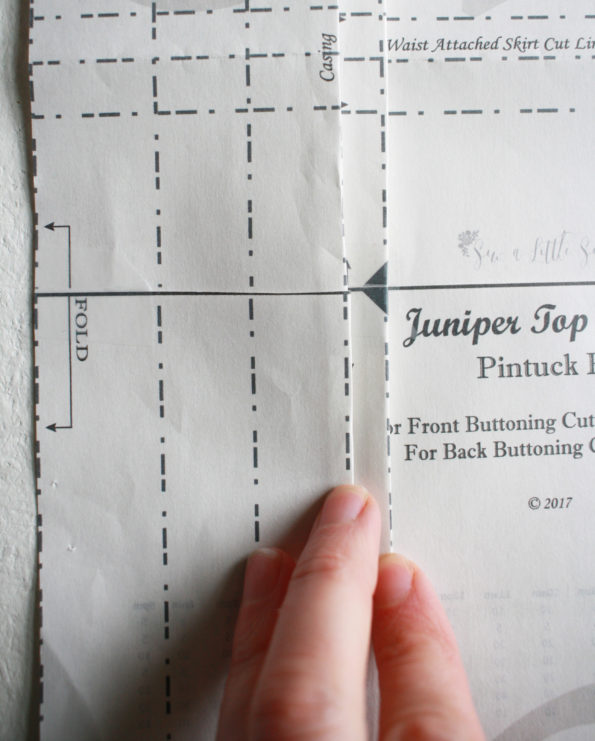
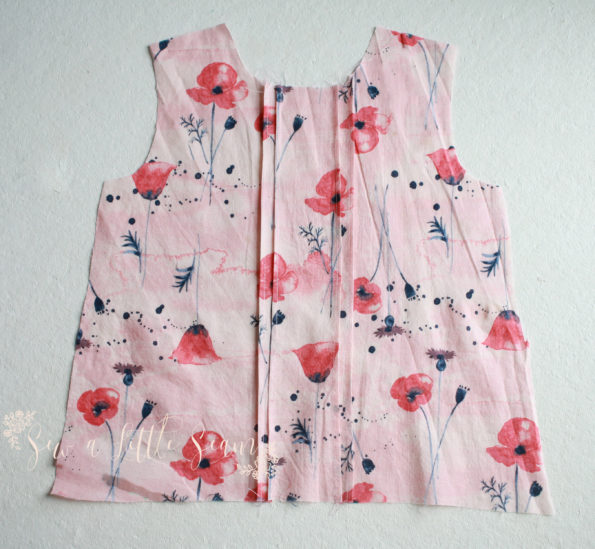
If you are adding the ruffles and pintucks to your Juniper, you’ll need to remove the last two pintucks from your pattern. To do this, I just folded the last two pintucks back by 1/8″ on the pattern.
You will also need to cut two strips of fabric for the ruffle. You have a few options of finishing the ruffle: you can do a rolled hem, which is what I did; you can just serge the edges and leave them exposed, which I considered, but I’m too lazy to change the color of my thread; or you can make a very small hem by folding under 1/8″ to a 1/4″ and again by the same amount. If you are using the rolled hem option, cut your strip of fabric 1.75″ wide. If you are serging and leaving exposed, cut your strip 1.25″ wide. Cut your strip double the length of your front bodice (neck to bottom).
Sew your four pintucks as instructed.
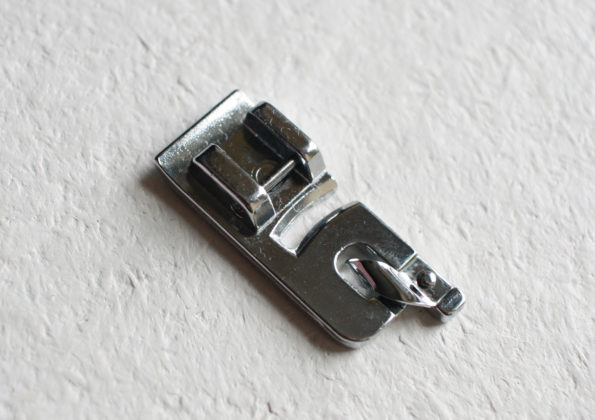
If you are making a rolled hem, this is the handy foot that will help you.
Hem both long edges of each ruffle strip with whichever method you prefer.
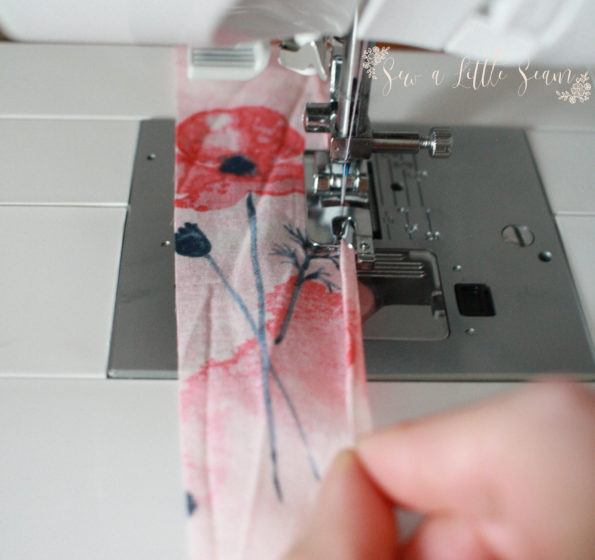
If doing a rolled hem, you’ll want to place your fabric right side down and insert the edge of your fabric into the little rolled piece of your foot. Hold your fabric up and slightly to the left to keep feeding it into the foot. It can take some practice, so you may want to try on a scrap piece if you haven’t used this foot before.
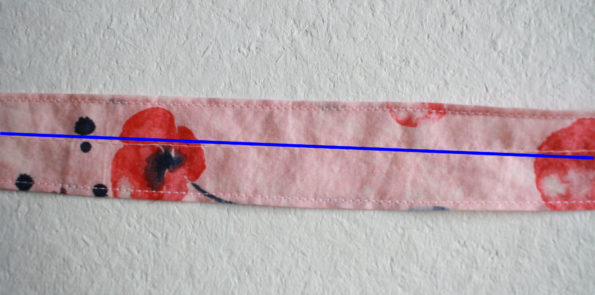
After you’ve finished the long edges of your ruffle strip, sew a gathering stitch (a straight stitch set at the longest length) down the center of each strip.
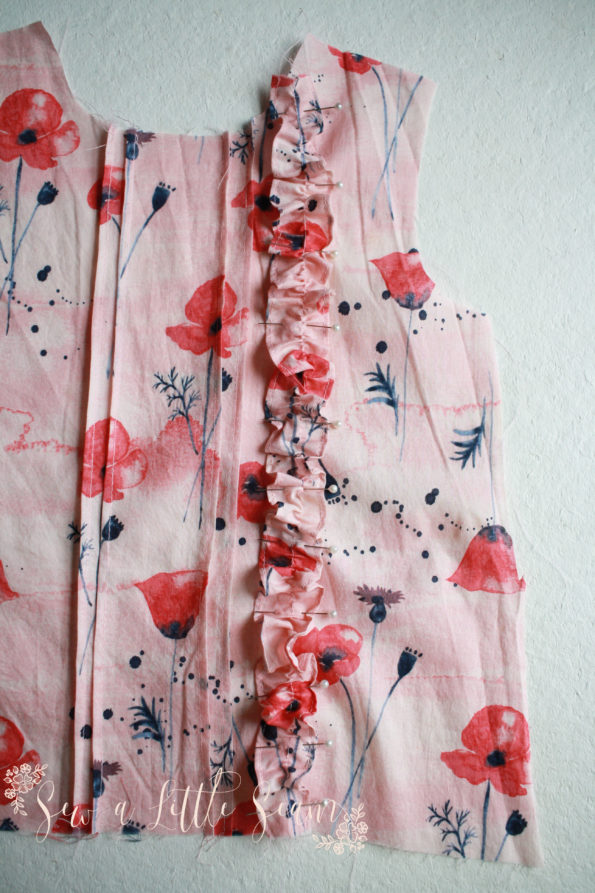
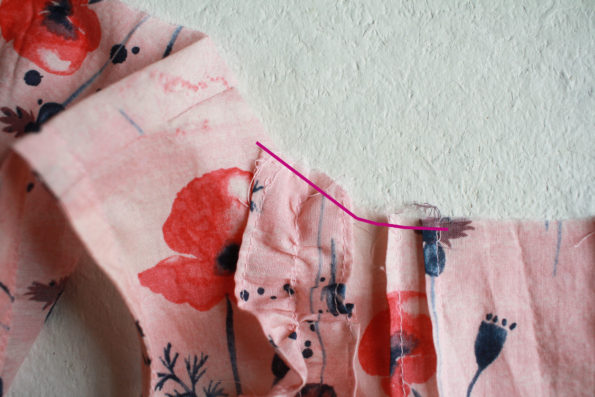
Pull on one of the threads from your gathering stitch to gather your fabric until it is the length of the bodice. It will probably want to curl up on you, so attaching it to the bodice could take some finagling. With right side up, pin your ruffle to your bodice, about 1″ from your last pintuck. Make sure the outside edge of the ruffle meets at the neckline. You can trim any excess later. Sew down the center of the ruffle in the path of the gathering stitch to attach your ruffle to the bodice. Repeat for the other ruffle.
Baste your ruffle and pintucks 1/4″ from the neckline to keep them laying the right way. Trim any excess ruffle along the curve of the neckline.
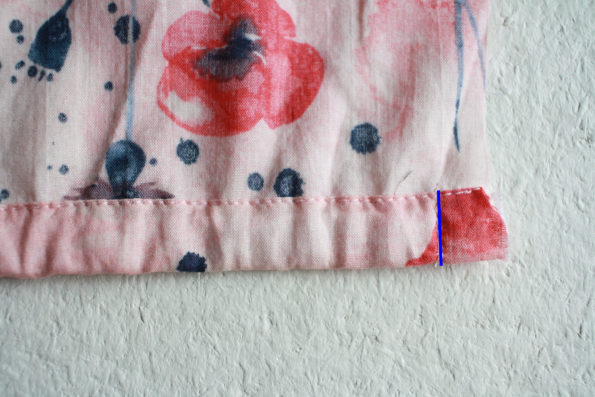
If you are adding an elastic bottom, hem by folding to the back 1/2″ and pressing, fold and press by 1/2″ again. Sew close to the folded edge, creating a casing. Insert your elastic through the casing by using a safety pin. When your elastic reaches the edge of the casing, sew 3/8″ from the edge, securing the elastic in place. Repeat for the other end.
Sew the rest of your top as instructed, following the full placket method.
If you have any questions, you can email me at sewalittleseam@gmail.com or on the Sew a Little Seam Facebook group.

