Hadley Cross Back Hack
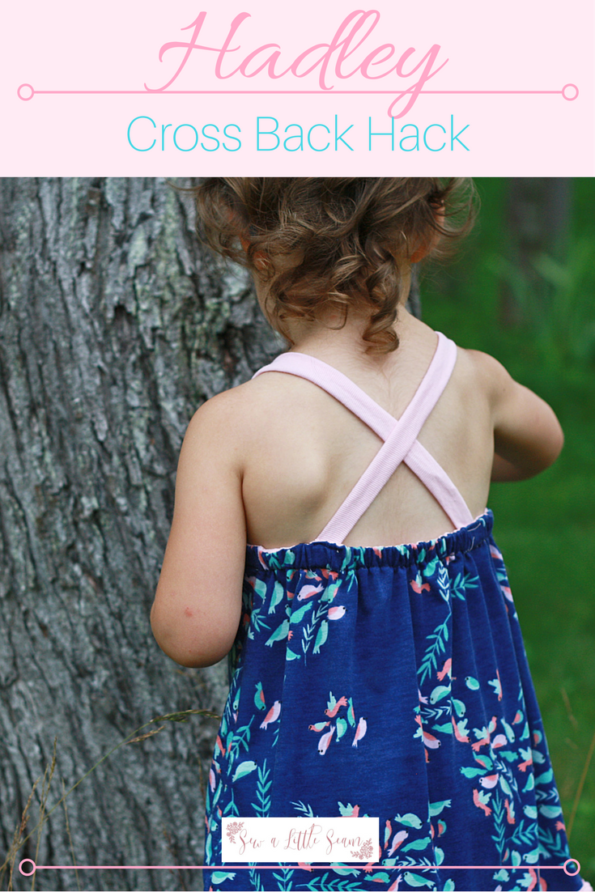
In this post I’m going to show you how to create this cute cross back hack for the Hadley pattern. It’s a simple hack and can be made with knit or woven.
The length of your straps will alter where the back of the dress falls. For this cherry version the straps were shorter and the back is higher than the blue version.
You could also make this into a halter top and tie the straps at the neck. I’ll explain more on changes to make if you wanted to do that below.
I decided to add trim to the bottom of the shirts and didn’t take length off so they would be more tunic length, which doesn’t work quite as well with shorts, but oh well, they’re still cute.
So let’s get started!
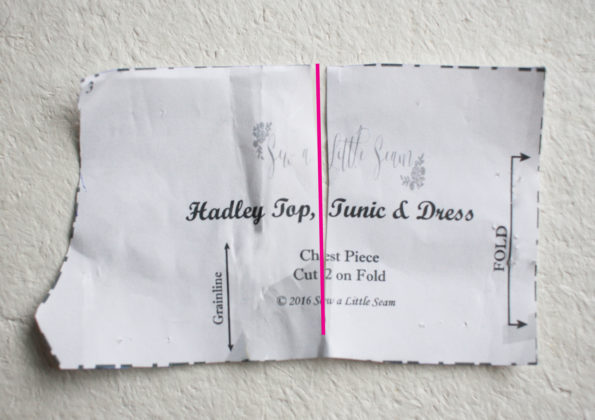
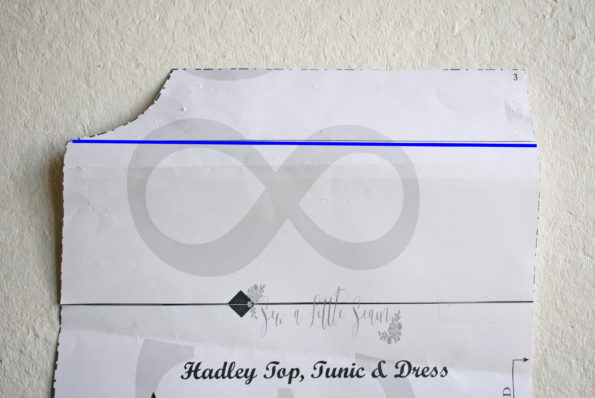
First you’ll need to adjust a couple of your pattern pieces. Take your chest piece and cut down the middle almost to the bottom, but not all the way through.
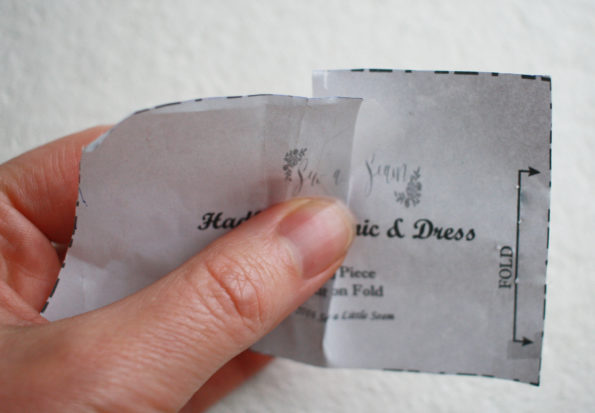
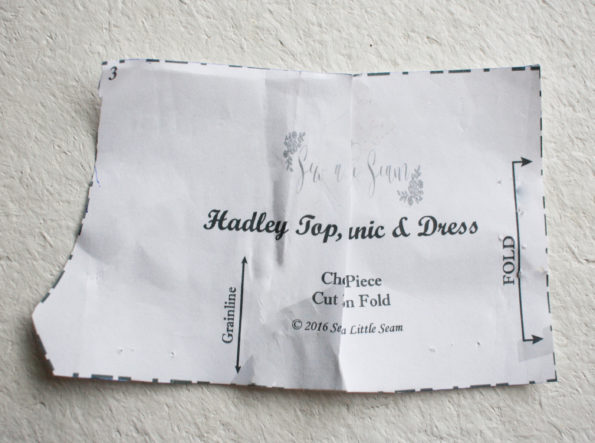
Overlap at the top by about 1/4″.
Tape in place. When you cut, cut straight across the top and bottom, don’t curve it in or out. This change is optional, but it does help keep the chest piece from bulging out in the center, since the straps are closer to the neck – especially if you choose to do the halter option.
You will also need to alter your back piece. Draw a line straight across from the bottom of the armscye. Cut across this line, or just fold down out of the way.
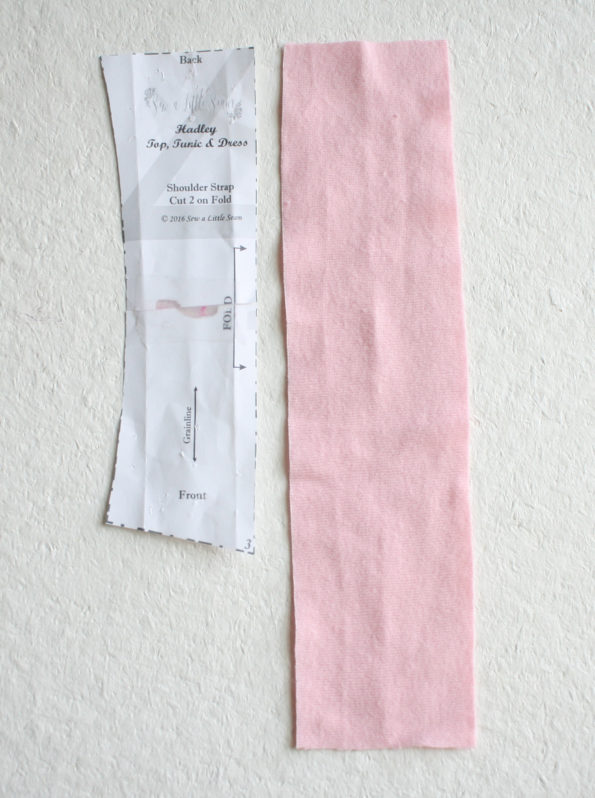
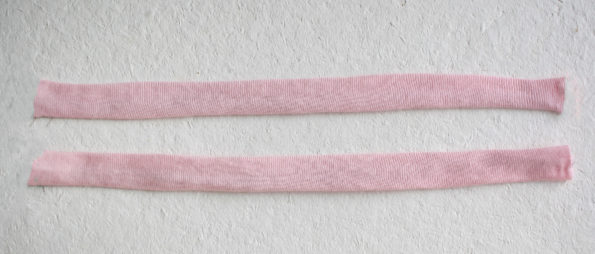
Instead of cutting your straps according to the pattern piece, cut two strips of fabric 2″ wide and about 3″ to 4″ longer than your strap length. My final strap length for the size 3 ended up being 10.5″ for the cherry version and 13″ for the blue version. If you make them too long you can always trim them down as needed. If making the halter version, you’ll want them long enough to tie.
Other Changes:
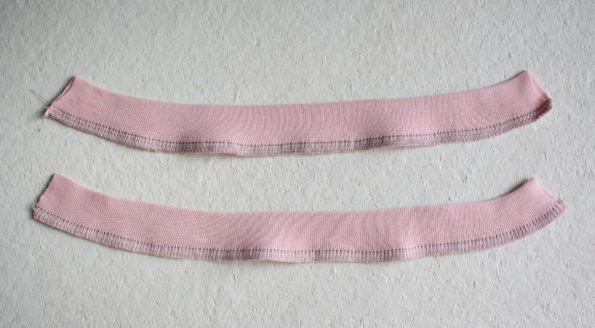
You will not need to cut your back elastic casing piece. Instead cut a strip of fabric 1/25″ wide and long enough to fit from the top of the front piece, around the back, and up to the other side of the front piece. This will be your binding and elastic casing. See the next couple of steps for more info.
You will also need to adjust the length of the back elastic. To figure this out, take the chest measurement and divide by 2 and then subtract 1″. So for example for the size 3 the chest measurement is 21″. Divide that by 2 to get 10.5″. Then subtract 1″ for a total of 9.5″. If you are adding the halter option, you may want to shorten the elastic a bit more, but you can adjust after you’ve tried the shirt on and before you’ve sewn the elastic in place.
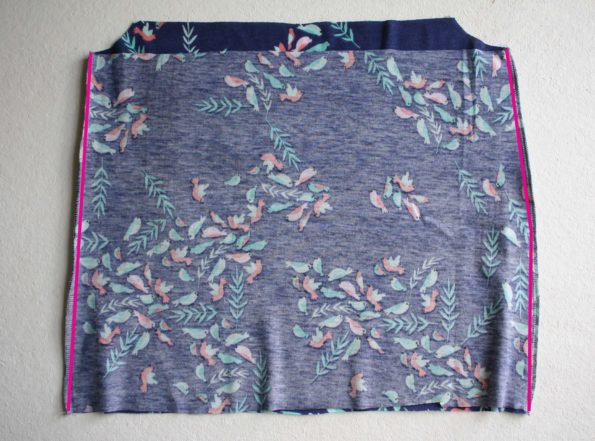
With right sides together sew your front and back pieces together along the side seams with a 3/8″ seam allowance.
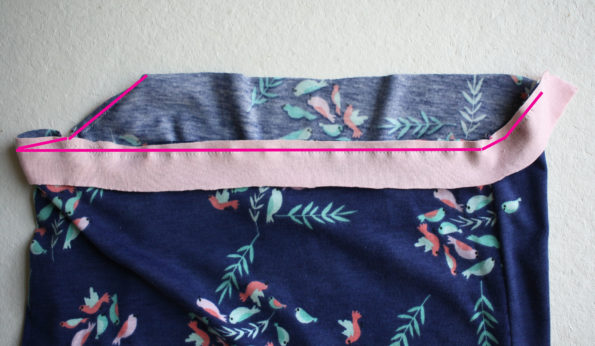
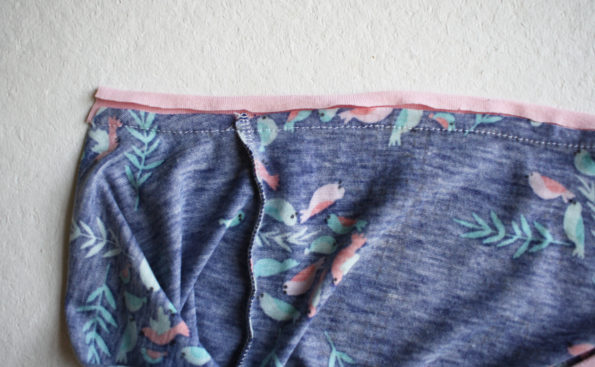
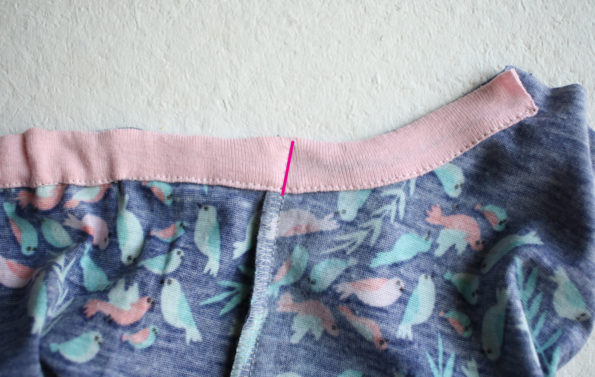
Here is where you will add your binding/elastic casing. If you haven’t already, measure from the edge of the top, around the armscye and back, and up to the other front edge. This will be the length of the binding piece you need. With right sides together, pin your binding in place and sew to the shirt with a 1/4″ seam allowance.
Press your binding and seam allowance up.
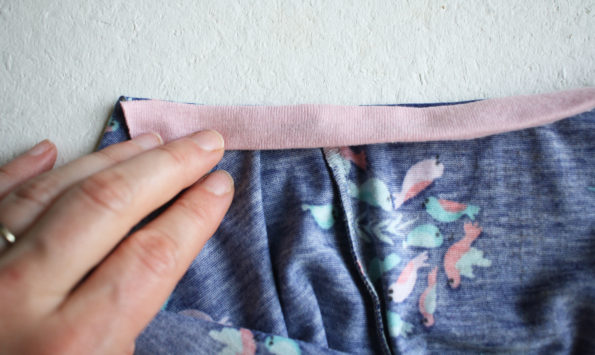
Fold the binding 1/4″ down to the wrong side along the length of the strip.
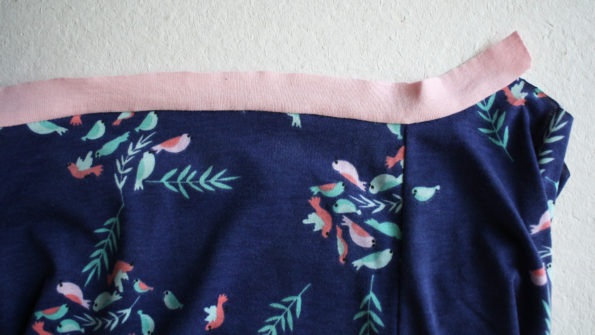
Now press the strip down so none is visible from the front. Pin in place. Make sure you’ll have 1/2″ of space to insert the elastic after you’ve sewn along the bottom in the step below. If using knit, it will stretch a bit to accommodate, but if using woven adjust as needed.
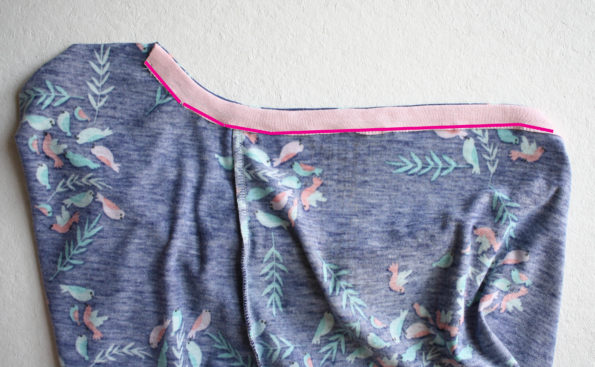
Sew close to the edge along the bottom of the binding. Do not sew the ends closed. This is where you will insert your elastic.
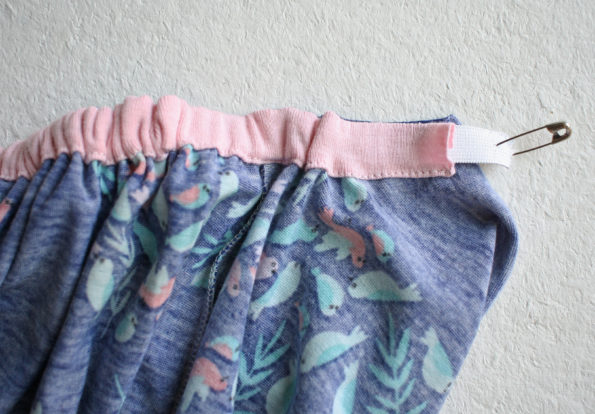
Attach a safety pin to the end of your elastic and insert it into one end of the binding until the end without the safety pin is about 1/2″ from the seam. Sew back and forth along the seam securing your elastic in place.
Continue threading the elastic through until you can remove your safety pin.
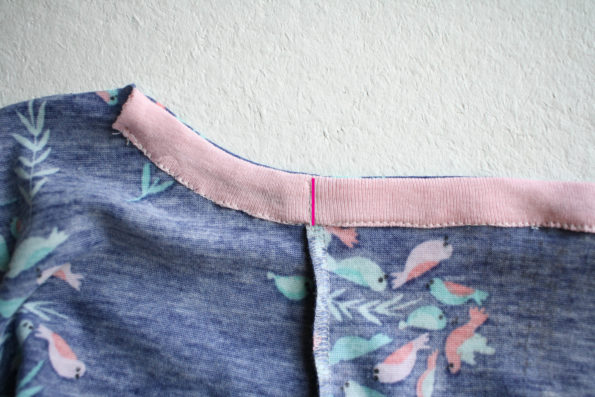
Carefully let the elastic slide back into the binding until it is about 1/2″ from the other side seam. Sew along the seam to secure in place. The elastic should now be just along the back from one side seam to the other. (If you are unsure of your elastic length, you can pin at this seam and try it on before sewing.)
Fold your straps in half with right sides together and sew with a 1/4″ seam allowance.
Turn right side out and adjust so the seam falls in the center. Press.
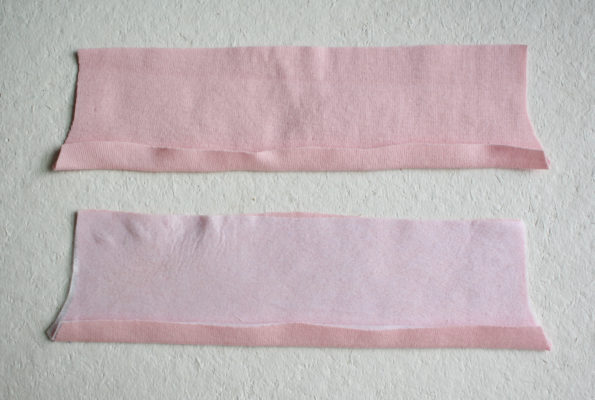
There are two ways to attach your chest pieces, the easy way, or the more difficult way that has a clean finish. If you would like to make them with a clean finish, press both bottom edges to the wrong side by 3/8″. If you opt for the easy way, do not press the edges up.
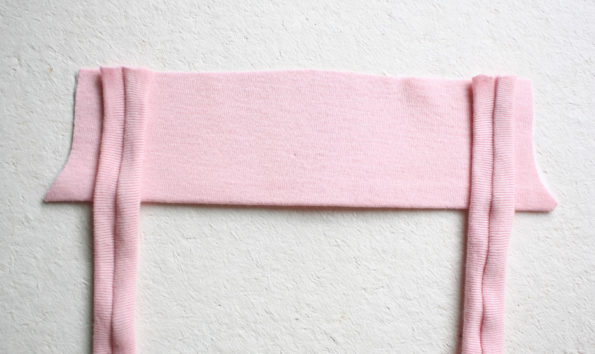
With right sides together, place your straps along the top of one of your chest pieces, 3/8″ in from the sides.
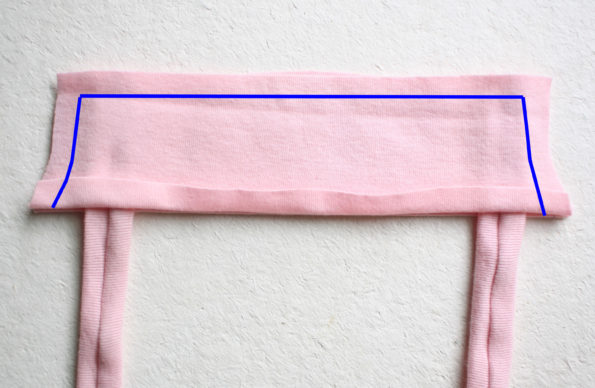
Place your other chest piece on top, so the right sides of the chest pieces are together. This top piece will end up being on the inside of the shirt, so adjust accordingly. Sew up the side, along the top, and back down the other side with a 3/8″ seam allowance. Be careful not to catch the sides of your strap, only the top. Also if you are making a clean finish, make sure the edges are still pressed up, so they are sewn this way.
Check to make sure you didn’t catch the sides of your straps and then trim your corners.
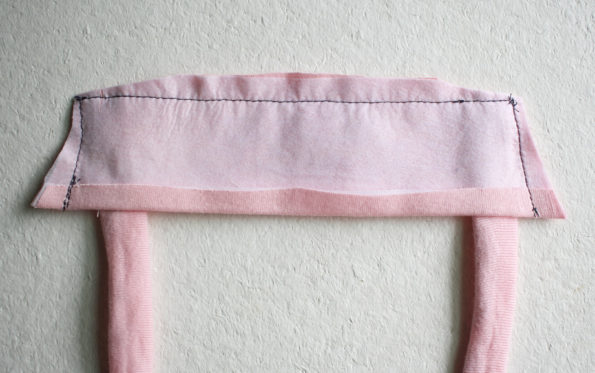
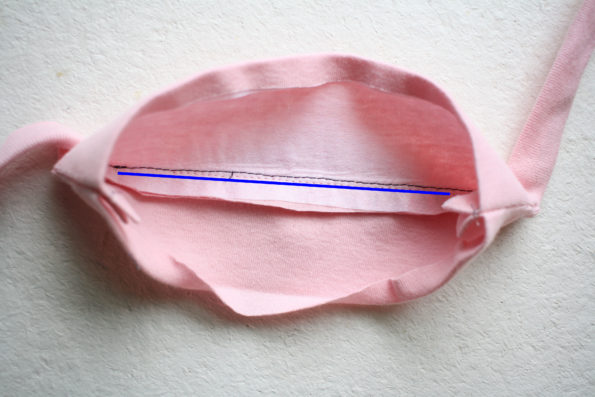
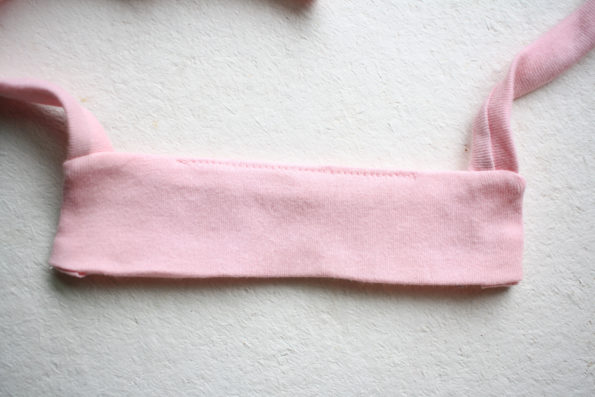
Turn right side out and press well. At this point you could choose to topstitch along the top and sides, or you could understitch as shown here. If you understitch it will keep your back piece from showing from the front, without seeing any stitching. To do this, sew your seam allowance to the back piece, just under the stitching. You wont be able to sew all the way across the back, so just sew as far as you can.
This is what your understitching will look like from the back. Your stitching won’t be visible from the front.
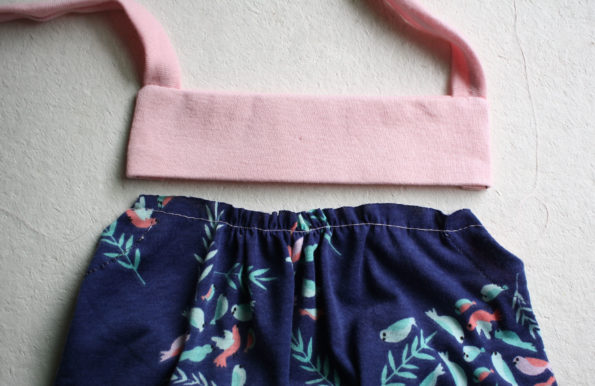
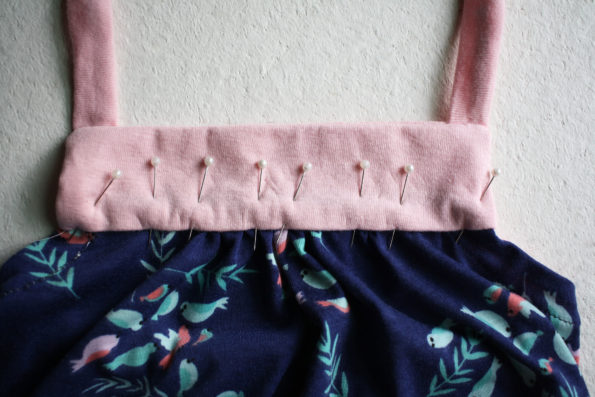
Sew a row of gathering stitches (a straight stitch set at the longest length) along the front of the shirt and gather until it is the same width as your chest piece. I adjusted my gathers so the majority were at the center front, or you could have them spread evenly over the entire front.
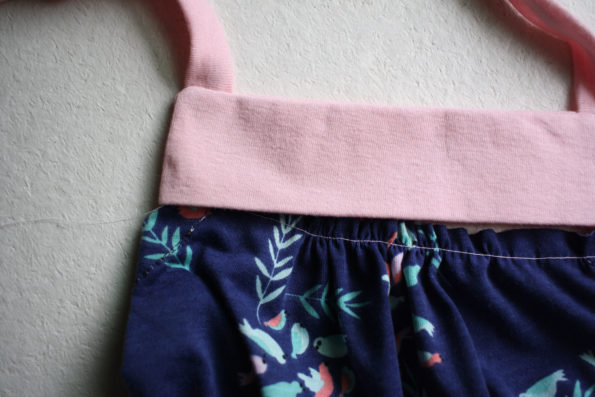
If you are making the clean finish, insert one corner of your shirt front 3/8″ into the chest piece keeping it nice and tight against the corner. Pin in place.
Repeat for the other edge and then continue with the rest of the shirt. Make sure it is an even 3/8″ inside across the length of the shirt and also make sure the front and back bottoms of the chest pieces meet, so that when you sew across the edge you will catch the back as you go. This can be tricky. Make sure you pin well and take your time adjusting as needed. When you are happy with it, sew along the bottom with a 1/8″ seam allowance.
*If you are making the easy version, place your chest piece on top of the shirt front right sides together. Line up the raw edges and sew with a 3/8″ seam allowance. Press your seam allowance and chest piece up and topstitch 1/8″ from the edge.
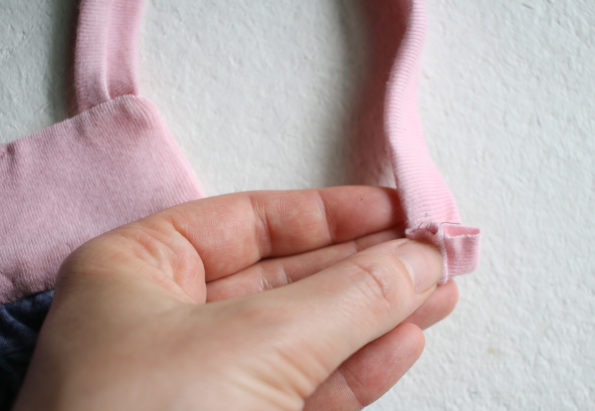
If making the cross over back, fold the end of your strap up 1/2″ with right sides together.
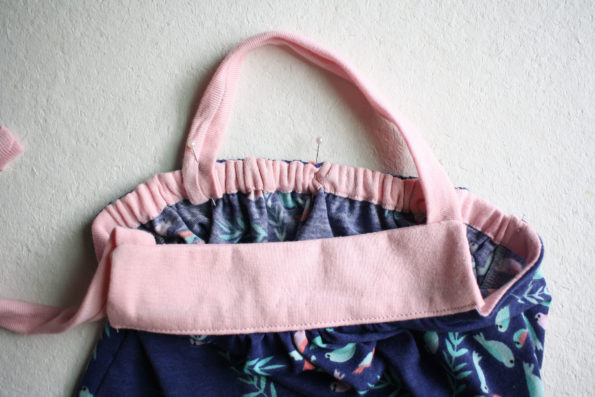
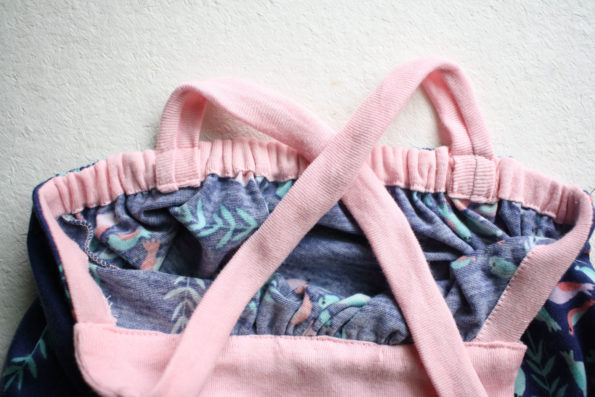
Place your strap along the inside of your elastic casing so the raw end is on the inside and below the top edge. Make sure you have it on the opposite side of the back of the front strap if you are crossing them and also make sure your strap isn’t twisted. You can experiment with the placement on the back. For one shirt I placed the straps 2″ from the center and the other I placed 2.5″ from the center.
Sew along the top of the elastic casing and along the bottom of the elastic casing, securing the strap in place. Repeat for the other strap.
*If you are making the halter version, tuck the raw ends inside the strap and sew close to the edge.
Hem your shirt or dress and you are all done!
If you have any questions, email me at sewalittleseam@gmail.com. Share your creations on the Sew a Little Seam Facebook Group.

