French Terry Jumper
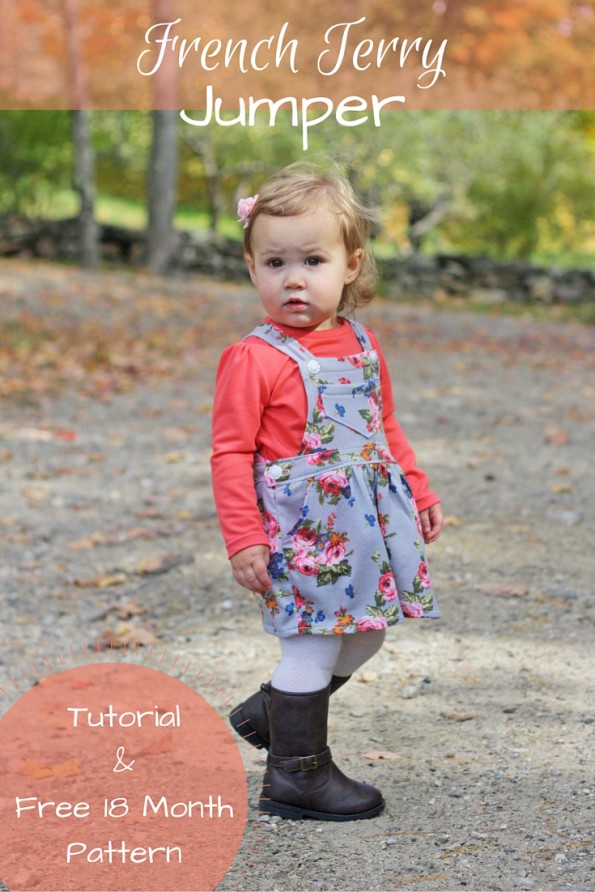
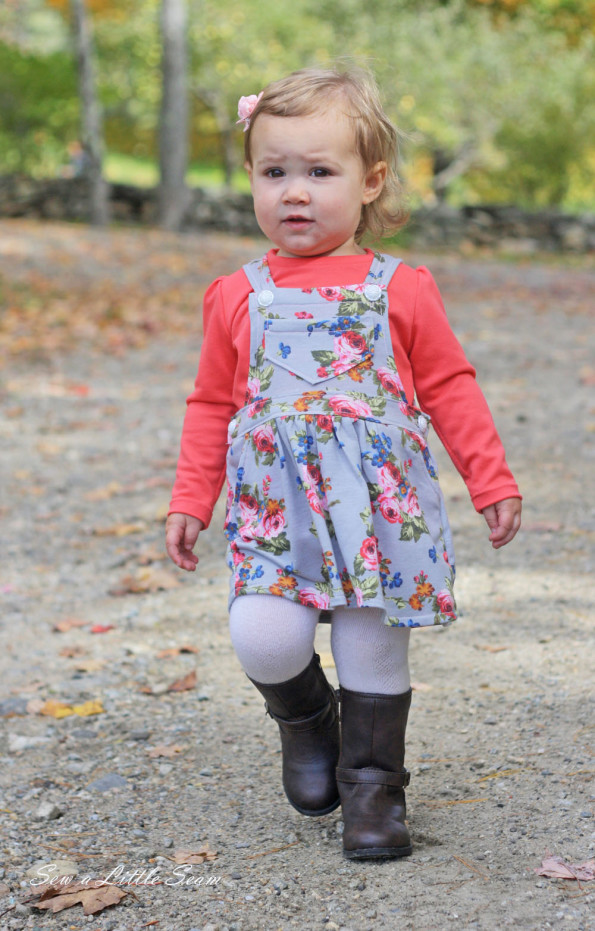
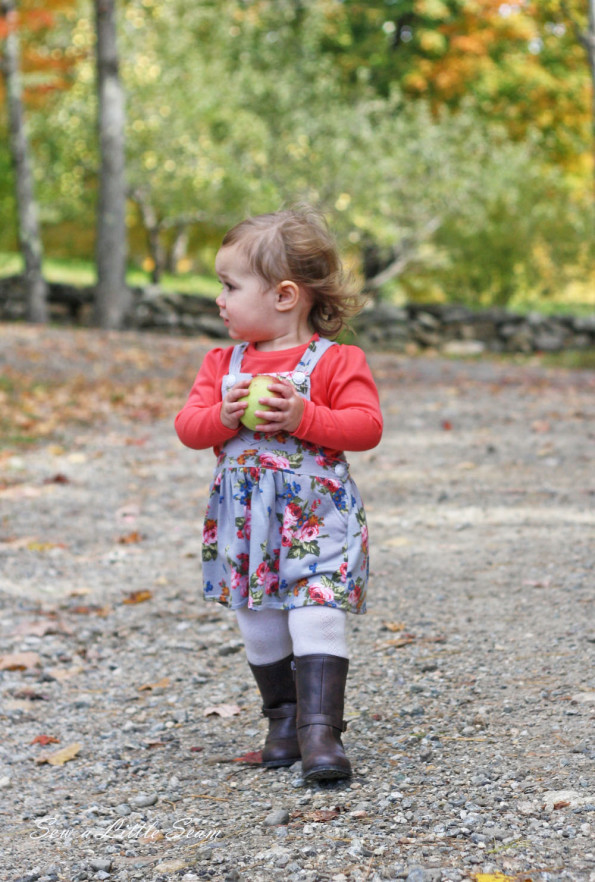
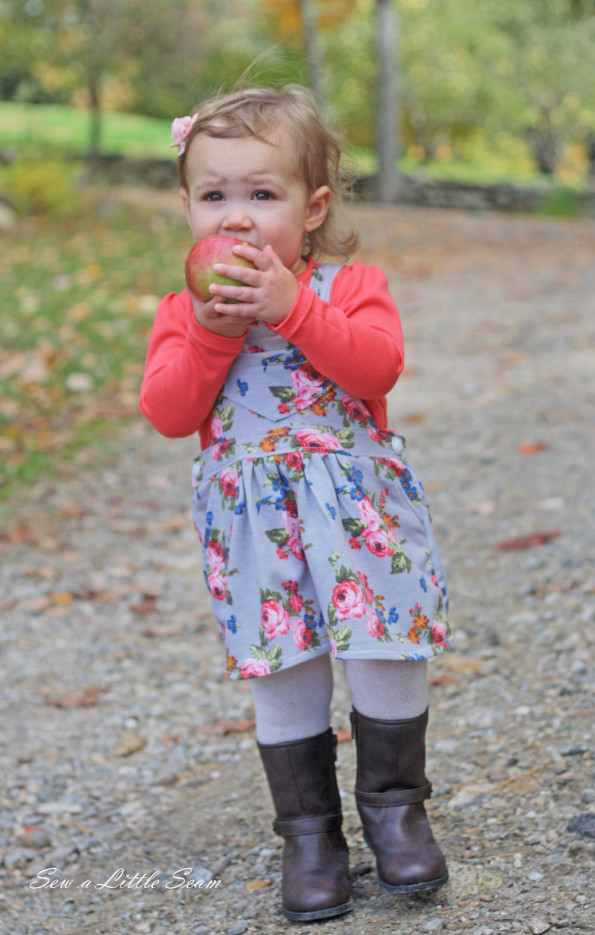
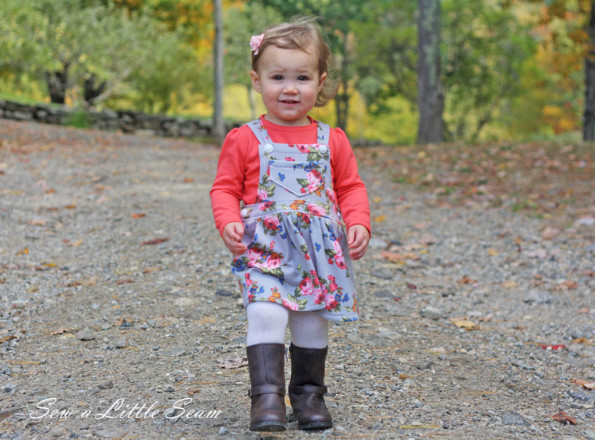
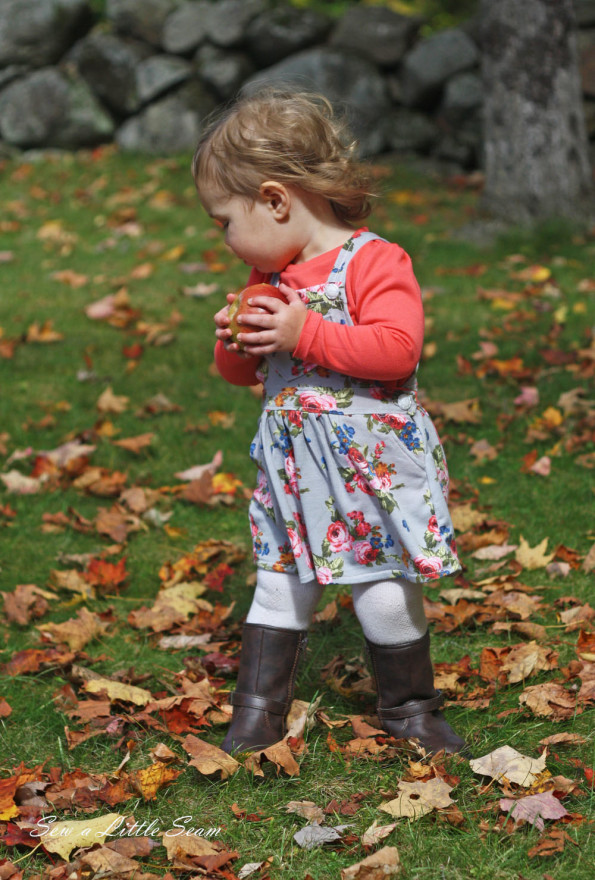
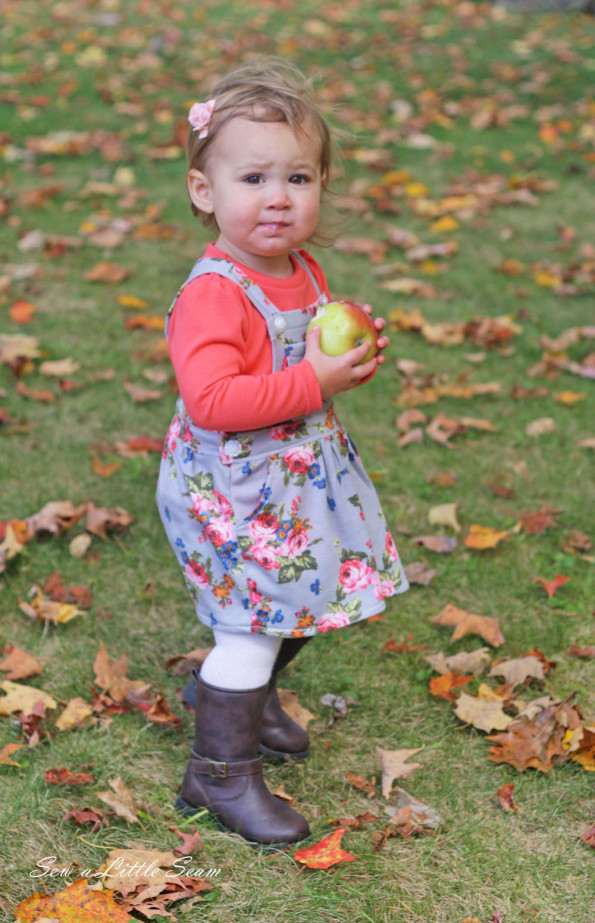
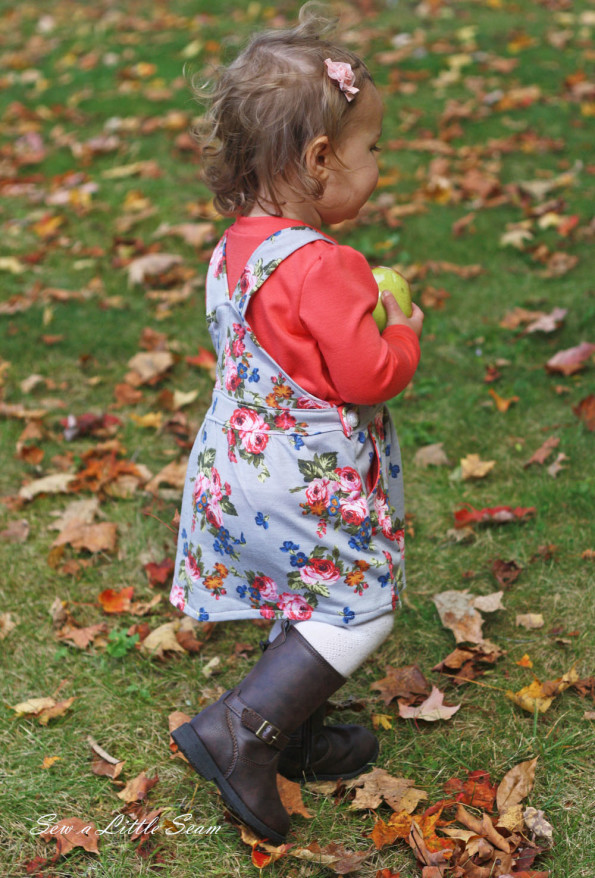
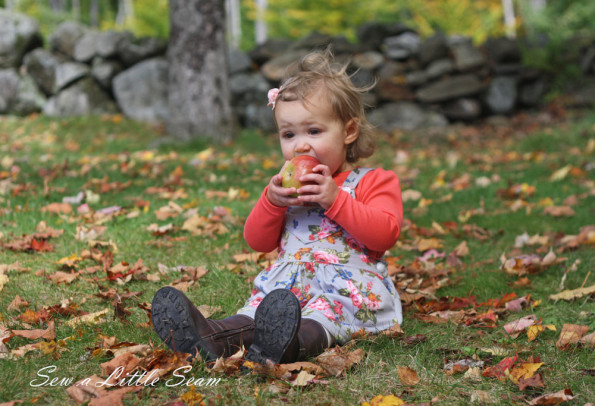
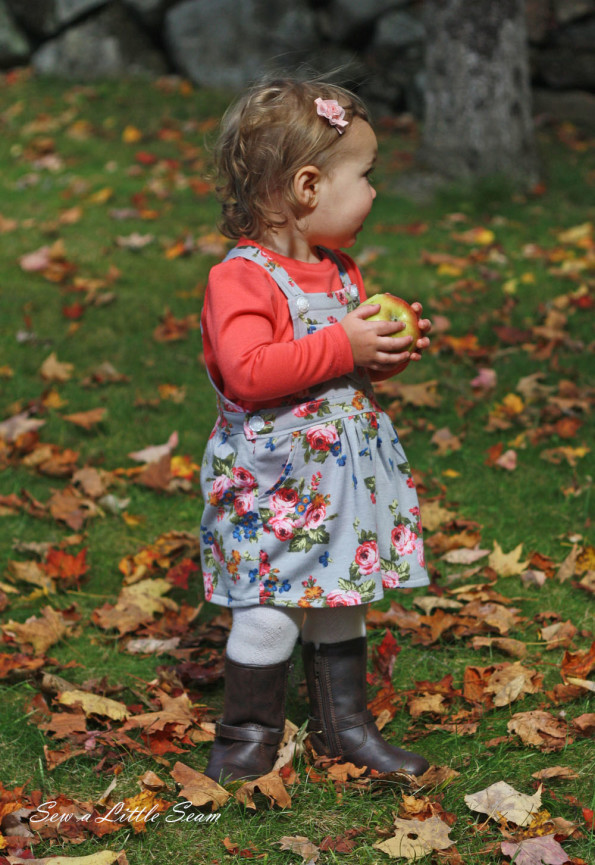
I am so excited to show you guys this new project I’ve been working on! Okay, I know I say this pretty much every post, but it’s true! Look at this adorable French terry jumper! If you’re a follower of my blog, you know I love my French terry and sweater knits with a passion, so when Darcey of Sincerely Rylee printed her own French terry fabric…and.it.was.floral…I was drooling!
This French terry is soooo soft. It’s a lighter weight French terry and has a good amount of stretch, so it’s perfect for all kinds of projects. The coral shirt is also French terry from Sincerely Rylee.
I have always wanted to make a jumper, but I’ve been too afraid, but it wasn’t bad at all and came together nicely! And jumpers are great for Brynn right now…anything with buttons or snaps and are hard for her to get off. She is going through a “let’s be free and naked” stage right now and keeping clothes on her is a chore. My son never went through this stage, so this is new to me.
We learned really quickly that pajmas with pull off pants are not our friend. It’s not the best thing to wake up to her giggling in her bed, only to walk in and see what she has found so amusing. Taking her diaper off is a trick I wish she had not learned.
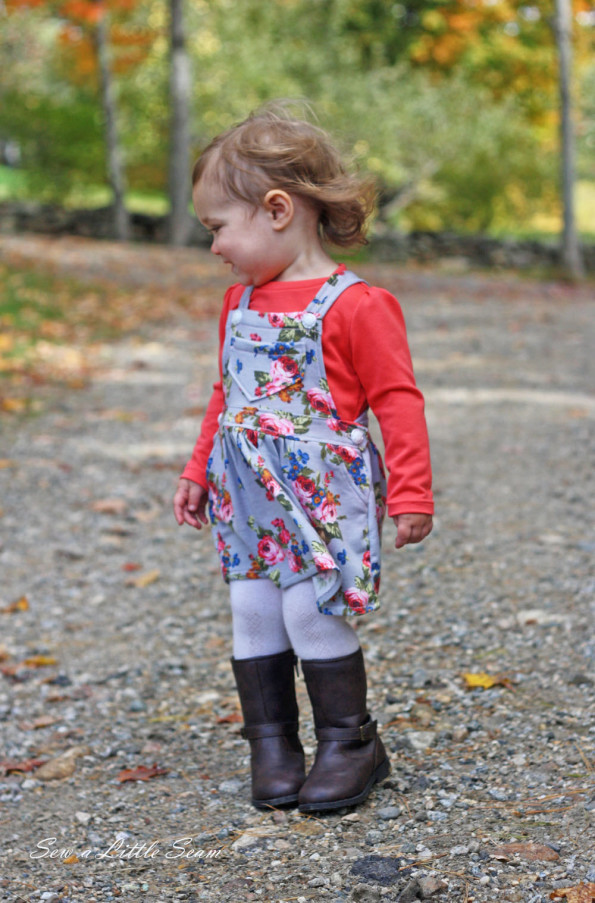
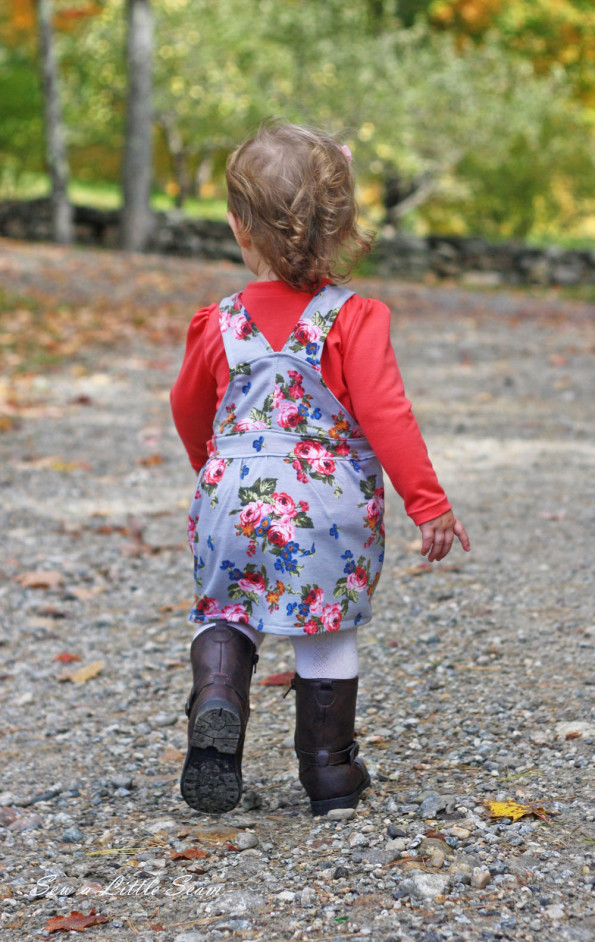
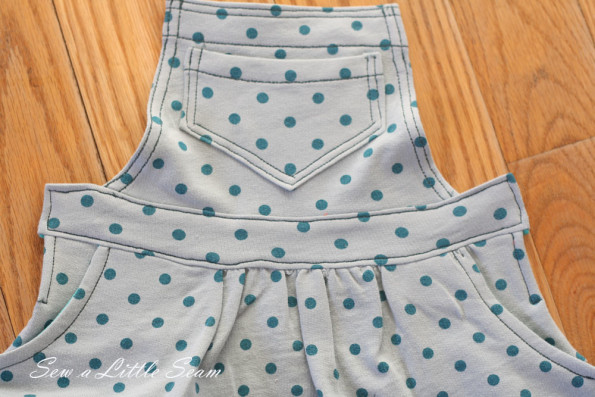
But back to this jumper…it has a front pocket on the bib and also pockets in the skirt and has openings on the side that you can make with buttons or snaps for easy on/off. The buttons on the top can also be turned into snaps if you prefer.
The pattern is only for an 18 month size, but I think that it would be pretty easy to size this up or down a bit with simply changing the length of the straps and length of the skirt. You can adjust the buttons on the side a bit to make it wider or narrower as needed.
And now time for the tutorial.
What You Need:
Apx 3/4 yards of French terry for the jumper
1/8 yard of lining (I used a cotton/lycra, but you could really use anything)
1/2 yard of material for the shirt (I used French terry)
Four buttons or snaps
A contrasting thread (you could use a topstitching thread if you want, but for me using the triple stretch stitch worked great)
The pattern for the jumper:
The pattern for the shirt:
Brynn Sweater Pattern 18 Months
You can find the shirt tutorial HERE. Just hem the sleeves and bottom up 1″ instead of cutting the pattern and making bands.
Getting Started:
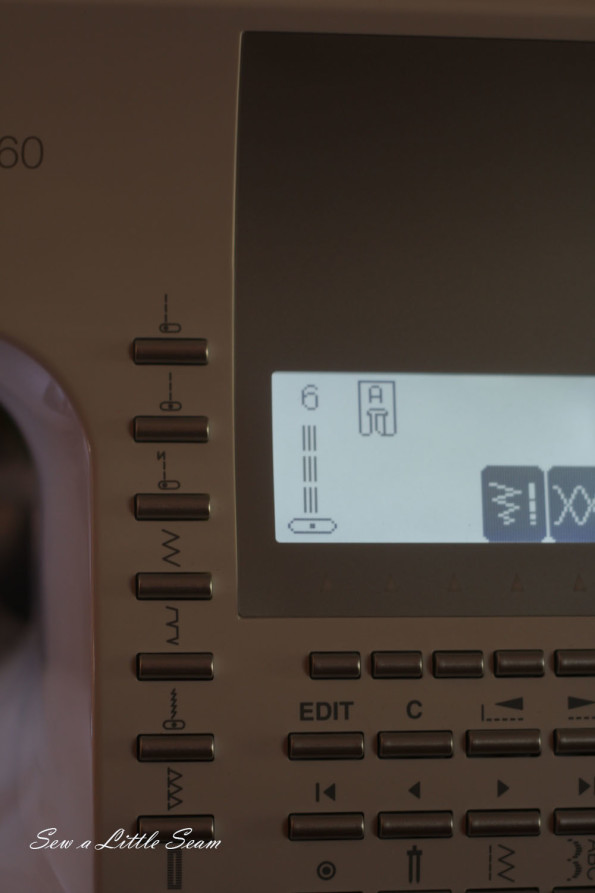
Print out your pattern pieces. Print at actual size, do not scale. There is a 1″ x 1″ square on the first page that you can measure to make sure that it printed the correct size. The pattern pieces have instructions on them for what you need to cut. For the lining material that you choose, cut two of the pocket lining pieces and two of the waistband pieces. A seam allowance of 3/8″ is included. Also, I use a triple straight stitch, shown below, unless otherwise noted.
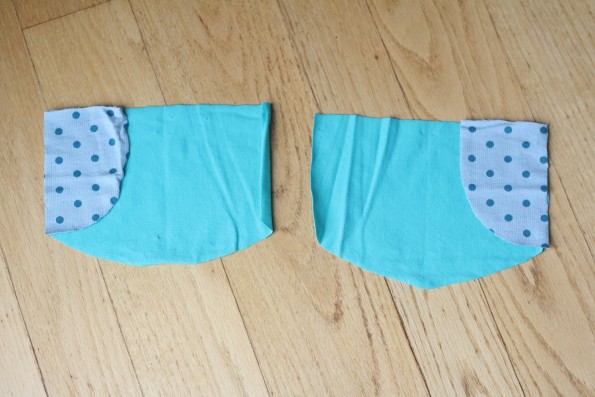
Once you have all of your pieces cut, we’ll start by assembling the skirt pockets. Open up your pocket lining pieces and place the pocket facings on opposite sides of the lining as shown above.
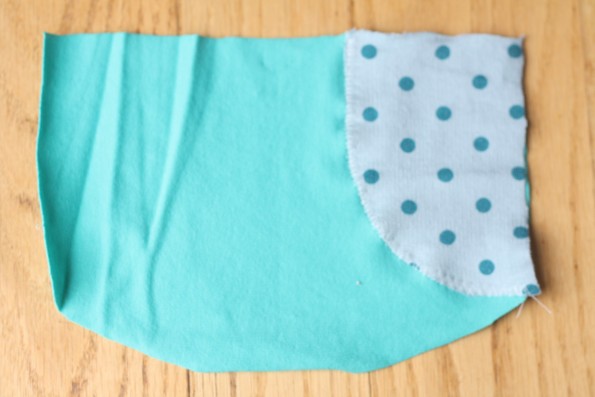
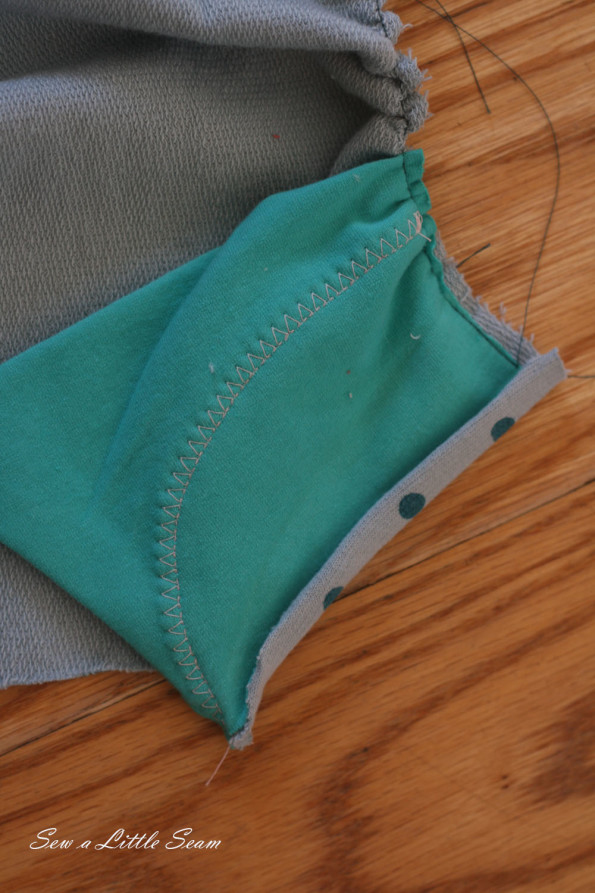
Sew along the edge of the facing. I use a fake overlock stitch for this, but a zig zag will also work.
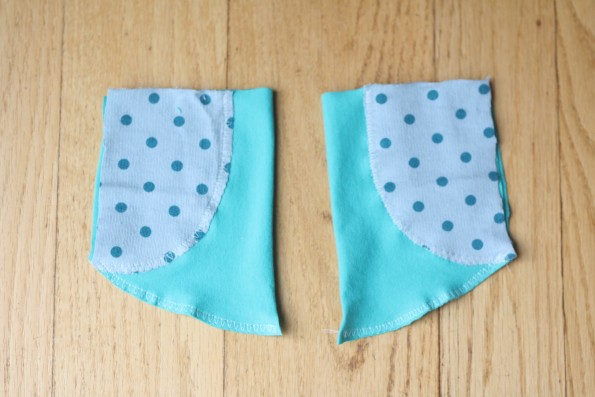
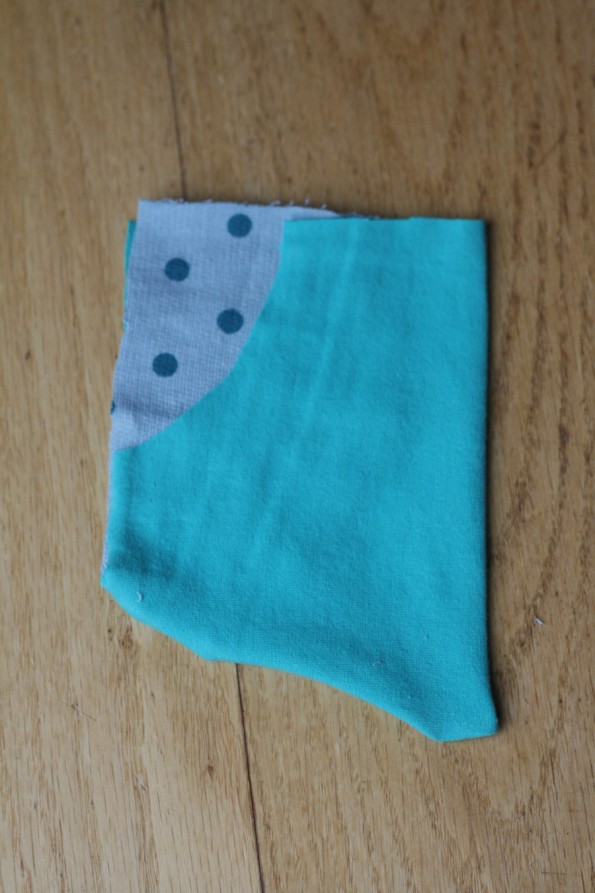
Fold your pockets with the facing toward the outside as show above and sew along the bottom edge of your lining, also using a zig zag or overlock stitch.
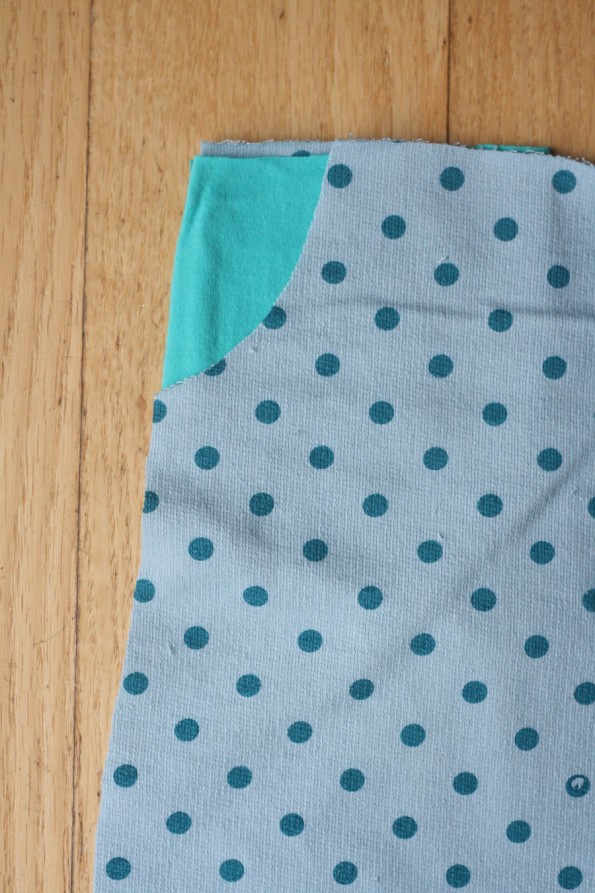
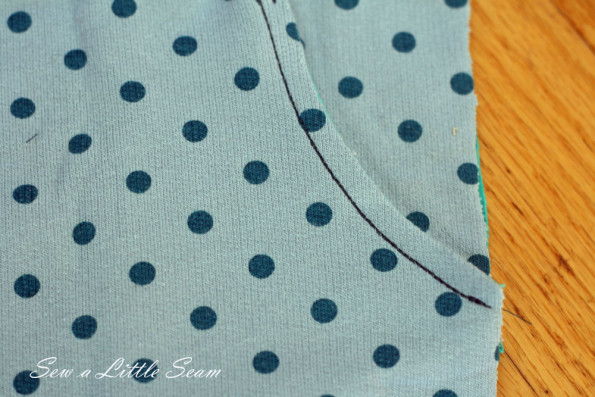
Turn your pocket right side out, so that the facing is now enclosed on the inside. With the pocket laying so that the side without the facing is up, and the raw edges are on the top and outside, lay your skirt piece over the pocket, and trace along the edge of the skirt with chalk or a fabric pen.
Cut out along the line you traced so that now the facing fabric can be seen. Repeat with the other pocket.
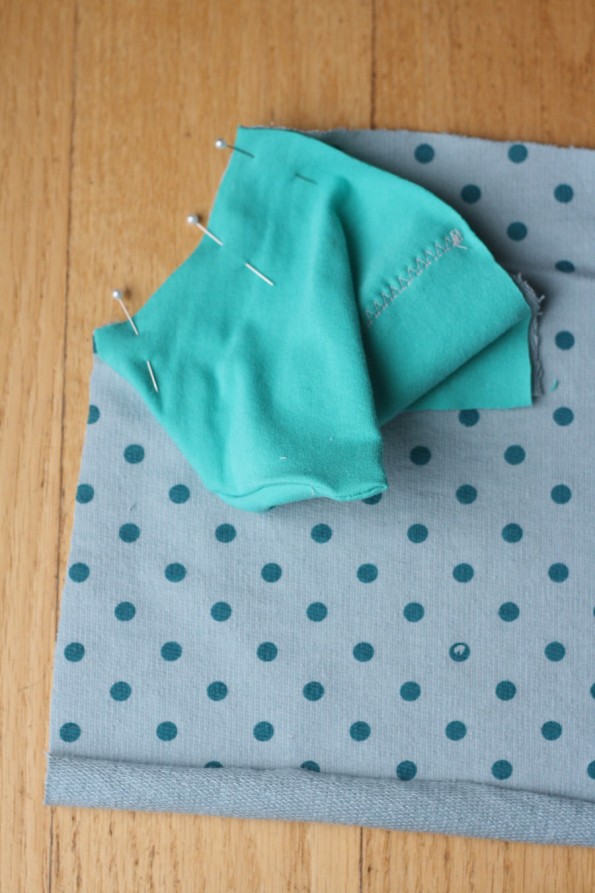
Place your pocket on your skirt as shown above and pin in place. Sew your pocket onto your skirt and repeat on the other side.
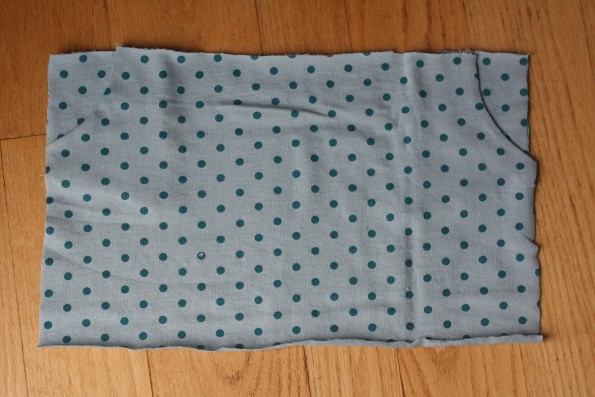
Press your pockets so that none of the lining shows from the front.
Topstitch along the edge of both pockets, about 1/4″ from the edge.
Now, fold the edge of the skirt and pocket over 1/4″ and press, then fold over another 1/4″ and press.
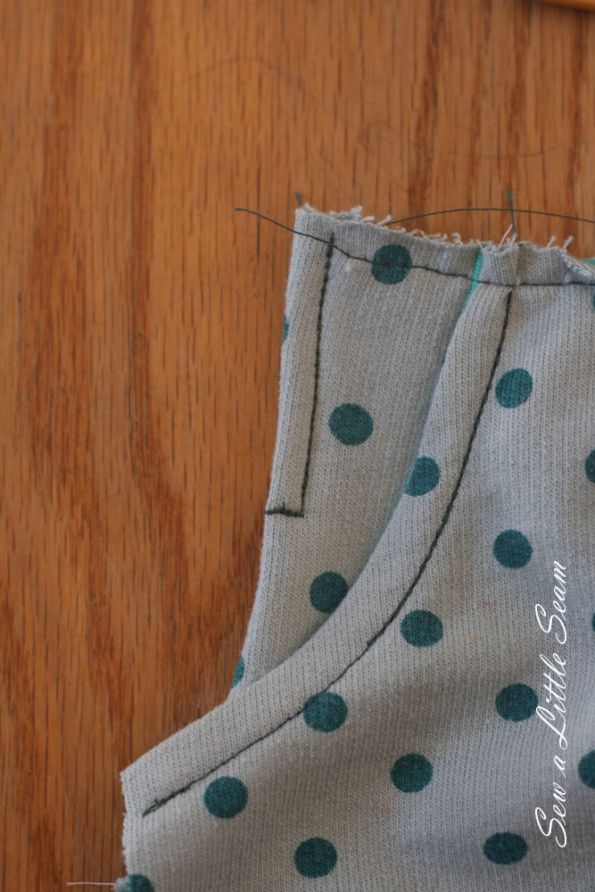
Sew down the edge 2″ about 1/4″ from the edge. With the needle in the fabric, lift your foot, rotate your fabric 90 degrees and sew to the edge of the fabric. Repeat on the other side.
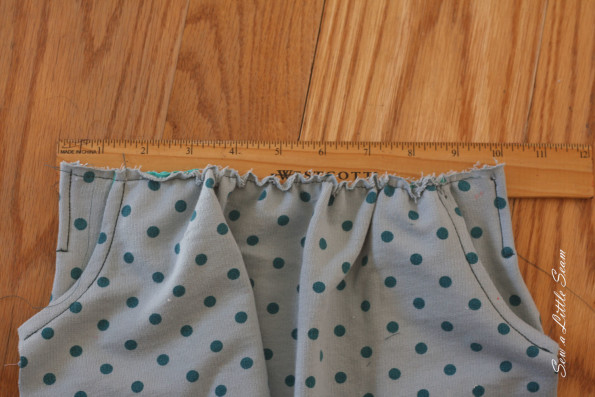
Gather the front skirt by sewing 1/8″ from the top edge with a straight stitch set at the longest setting. Do not backstitch at the beginning or end. Pull on string and slide your fabric along it until your skirt measures 10″ along the top.
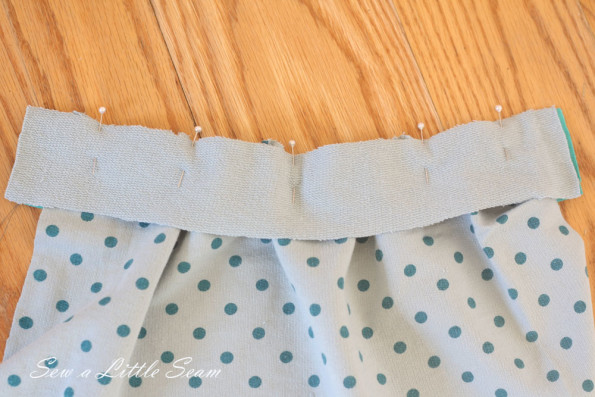
Now we are going to add the waistband. Take your waistband you cut from the original material and the one your cut from your lining, and with right sides together, sandwich the skirt in between the layers. You should have 1 1/2″ overhanging on each side.
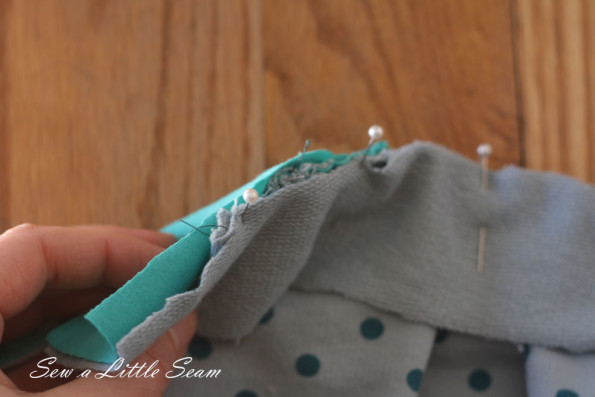
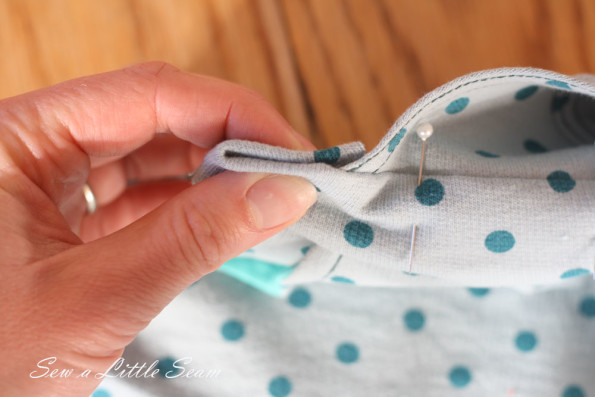
When you get to each edge, take your extra fabric…
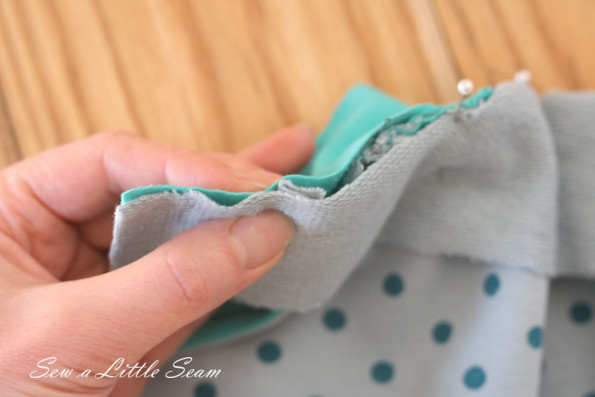
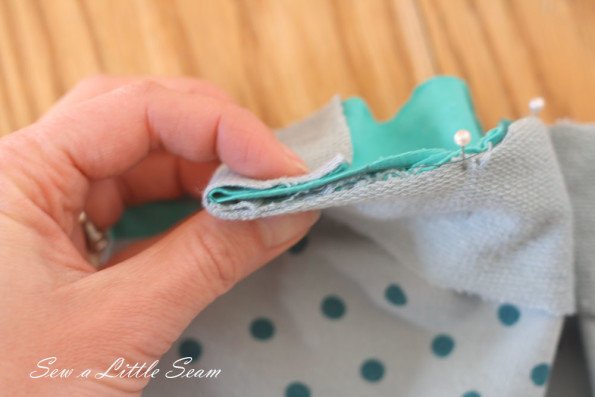
…and fold it back around the edge of the skirt as shown above. Pin in place. Make sure you still measure 10″ at the top. Sew from one end to the other. I have found that a regular straight stitch works best here, since the stretch stitch can cause your fabric to stretch longer through the waist.
Now take your back skirt piece and gather as you did with the front piece, but this time it should measure 12″ at the top. Sandwich your skirt between the waistband pieces as we did for the front of the skirt. You do not need to worry about folding the edge here. Just pin and sew along the top. Cut off any excess waistband.
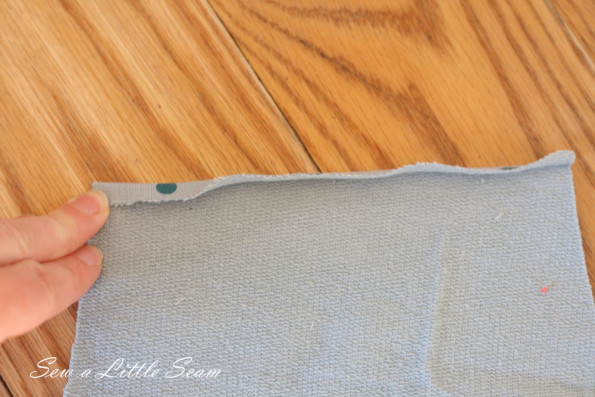
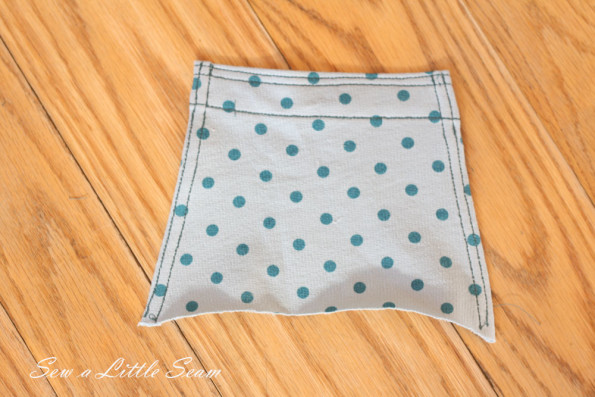
Moving on to the front bib piece, fold over the top edge 1/4″ and press.
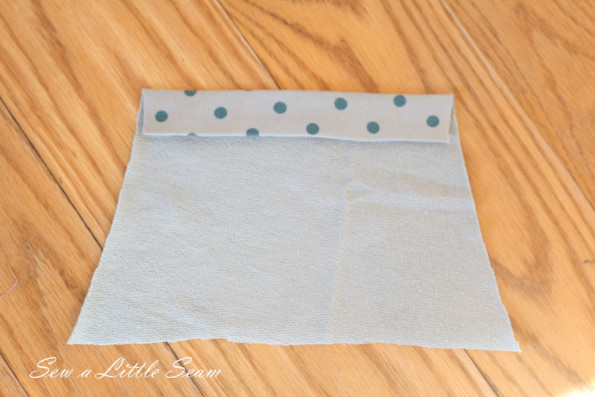
Fold over 1″ and press.
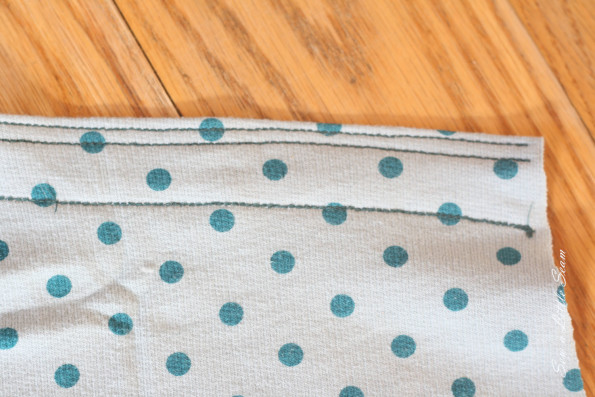
Sew along the fold, and then topstitch two rows along the top edge as shown above.
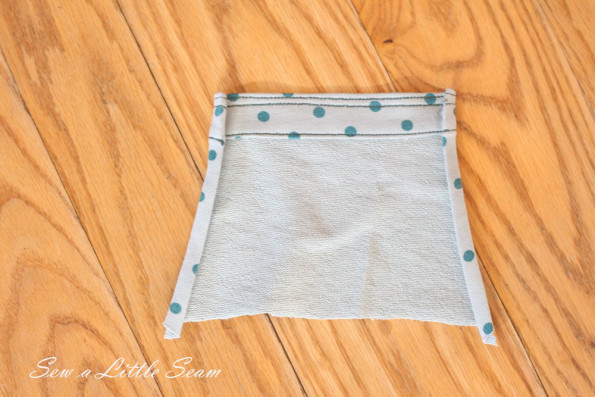
Now fold over each edge 1/4″ and press, and then another 1/4″ and press. Sew close to the inside fold.
Then sew another line of topstitching close to the edge of each side.
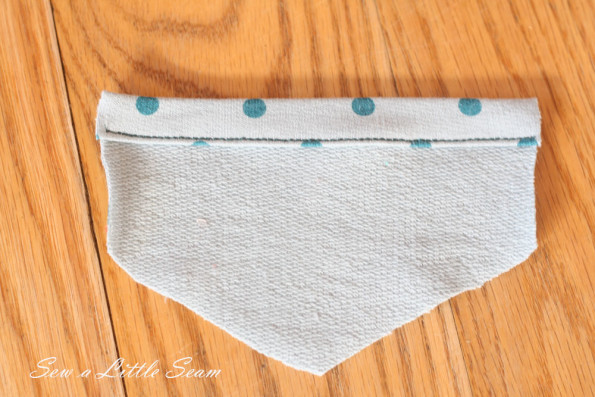
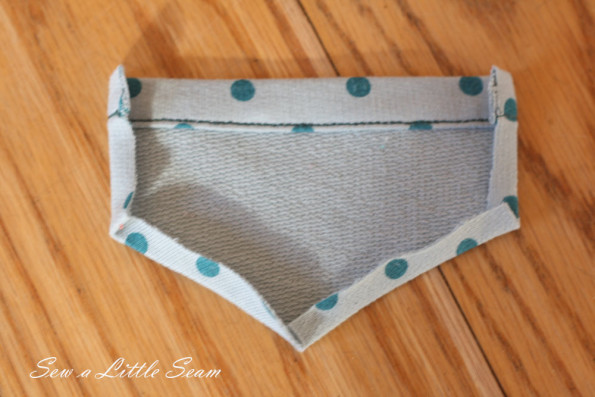
Now take your front pocket piece and fold the top over 1/4″ and press, and then 1″ and press. Sew close to the edge.
Now fold each side in 1/2″ and press.
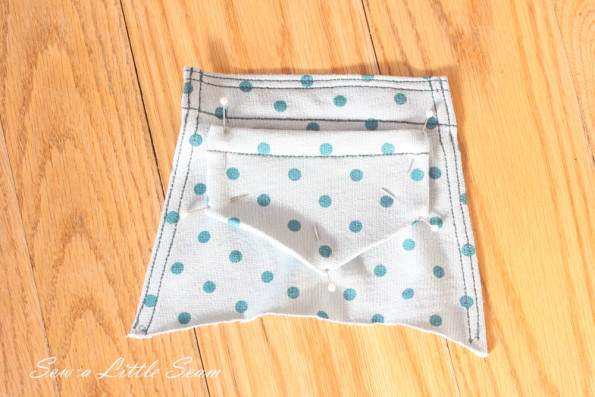
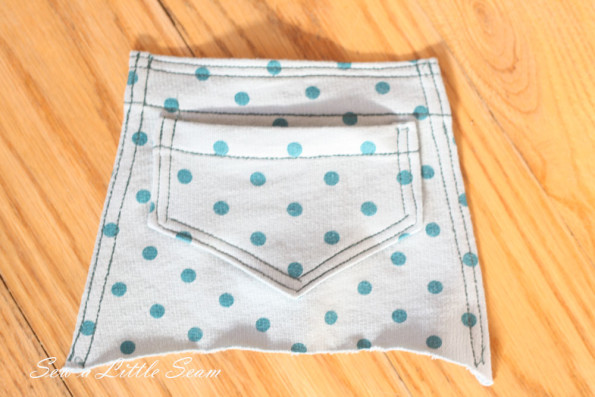
Pin your pocket to the front bib, about 1/4″ to 1/2″ below the bottom stitching line.
Sew along the fold and then right along the edge. Don’t sew along the top of the pocket. When you get to a corner, keep your needle in the fabric, lift up your foot, and turn your fabric. Drop your foot and continue to sew.
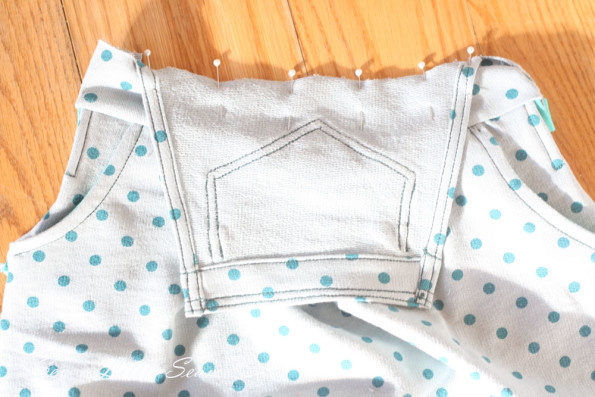
Now we are going to attach the bib to the skirt. With right sides together pin your skirt to only the front waistband. Do not pin to the lining band at this point. Sew along the raw edge of the bib, do not sew all the way across the waistband.
Now, working with the lining waistband piece, fold it under so that you just cover up your top seam. Pin from the front, since we’ll be topstitching and you’ll want the front to look the best.
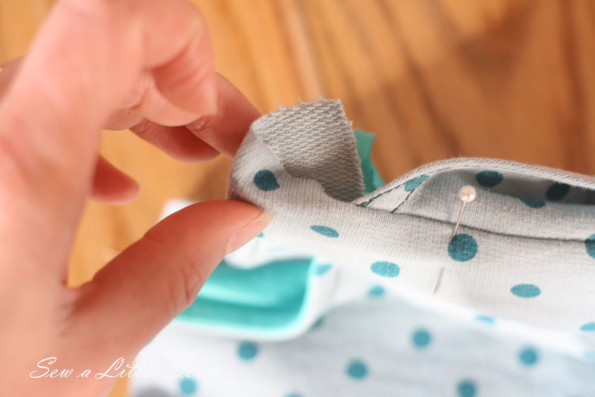
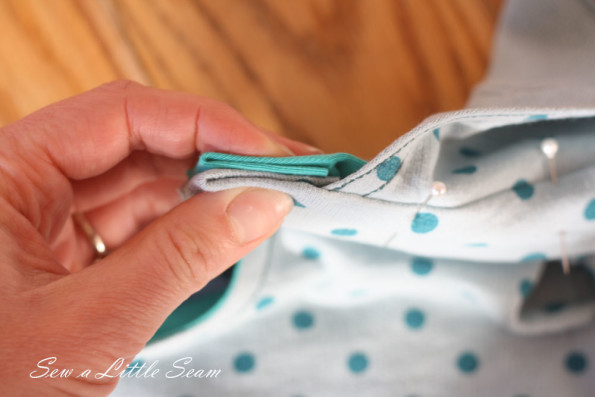
Once you have your entire lining piece folded under, you can work on the edges. Take your front waistband piece and tuck in the edges as you fold it back.
Now do the same for your lining piece. Tuck the raw edges down a bit so they don’t show. Also make sure that your lining does not stick up above the front piece. Pin in place.
Now topstitch around the entire waistband. I find it helps to start away from the edge, where it is so thick. Take your time topstitching, it really makes a difference in your finished project. Hopefully you’re better at it than me. My eyes start to cross and then I just gun it and hope for the best.
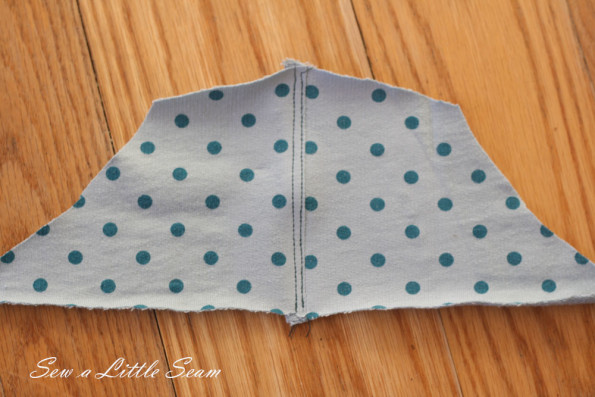
Now take your back bib pieces and with right sides together sew them together.
Press your seam to the side and topstitch close to the edge.
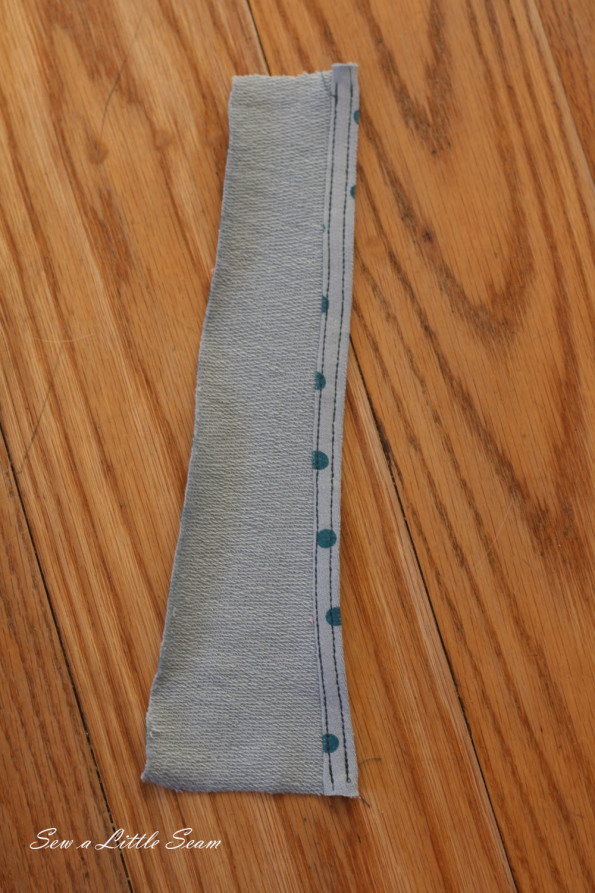
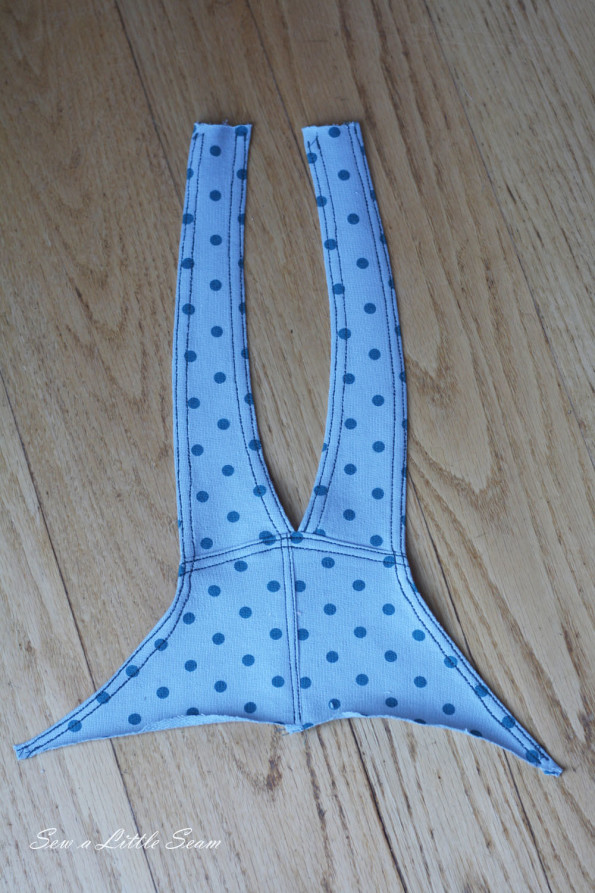
Now we will work on the straps. Take the inside of your strap, the one that curves in, and fold over 1/4″ and press, fold another 1/4″ and press. Now stich along the fold and right along the edge. Repeat for the other strap.
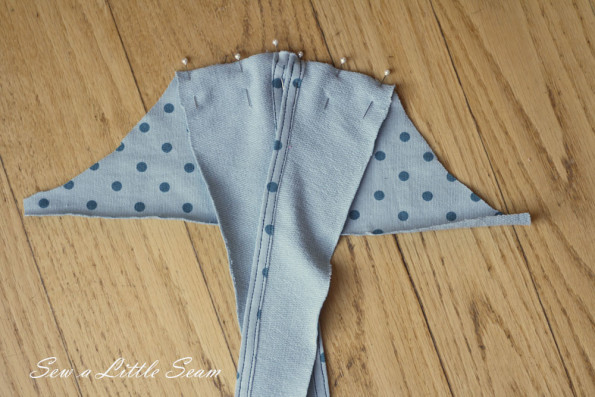
Now attach your straps to the back bib with right sides together. The edges of the bib and the straps should meet up and they straps should also meet in the middle. Sew together.
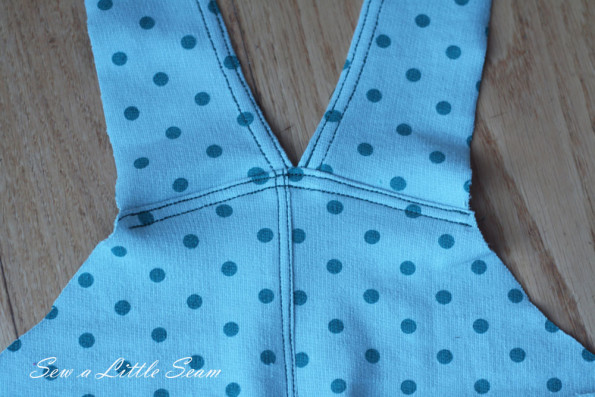
Press your seam down and topstitch close to the edge. (I was quickly running out of daylight, so the rest of the photos are less than stellar.)
Now, fold in each edge 1/4″ and press, and then another 1/4″ and then press. Stitch close to the fold and close to the edge.
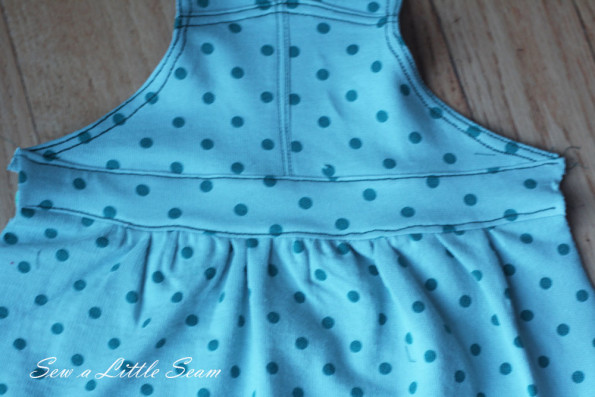
Now attach the back of your bib to the skirt the same way you did the front. Do not sew to the lining piece at this point.
Tuck your lining under like you did for the front, only here you don’t have to worry about the edges. Top stitch along the top and the bottom. You don’t need to sew along the two sides.
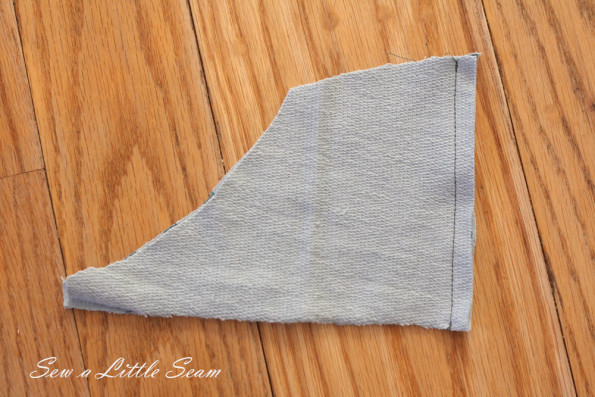
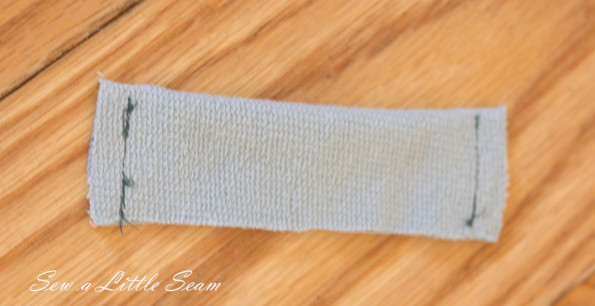
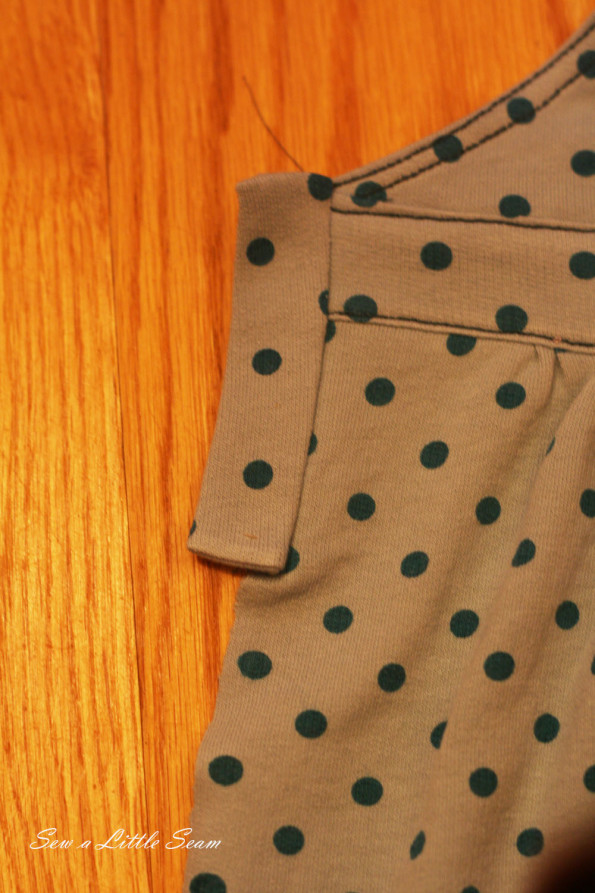
Take your skirt placket piece and with right sides together sew along both short ends.
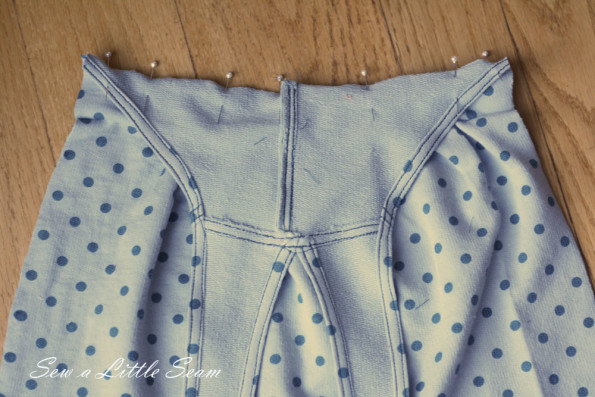
Flip it right side out and line it up with the top of your waistband with raw edges together. Sew along the edge that is pinned.
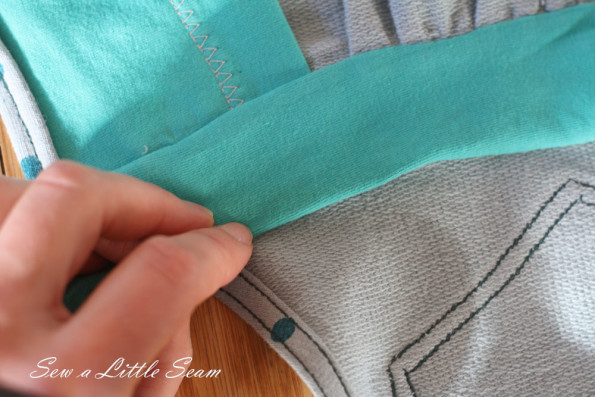
Now, flip it out and press.
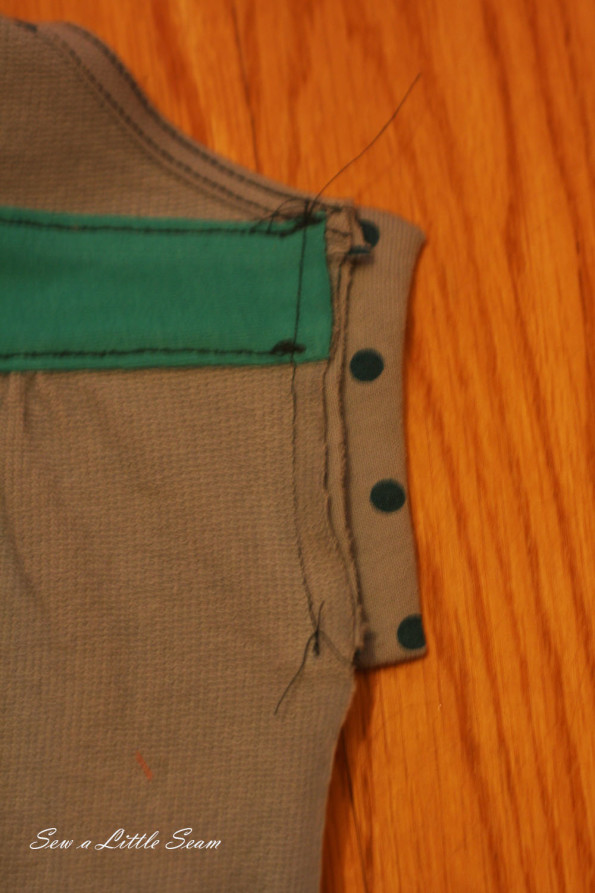
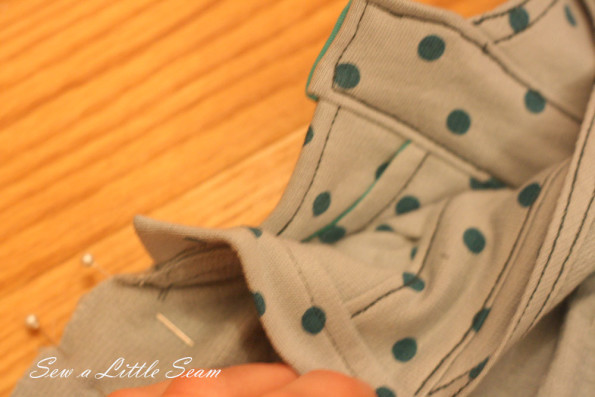
This is what the inside will look like after you’ve pressed it.
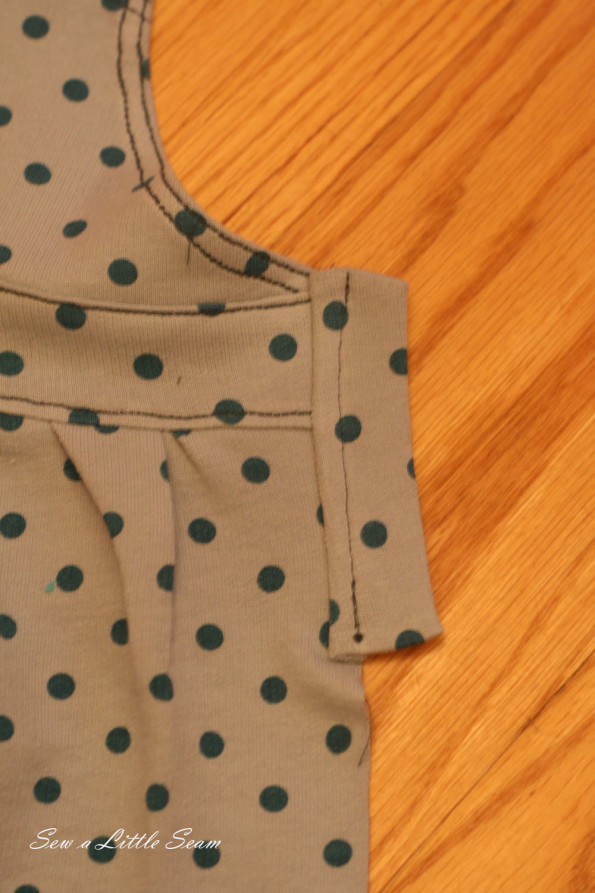
Stitch along the inside edge as shown above.
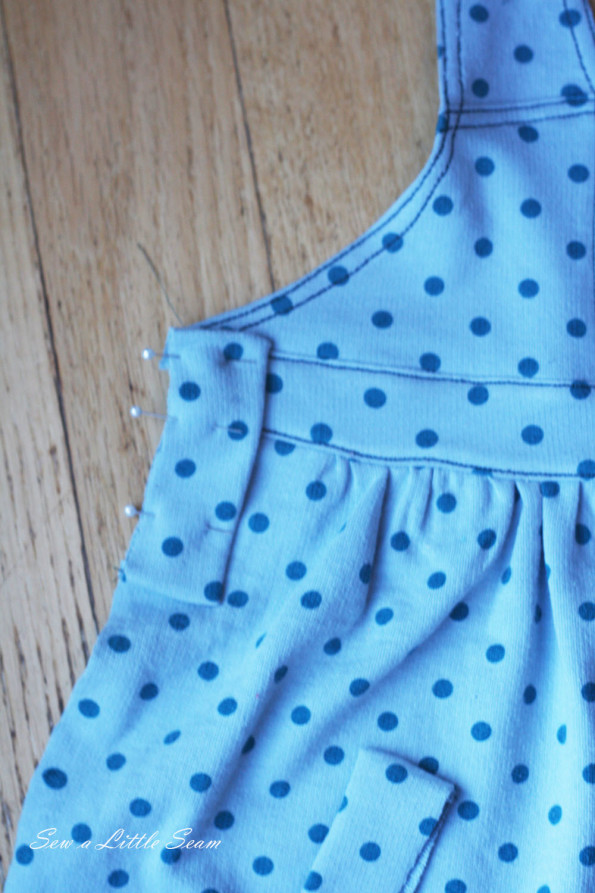
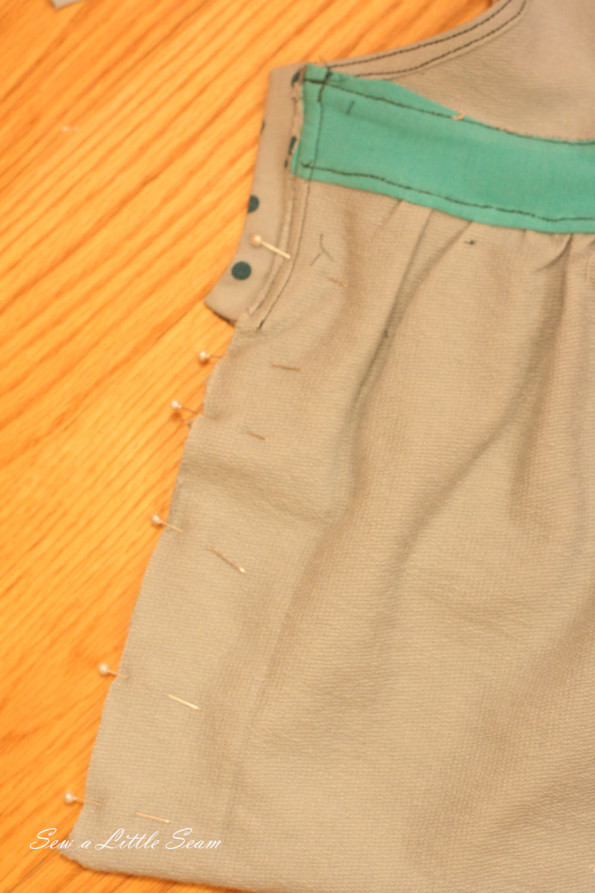
Now we are going to attach the sides. With right sides together, line up your front and back waistbands. Start pinning where you sewed the line across your front pocket to the edge.
Sew along the edge, starting from your first pin, do not sew all the way to the top. Leave the above section unstitched.
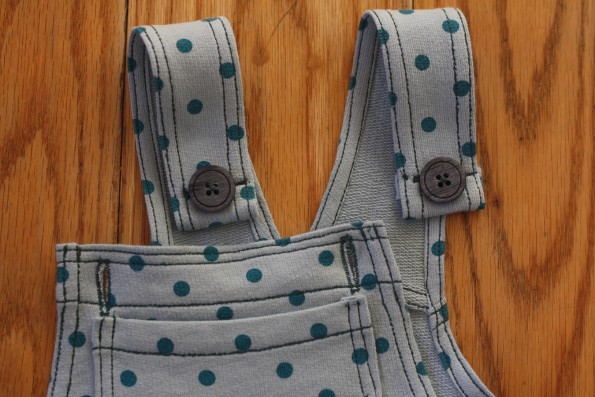
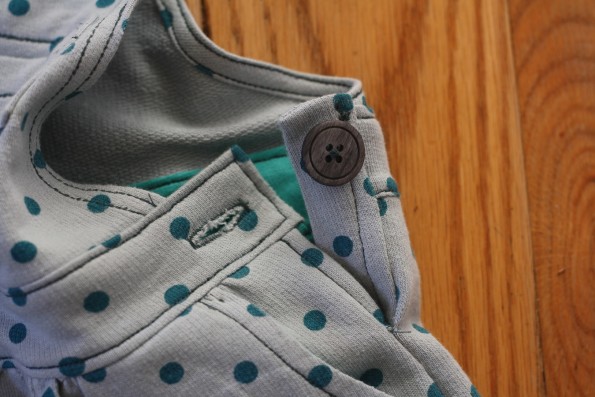
Now is a good time to try the jumper on to check for fit. You can then adjust the strap length as needed. I sewed my straps over 1/4″ and pressed and then another 1″ and pressed. I then sewed along the fold. I attached my buttons as shown above. And also at this point you will sew your button holes along the top.
The last step to finish the waistband is to sew your button hole and sew on your buttons. I started my button hold 1/2″ from the edge, but you can adjust as needed.
The final step is to hem your skirt. Again, you can adjust as needed, but I folded my hem over 1/2″ and pressed and then over 3/4″ and pressed.
If you have any questions you can email me at sewalittleseam@gmail.com. Don’t forget to follow me on Facebook and Instagram by clicking on the icons on the top right! I love to see any pictures of finished projects!



The “free and naked” made me laugh. I have a daughter who also went through this stage.
This is just so beautiful! Great pictures and tutorial! Thanks for sharing at my DIY Crush Craft Party on Thursdays! Just pinned 😉