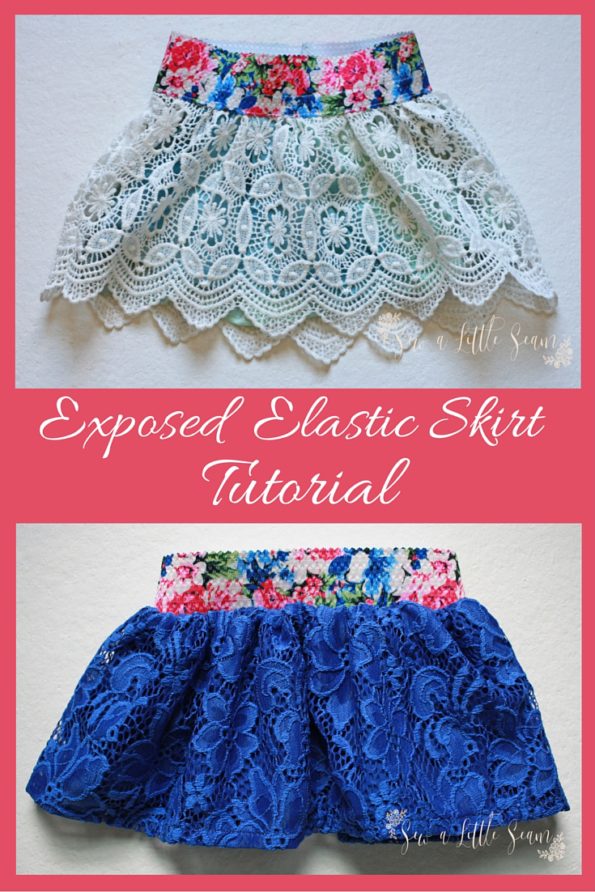
Exposed Elastic Skirt Tutorial
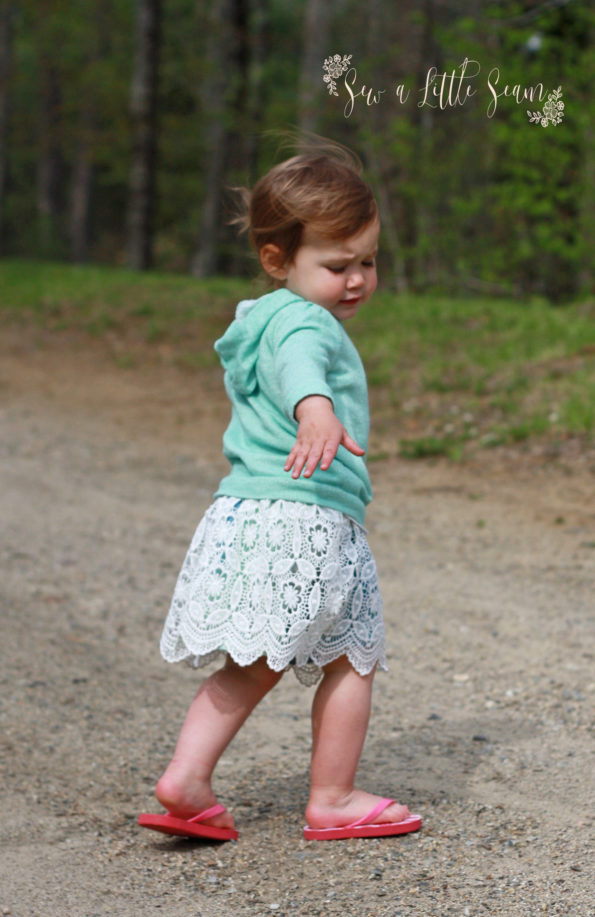
If you have some lace scraps and elastic lying around, this is the perfect project for you. These little skirts are really easy to throw together and require just small amounts of fabric. There is a bit of math involved, but it’s not bad at all…I promise.
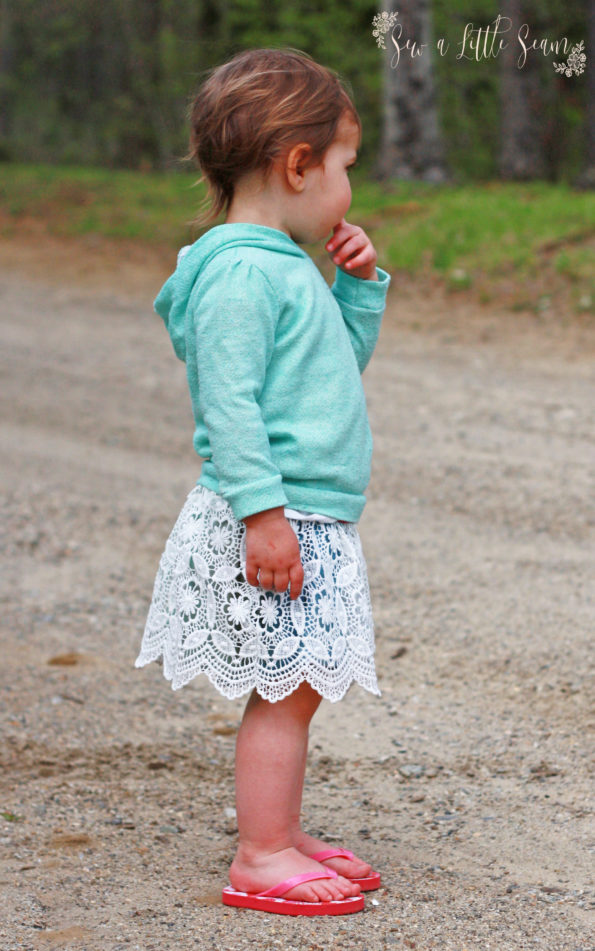
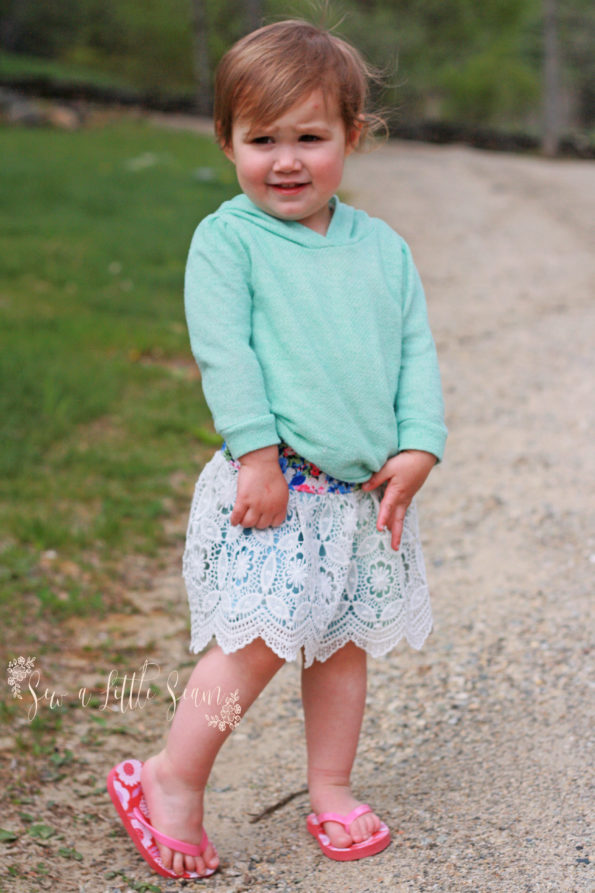
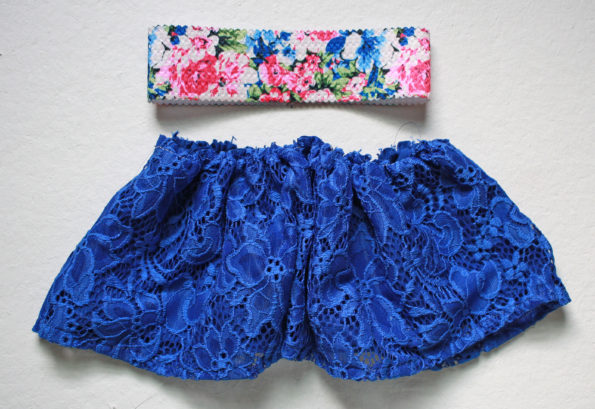
This gorgeous crochet fabric from So Sew English only came in narrow widths, so they were perfect for skirts and I couldn’t pass them up. I am a huge fan of lace and crochet. She also had the pretty floral elastic that gave the skirt a pop of color.
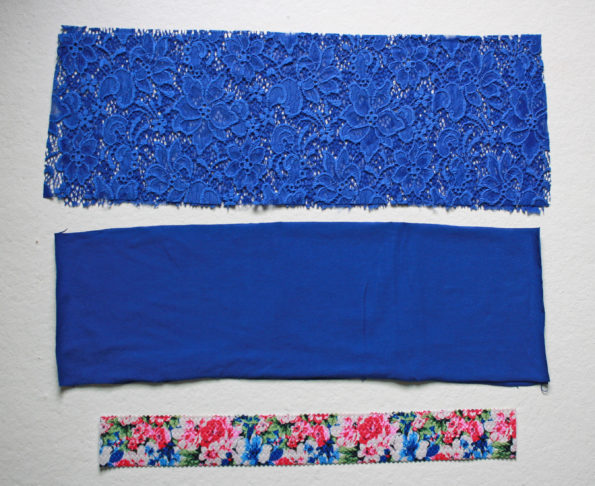
To start you’ll need your lace (or any fabric you prefer, both knit and woven will work).
A lining fabric. Any mid to lightweight fabric will work. I used a jersey for one and a cotton Lycra for the other. You could also use a woven fabric. If your top layer isn’t see through, you won’t need to add the lining.
And lastly, you’ll need elastic. I used 2″ elastic, but in my tutorial I’ll show you how you could use a different size in your calculations. This is for an exposed elastic skirt. If you are looking for an enclosed elastic skirt see this tutorial.
A little bit of math before we get started. You’ll also have to take a couple measurements of your child (or you can absolutely cheat and use the measurements from a skirt you already have).
You’ll need the following measurements: where you want the skirt to hit around the waist, to where you want it to fall. We’ll call this the waist to knee measurement.
You’ll also need the measurement around your child’s waist.
Determine how much of a hem you would like. I made my hem 3/4″. I folded over a 1/4″ and then a 1/2″ so no raw edges were showing, but you can make this any number you want.
You will also need to measure the width of the elastic you are using.
Now we are going to put it all together to figure out the length to cut our skirt pieces.
Take your elastic width measurement and subtract your seam allowance. My elastic was 2″ and I subtracted .375″ since I am using 3/8″ seam allowance.
Now take that number and subtract it from your waist to knee measurement. Add your hem measurement and also your seam allowance again for attaching the skirt to the elastic.
Here are my measurements.
Waist to Knee: 9.5″
Elastic minus seam allowance: 1.625″
Hem: .75″
Seam Allowance: .375″
9.5 – 1.625 + .75 + .375 = 9″
So to make it easy, if you are using 2″ elastic and a 3/4″ hem, just take your waist to knee measurement and subtract 1/2″. If you are using different measurements, you will need to figure it out as above.
If I haven’t lost you yet, it’s really easy to figure out the width, it will just be your child’s waist measurement.
Take your length measurement and your width measurement and cut out two rectangles from your main fabric. My measurements were 9″ x 21″ for my two year old. For your lining, subtract 1/4″ from the length and 1/2″ from the width and cut two rectangles. Then cut your elastic 1″ smaller than your child’s waist measurement.
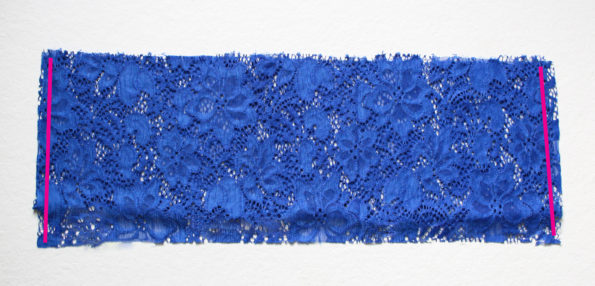
Okay, now that the math is out of the way, the rest is really easy! Take your two main fabric pieces and place them right sides together. Pin and then sew along the two short ends with a 3/8″ seam allowance. Repeat for your lining.
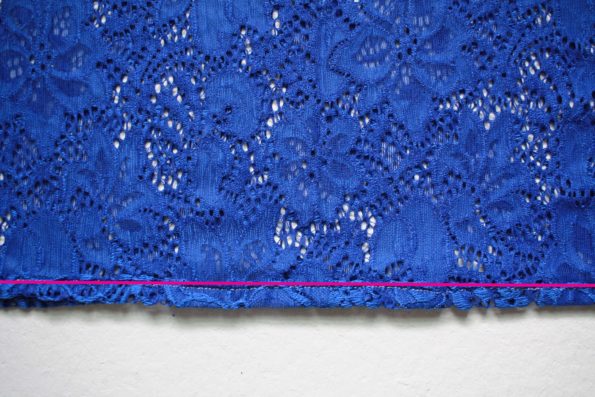
Hem your main fabric skirt using the seam allowance you allotted. As I mentioned above, I folded mine 1/4″ to the wrong side and pressed and then an additional 1/2″ and pressed. Then sew along the top folded edge. (Be careful when using an iron if you are using a delicate fabric.) Repeat for your lining.
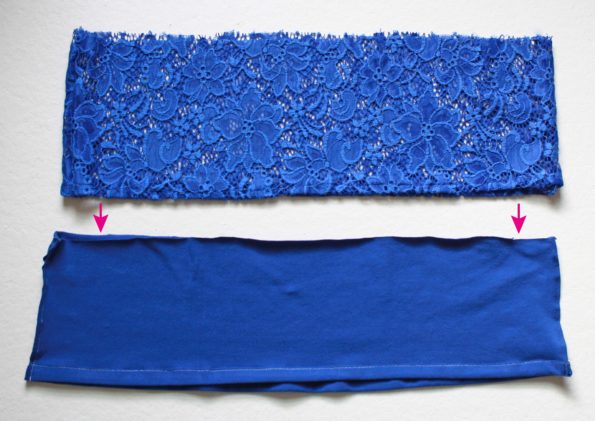
With your main skirt right side out, and your lining inside out, place your lining inside your main skirt and line up the top raw edges and side seams. Pin.
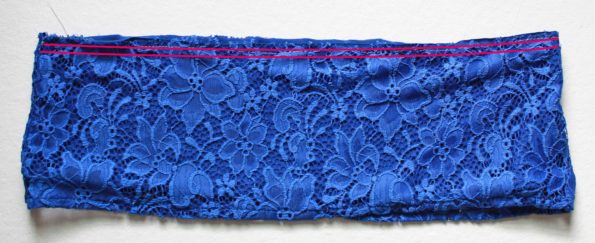
Sew a row of gathering stitches (a straight stitch set at the longest length) 1/4″ from the raw edge. Start at one side seam and continue all the way around. Do not backstitch at the beginning or end. Be sure you are catching both your main skirt and lining. Sew another row of gathering stitches 1/2″ from the raw edge. If you are using a delicate fabric, just sew the top row of stitching. You may want to mark the center front and center back of your skirt to make it easier to match up with the elastic later. You can do this by making a small notch with your scissors or by using a fabric pen or chalk. Be careful not to cut past your 3/8″ seam allowance.
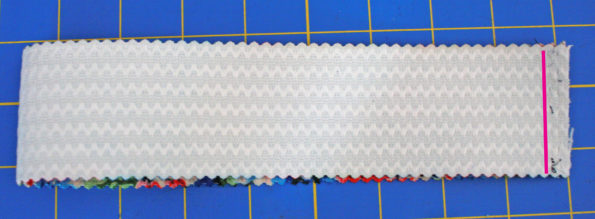
Take your elastic and with right sides together sew 1/2″ in along the short ends, so you have a band.
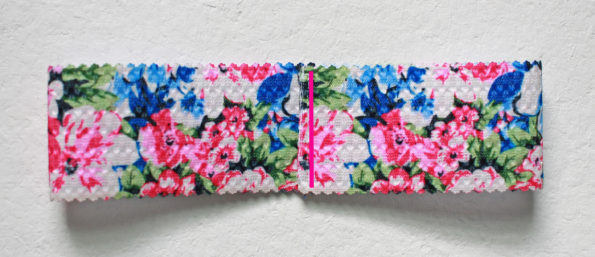
Open your waistband and fold your seam allowance to either side and topstitch from the top to the bottom to hold it in place.
Now take your one thread from each row of stiches you just sewed and pull as you gently slide your fabric along it to gather it. Gather your skirt until it is the same width as your waistband.
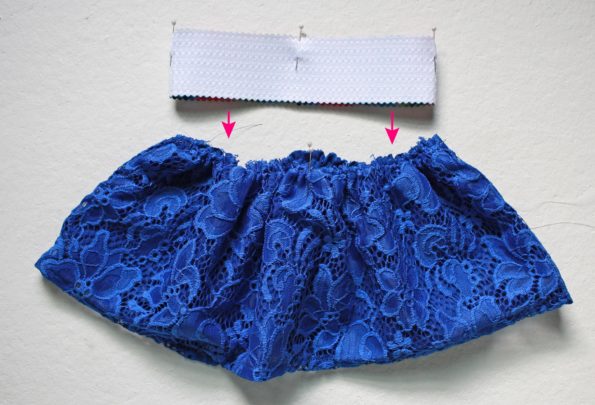
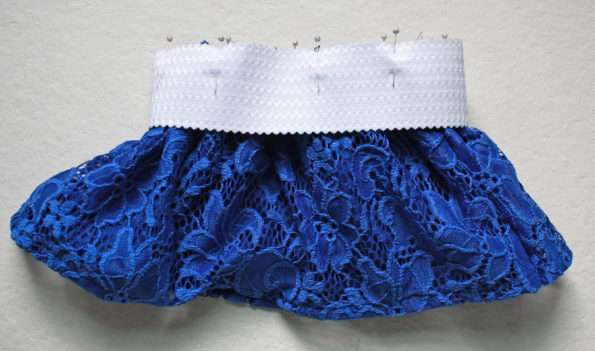
Put a pin at the center front and back of your skirt, if you made notches you can follow those marks. With your elastic inside out, put pins at the center front and the center sides. Place your elastic over your skirt (skirt right side out) so raw edges are aligned. Match up the side pins with the side seams of your skirt, the back centers and also the front centers. Distribute the gathers evenly around your skirt.
Continue to pin if needed and then sew with 3/8″ seam allowance around the top of the elastic to attach the skirt.
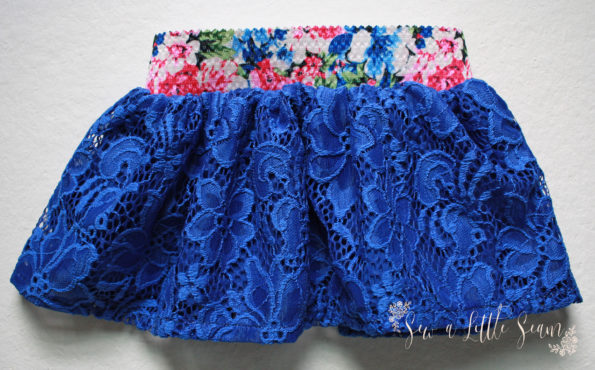
Flip your band up and remove any basting stitches that might show through. You’re now done!
If you have any questions, feel free to email me at sewalittleseam@gmail.com or join the Facebook group to ask questions, see other creations, and share yours!

An awesome tutorial as always!
Thanks so much, Valérie!