Cool Weather Series: Peplum Top
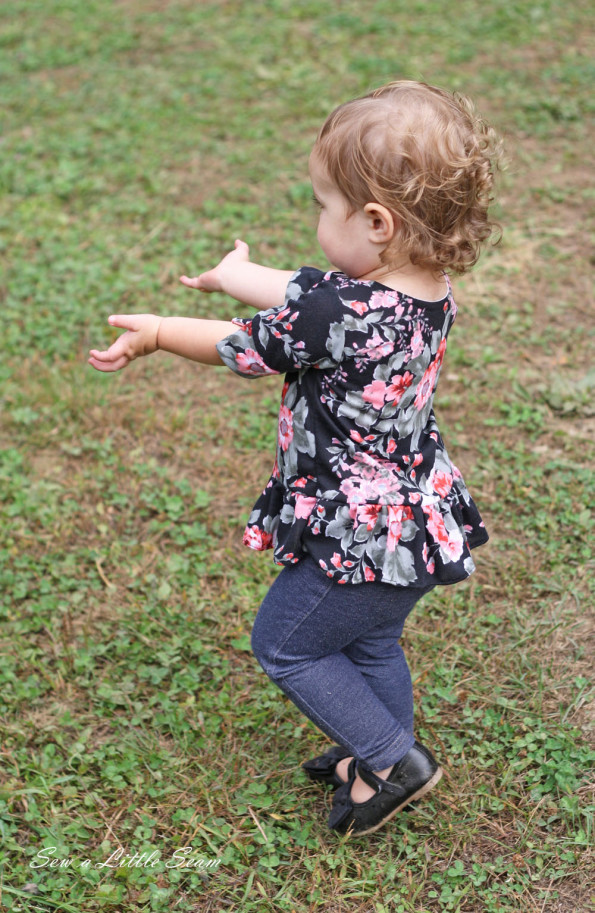
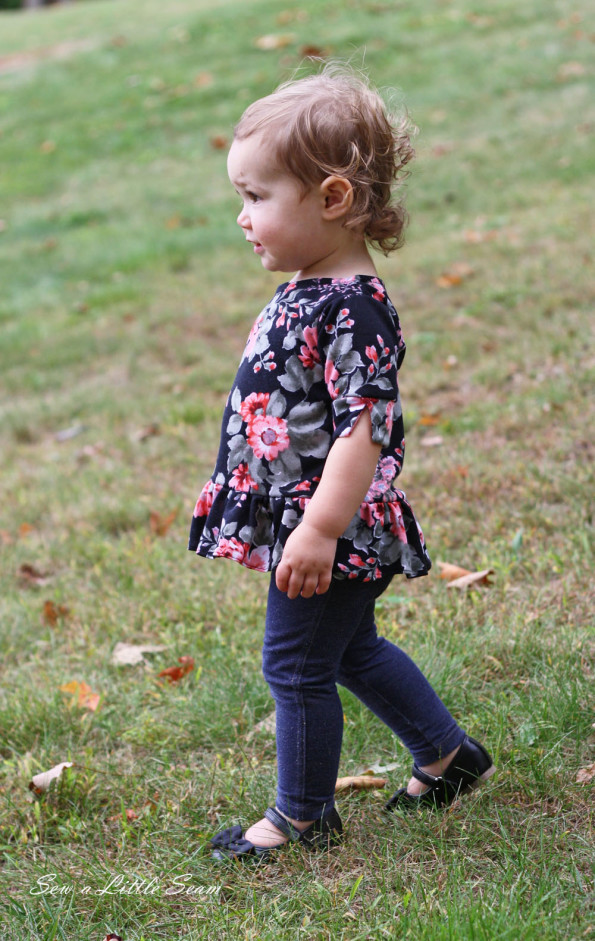
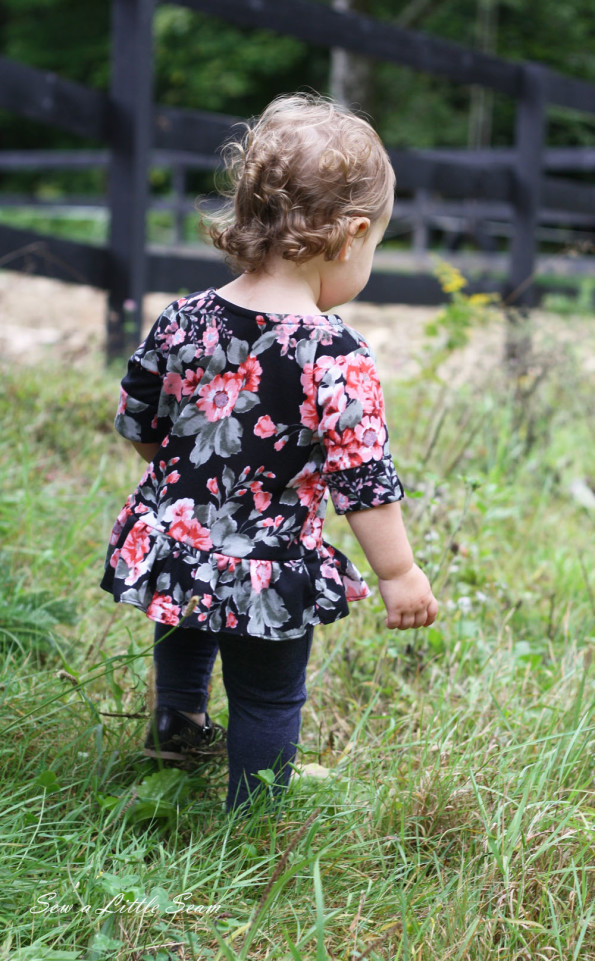
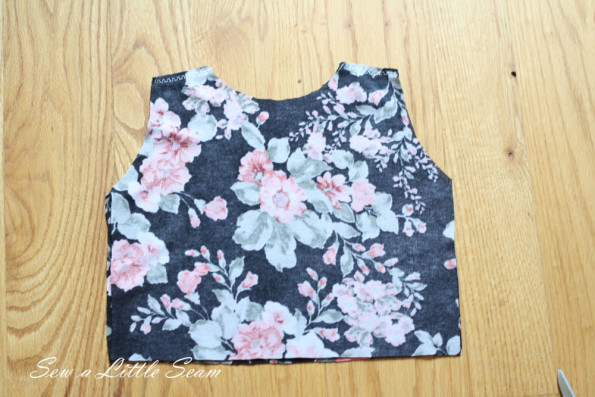
This week I made a little peplum top out of some floral ponte from Girl Charlee. This particular ponte was light and flowy, and it worked nicely for this project. A heavier ponte would also work though, or even a light weight French terry.
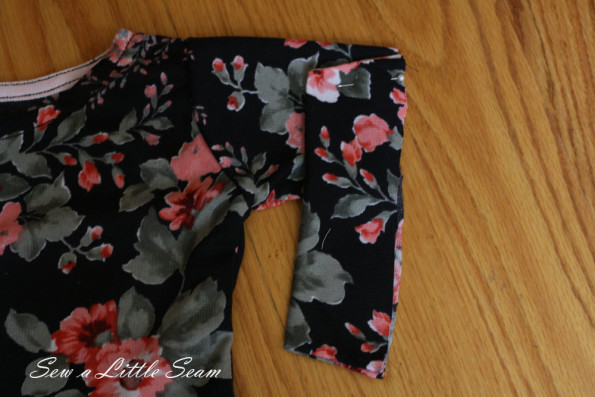
The 3/4 length sleeves have a little slit for some added detail. This top is another example of how you can modify a simple bodice pattern as I’ve shown through the series. I used my Brynn Sweater pattern, but you could use any pattern you have on hand.
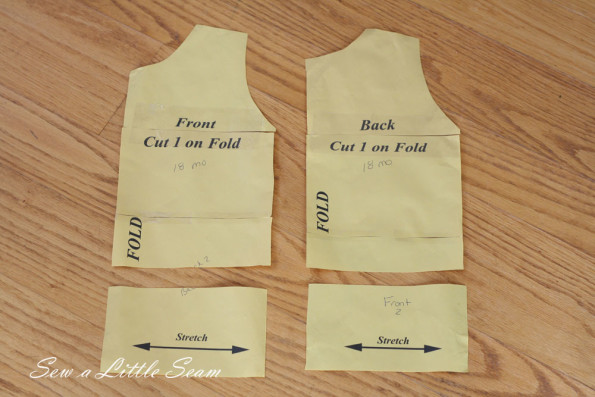
And now for the tutorial. If you are using the Brynn Sweater pattern, print out one of the sizes below. Seam allowance for this pattern is 3/8″.
Brynn Sweater Pattern 18 Months
First take your pattern pieces and cut off about 4″ to 5″ from the bottom of both the front and back pattern pieces.
To make the sleeves 3/4 length, cut off 4″ from the bottom of the sleeve, or just fold the bottom up 4″.
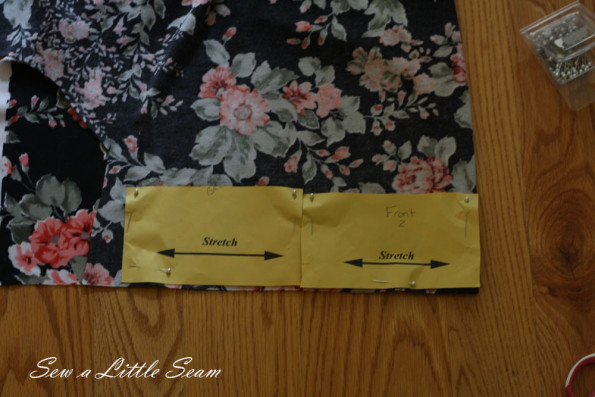
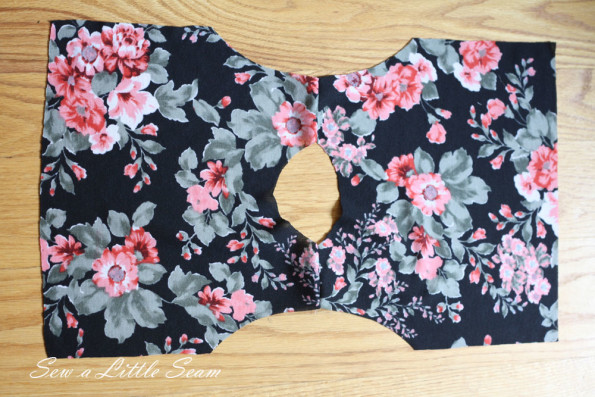
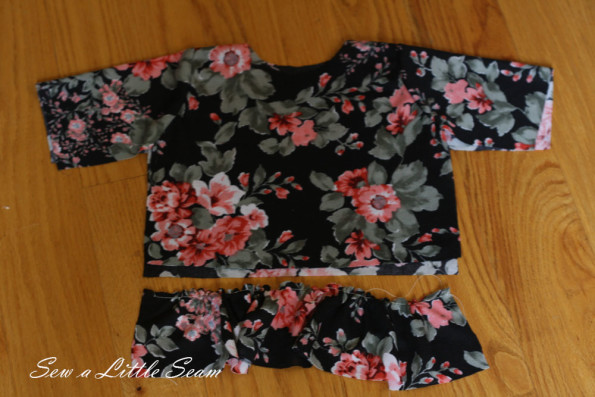
To make the skirt part of your top, take the two bottom bodice pieces you cut off earlier and lay them side by side on your fabric that is folded and cut out two skirt pieces on the fold, so that you have two pieces twice the length of your bodice.
Cut out the rest of your pattern pieces. Then place your top bodice pieces with right sides together and sew along the shoulders, using a stretch stitch.
Open up your shirt pieces with right sides up.
Lay one of you sleeves down so that right sides are together and the center of the sleeve lines up with the center of the arm opening.
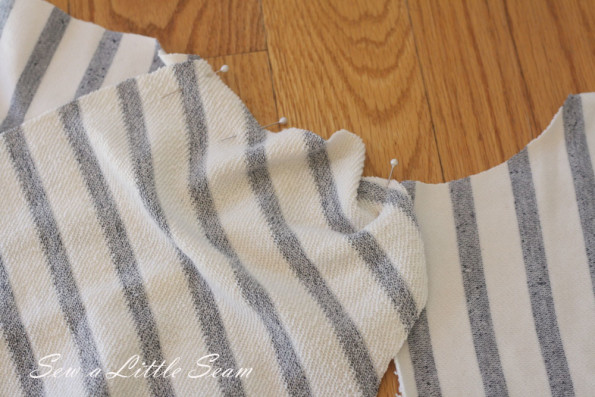
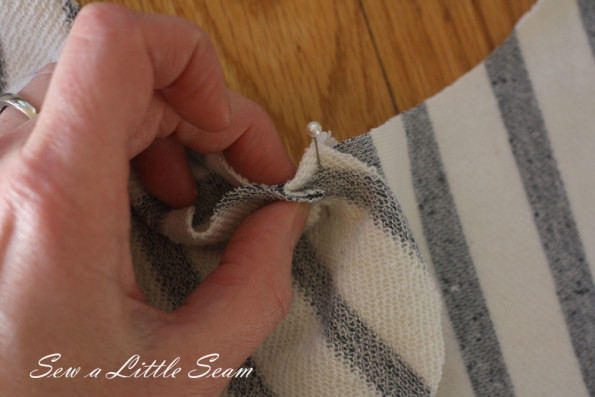
Match the corner of your sleeve with the corner of your armscye and pin. Place one pin a few inches up.
You will now take your extra fabric and fold it back on itself, creating a small pleat. Repeat one more time and then continue on the other side. Sew your sleeve on along the raw edge. When you get to your pleats, sew close to the pin, remove the pin and continue sewing. Repeat with the other sleeve.
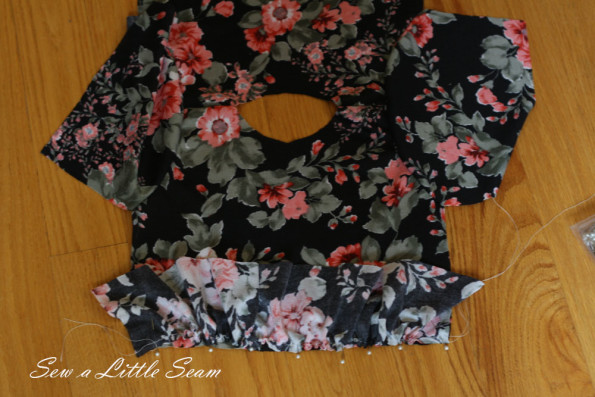
Now, take your skirt pieces and sew a basting stitch (set your stitch length as long as it will go and do not backstitch) along the top edge. Pull one piece of your thread as you push your fabric along it, until it is gathered to the same width as the top of your shirt.
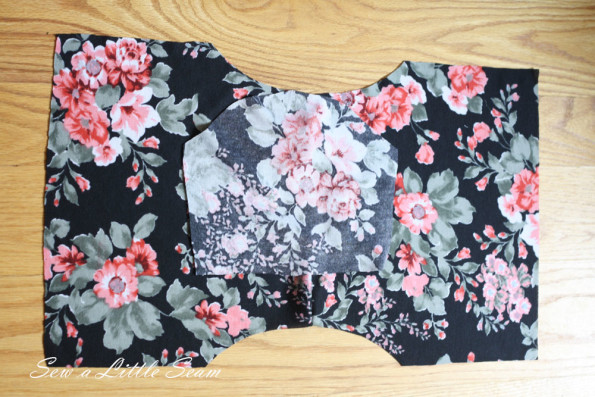
Lay your skirt piece against the top bodice piece with right sides together and the gathered edge lining up with the raw edge of the bodice piece. Sew the skirt to your bodice piece and repeat for the other side.
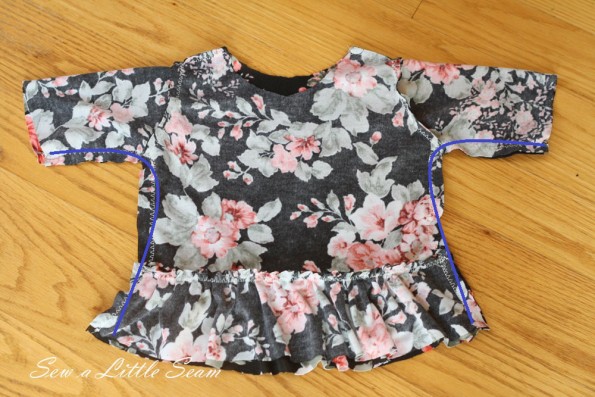
Lay your shirt with right sides together and line up your underarm seams and pin in place. Then line up the seams of your skirt and pin in place. Continue to pin from the end of your sleeve to the end of your shirt. Sew along the lines shown above. I wanted a slightly more fitted look for this top, so I used a 1″ seam allowance when sewing the sides and sleeves together.
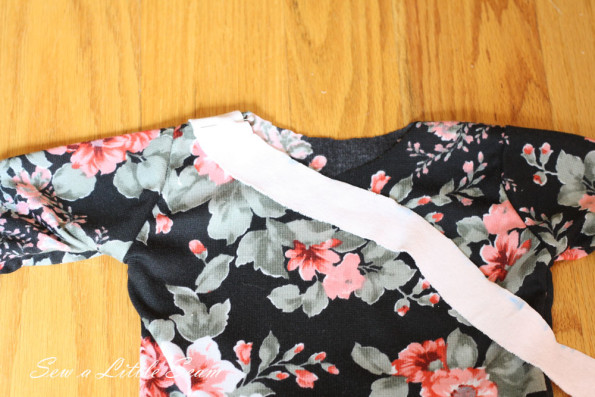
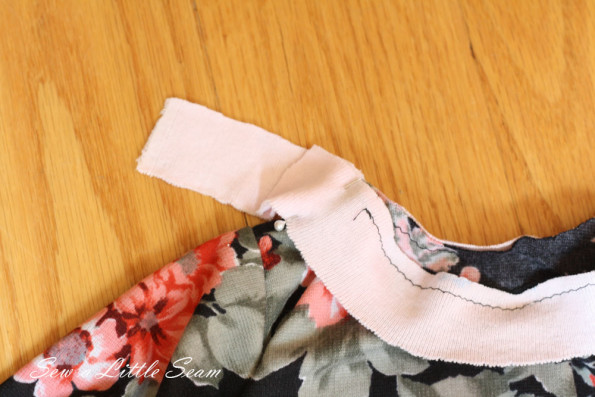
I finished the neckline with a clean finish binding. To do this cut a strip of rib knit, lycra, or the material you are using if it has a good amount of stretch. Your strip should be 1″ x 16″ for the size 18 month and size 4, and a 1″ x 17″ piece for the size 6. Lay your strip right side down with one edge 1″ over the shoulder seam.
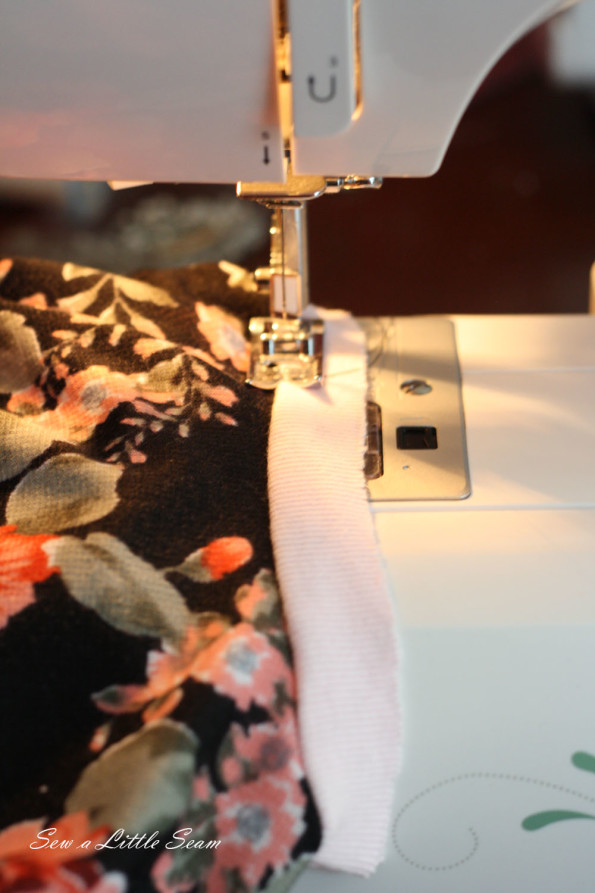
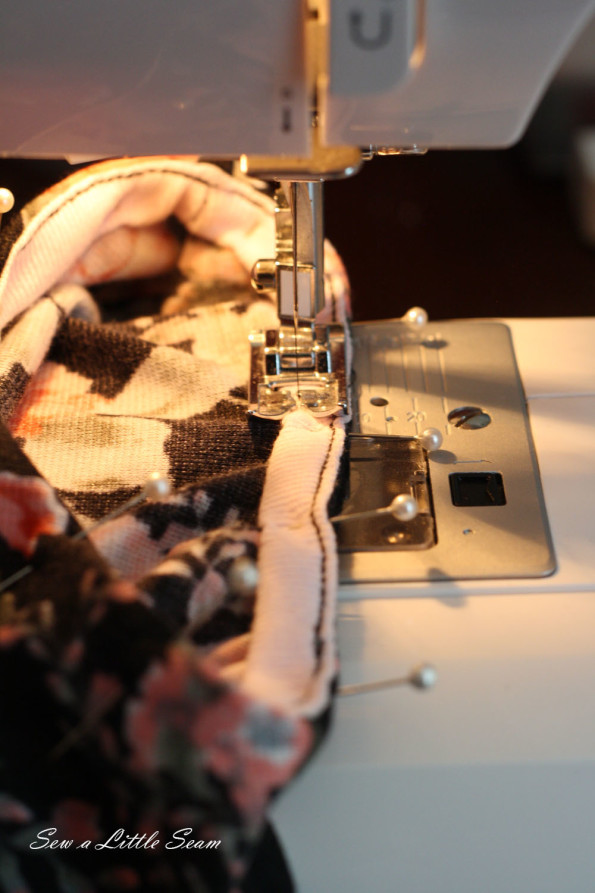
Sew your strip onto the neckline lining up raw edges and slightly pulling on your binding as you go. Stop 1″ before you get to the shoulder seam where you started. Line up your strips and pin where they meet at the shoulder. Push your shirt fabric out of the way, and place your binding under your machine foot, lining up your needle along the path of the pin. Remove the pin and sew the strips together. Cut of the excess and then continue to sew the binding to the neckline.
Sew 1/8″ from your shirt along your binding. I use a triple stretch stitch here.
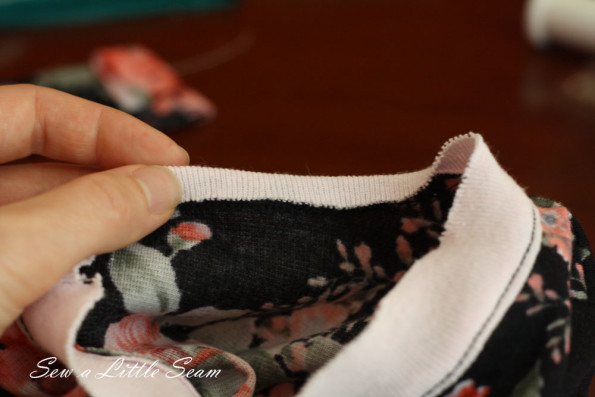
Fold the binding in half.
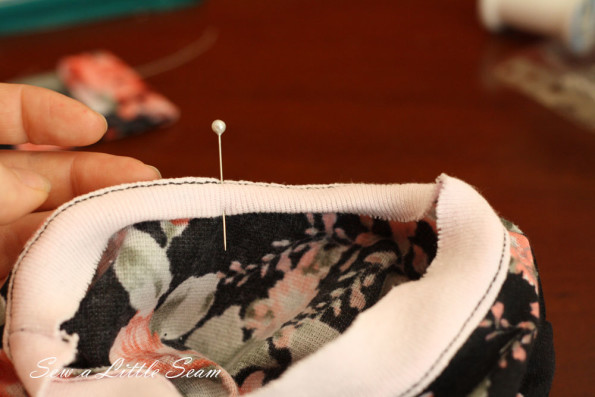
Then fold again and pin in place. Continue along the length of the neck.
Sew close to the bottom fold.
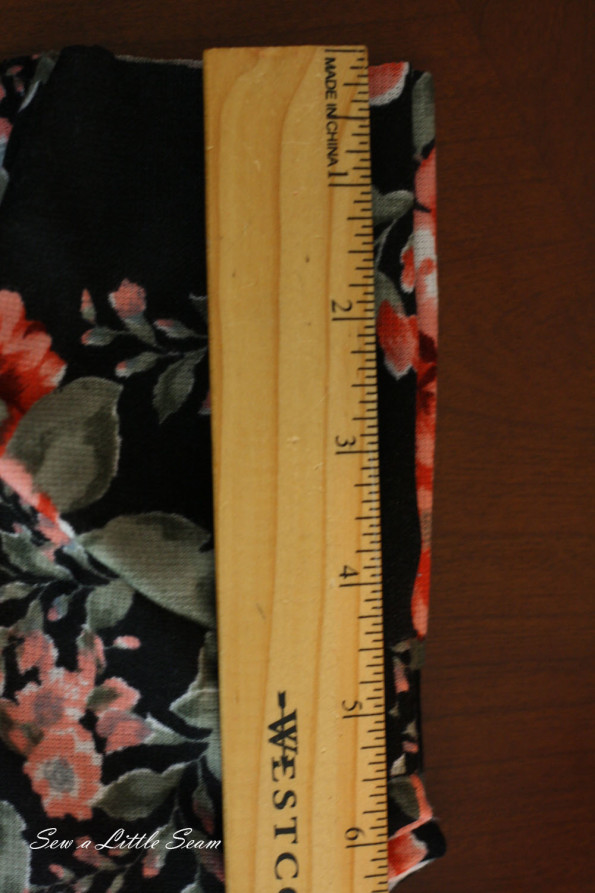
To finish the sleeve, measure the length at the end of your sleeve. Double the number and add 3 inches. Cut a strip of fabric 4.5″ x the number you just figured out.
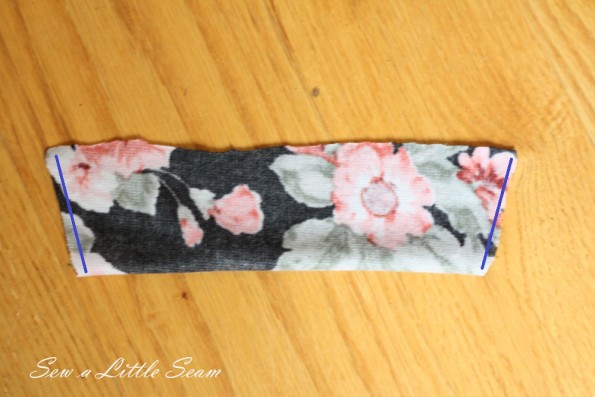
Fold your strip in half lengthwise with right sides together and cut the ends so the are angled, with the shorter side being the folded side. Sew the short ends of the cuff together along the blue lines shown above.
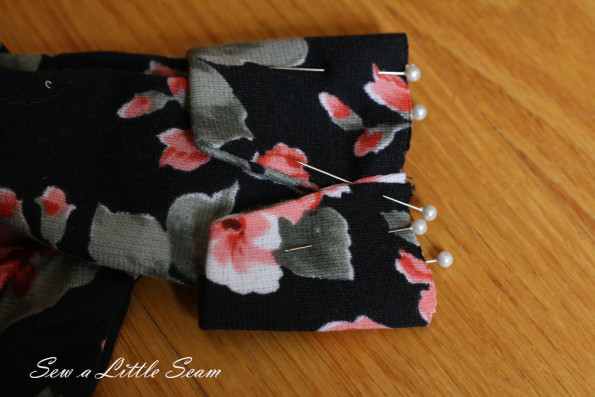
Turn your cuff right sides out and pin to your sleeve with raw edges lining up, starting at the top of your sleeve.
When you get all the way around your sleeve, overlap the sleeve at the bottom. Sew your cuff on and fold down.
The last step is to hem your shirt. I hemmed it 1/2″.
If you have any questions, don’t be afraid to ask! You can contact me at sewalittleseam@gmail.com. Also don’t forget to follow me on Facebook and Instagram.


this is so cute! i love it! so you have a regular sewing machine and just did a straight stitch for the neckline binding?
Thank you! I used a regular sewing machine and used wooly nylon in the bobbin to give it some stretch.