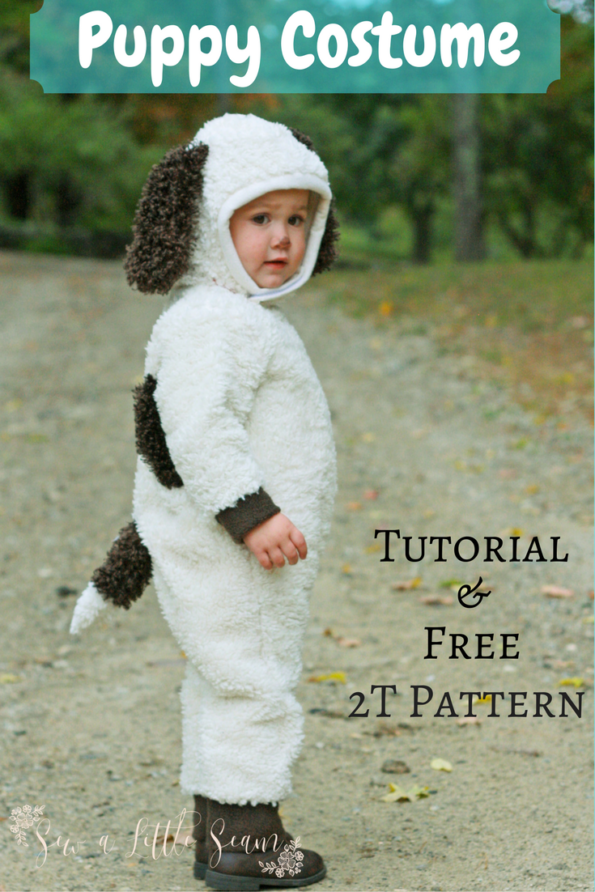
Animal Costume Tutorial and Free 2T Pattern
I love Halloween! The candy, the decorations, the costumes….the candy. This year both my kids chose their own costume and my daughter wanted to be a puppy. And surprisingly for a two year old, she didn’t waver in her decision even a few weeks later. My son on the other hand will change his mind a million times until I tell him it’s too late.
So off we went to the fabric store to pick up some puppy fur…uh, that sounds a bit like Cruella. My daughter wanted the shaggy neon rainbow fur, but I convinced her this super soft white and brown would also work well.
You can find the free 2T pattern in the shop and tutorial is below. I’ve also included pattern pieces from the monkey costume I made her last year. I don’t have detailed photos for the monkey sections, but it is pretty easy to follow. You could also make pretty much any animal with this. I’ve used the same design to also make my son a polar bear a few years ago.
Plus, head over to the Sew a Little Seam Facebook group and find out how you could win a $25 gift card to Raspberry Creek Fabrics and some free patterns!
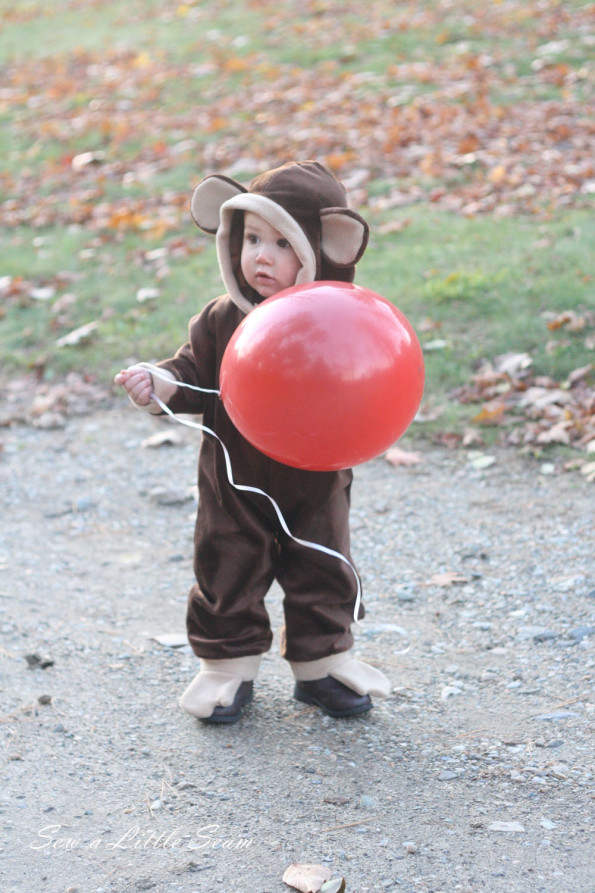
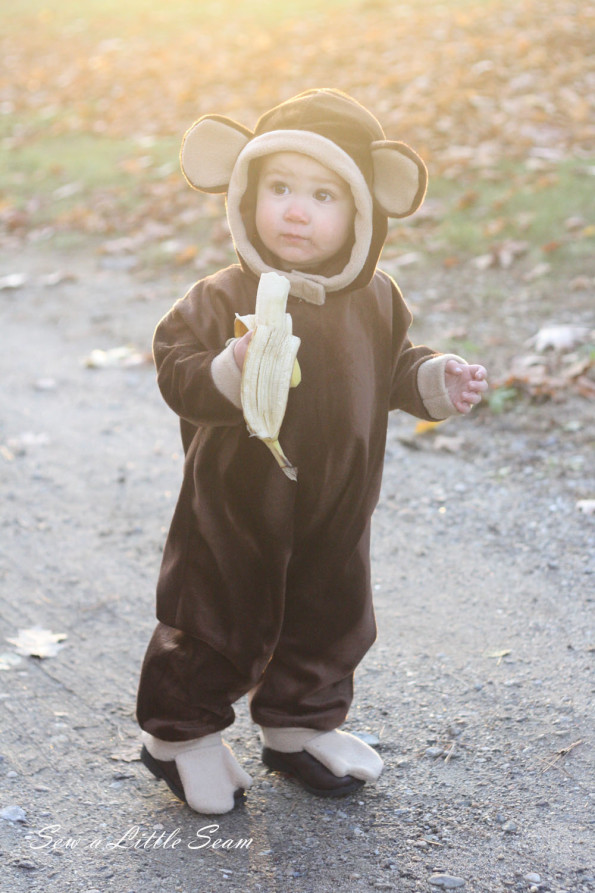
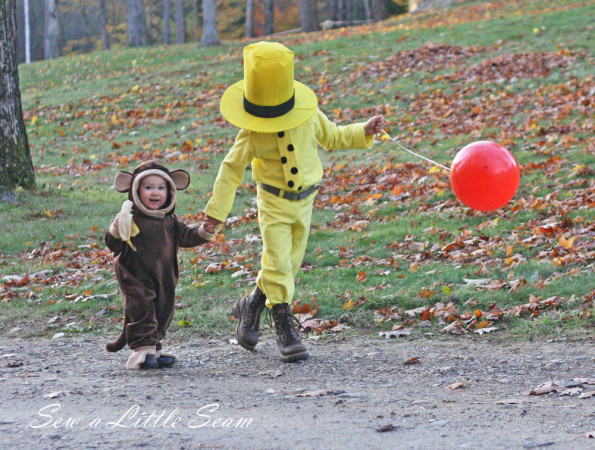
Here are a few photos of her as Curious George and my son as The Man With the Yellow Hat.
What You Need
Free 2T pattern (Fits chest size of 20.5″, 20″ hip, and a height of 33″ to 36″)
9″ or longer all purpose zipper cut to 9″. (Cut from the bottom of the zipper if you need to shorten)
1 yard faux fur or similar fabric
3/8 yard contrasting faux fur for spots, tail, and ears.
1/4 yard stretch fleece for leg and sleeve cuffs and neck and hood binding. I used a matching color for the hood and neck binding and a contrasting fabric for the cuffs.
Fusible midweight interfacing cut into a 1.5″ x 10.5″ rectangle.
A small amount of fiber fill
Velcro in a color that matches your hood binding
A good vacuum cleaner (This stuff sheds worse than a real dog!)
Getting Started
Cut out all your pattern pieces as directed. The main costume is on page 1-3, 5-7, 9-11. The puppy pattern pieces are on pages 4 & 8, and the monkey pattern pieces are on pages 12 & 13.
*The front piece is the deeper neckline.
*The monkey tail, feet and ears are at the end of the puppy tutorial
*You may find a walking foot helps as you sew through the thicker fabric.
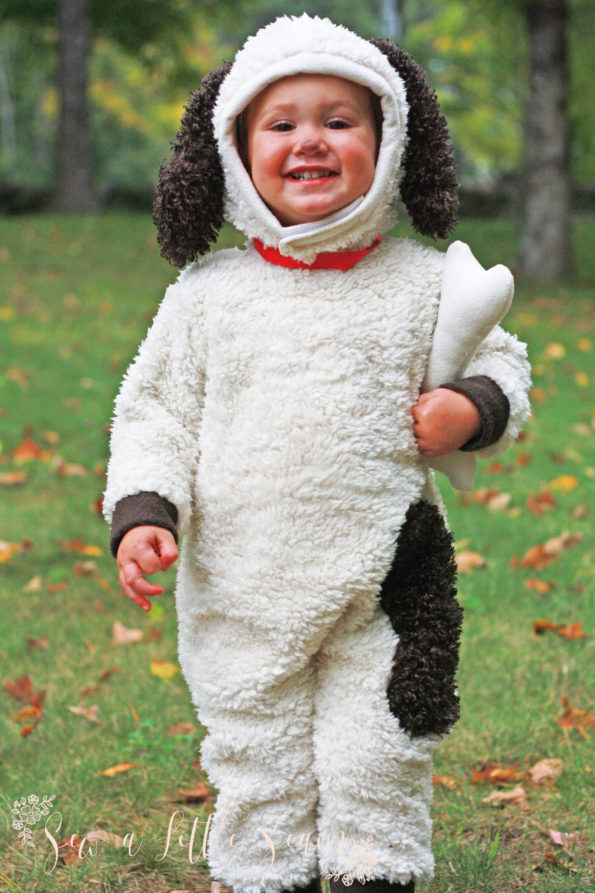
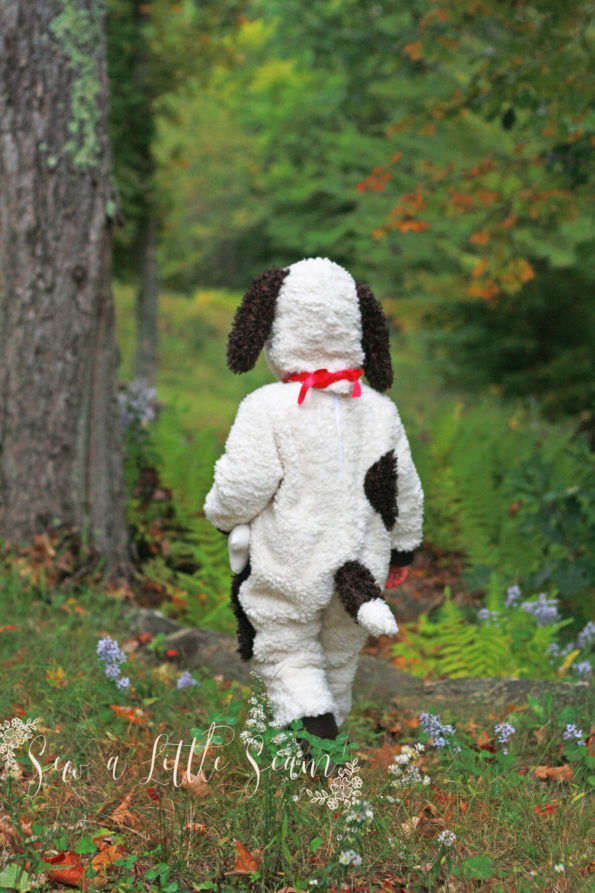
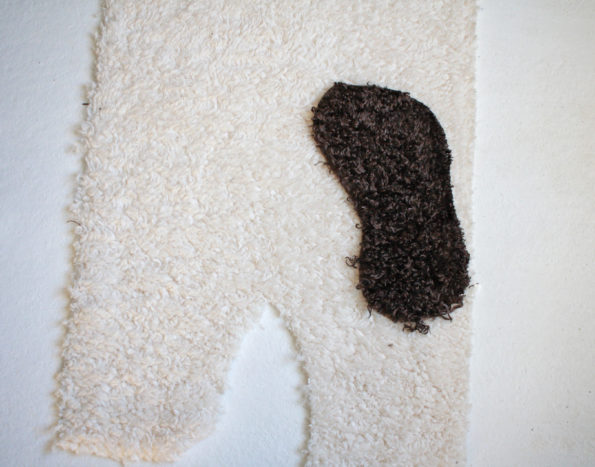
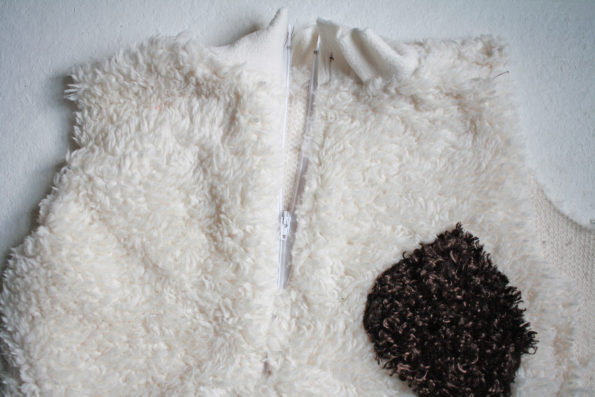
First place your spots on your costume where you would like them, both right side up. I put the large spot near the front hip and the small spot on the opposite back shoulder, but you can put them wherever you would like, make more spots, no spots – it’s all up to you. Just keep in mind seam allowance and that the zipper will be in the center back. Pin your spot in place and with a zig zag stitch sew close to the edge of the spot. Normally I would use a tight zig zag for appliques, but with this fur, I would recommend a longer, wider stitch, as it can get a bit finicky and the fur will hide our stitching anyway.
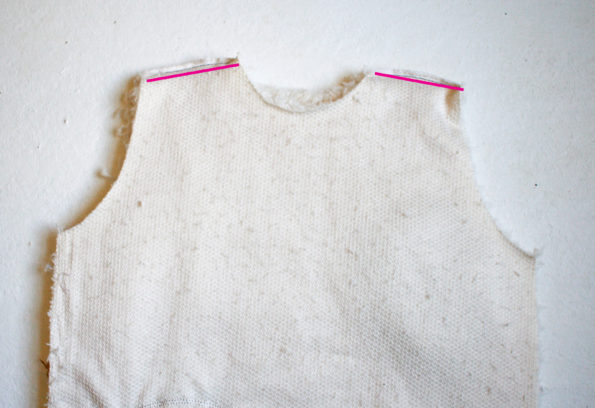
When you have your spots as you want them, place front and back right sides together and sew along both shoulders with a 3/8″ (1 cm) seam allowance.
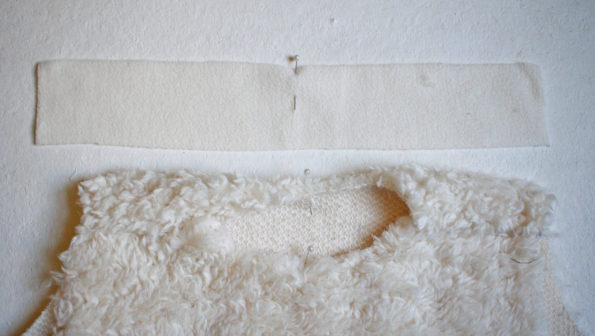
Find the center of your neck binding and also the center front and back of the main costume and mark with a pin.
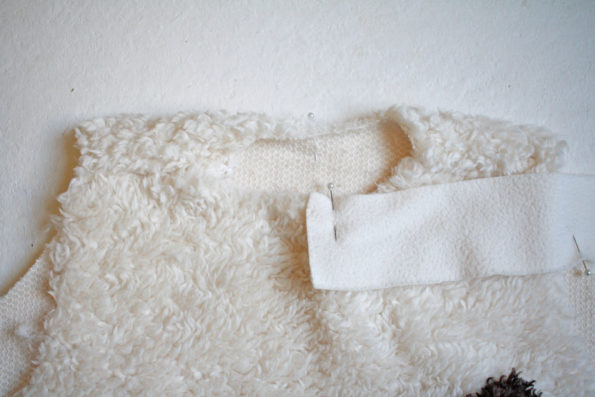
Place the short edge of your binding right sides together at the center back and pin in place.
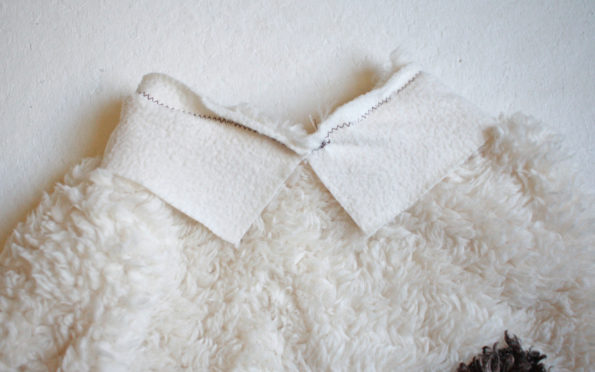
Match up the pins at the center of your binding and center of the costume front. Continue to wrap your binding around until the opposite end meets at the center back. Using a stretch stitch (zig sag or similar) Sew your binding to your costume’s neckline with a 3/8″ seam allowance. Fold your binding up away from the costume.
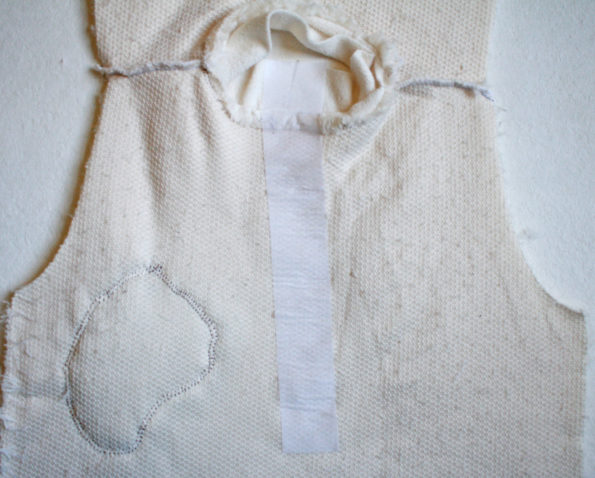
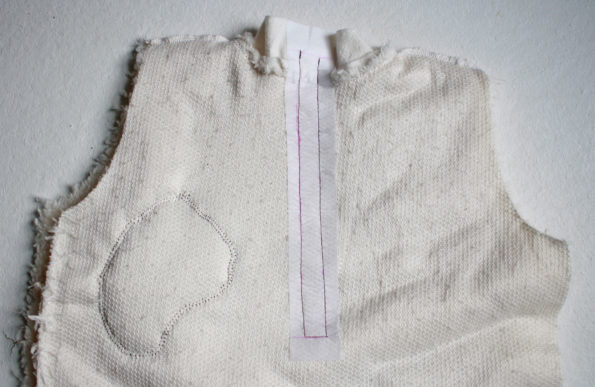
Working from the wrong side of the fabric, apply your interfacing. Keep your neck binding and seam allowance up and keep the two binding ends touching. Line up the top of the interfacing with the top of the binding and then continue down the center of the costume.
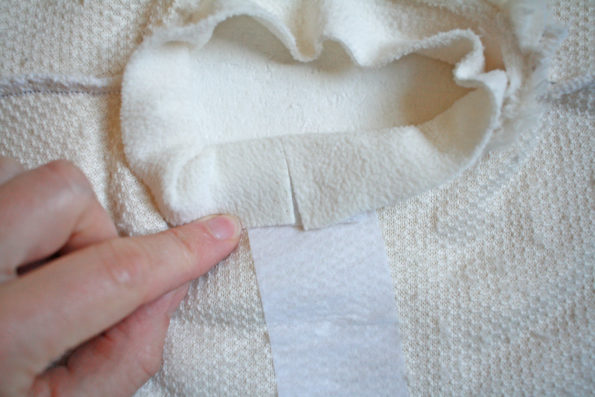
Fold your binding down until it covers the seam by about 1/8″ and on the interfacing side, mark where the fold was.
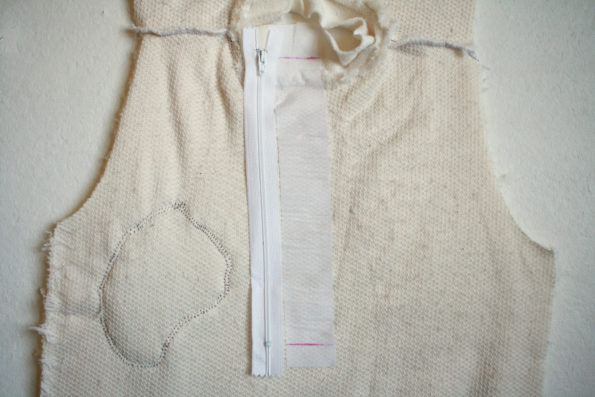
Now lay your zipper down with the top zipper stop at the line you just made. Make a second mark across the bottom of your interfacing, just slightly above where your zipper teeth end at the bottom.
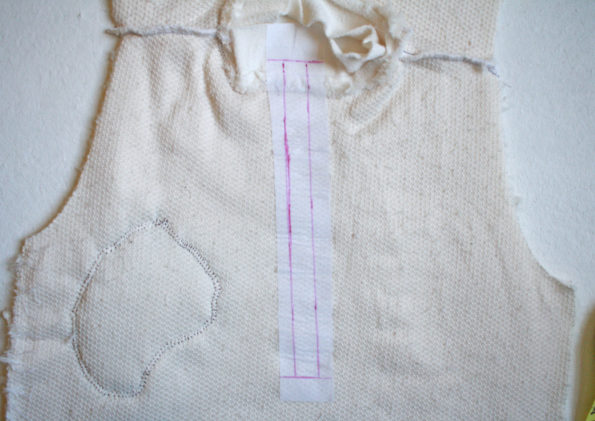
No make two parallel lines from top to bottom line 1/2″ in from the edge of your interfacing.
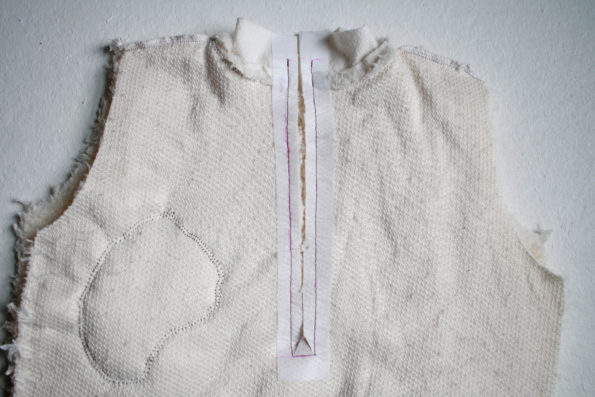
Starting at the top line, sew down the long line, pivot and sew across the short line, and then pivot and sew back up the other side, stopping at the top line.
Cut down the center of your interfacing, stopping about 1/2″ from the bottom and angling over toward each bottom corner of your rectangle being careful not to cut through your stitching.
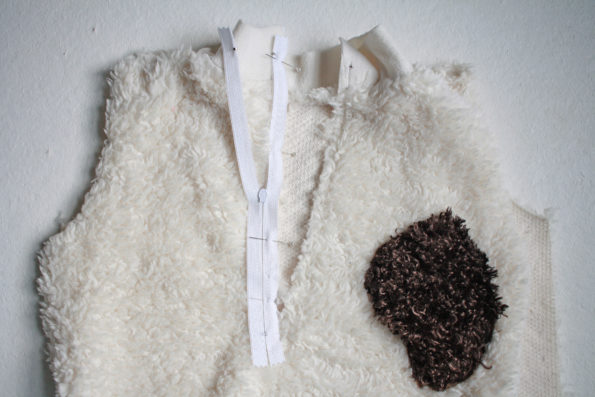
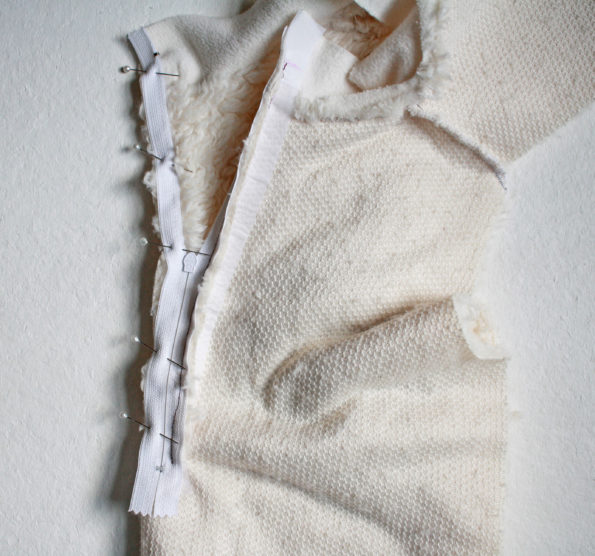
Place your zipper face down on the right side of the costume, lining up the zipper tape edge with the raw edge or the opening you cut. Line up the top zipper stop with the horizontal line you drew at the top.
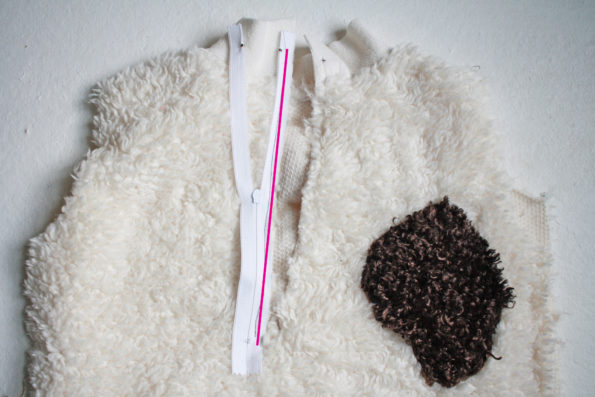
Using a zipper foot, sew from the top zipper stop to just before the teeth end. I like to stay a bit farther away from the teeth when using a fluffy fabric so it doesn’t get caught in the teeth when zipping. I sewed about 1/4″ away from the teeth.
Tuck your zipper inside the costume.
Now working from the wrong side of your fabric, fold your costume so that the unsewn side of the zipper now meets up with the other raw edge of the costume opening. Line up the top line and top zipper stop like you did on the other side and also sew down this side 1/4″ from the teeth, stopping just above where the teeth end.
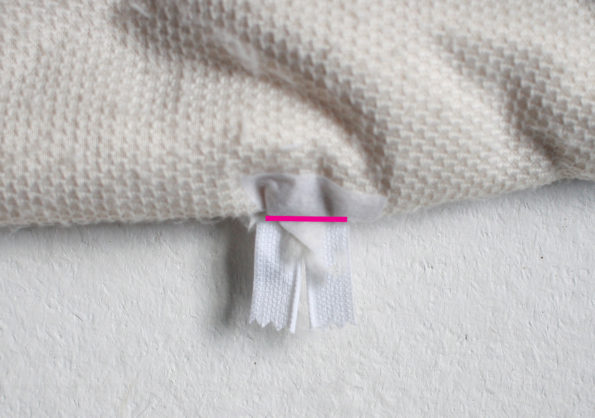
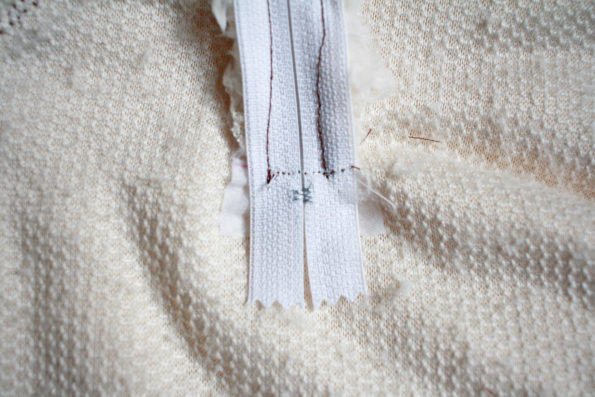
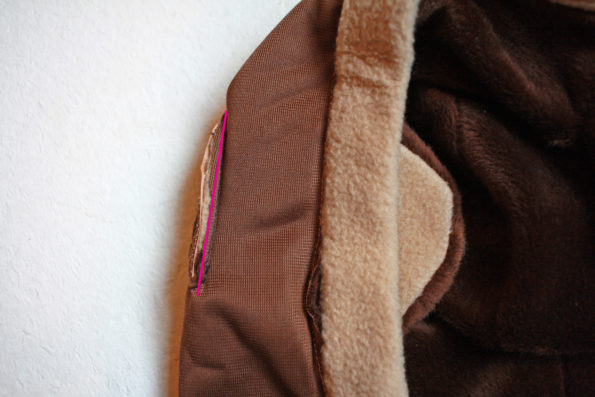
Fold the legs of the costume up toward the neckline and find the bottom of the zipper tape and the little triangle you cut earlier. Sew along the base of the triangle staying as close to the costume as possible.
Make sure that this line of stitching falls above the bottom of your zipper teeth so your zipper stop wont come off. If it doesn’t sew back and forth across the teeth a couple times.
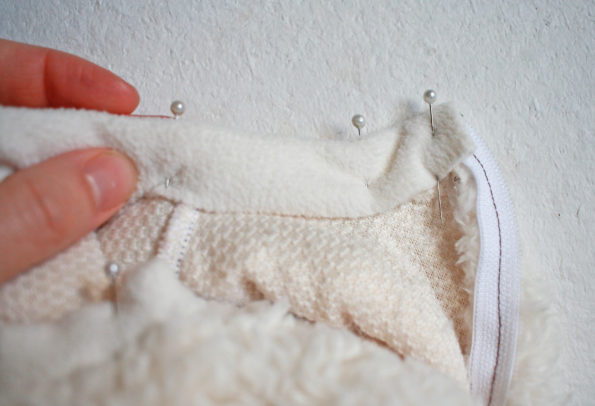
To finish the neckline, fold your binding over so that it is about 1/8″ over the seam and pin in place from the front. Slightly angle in the corner edges of the binding so they won’t get caught in the zipper. Then from the front of the costume stitch in the ditch (sew along the seam you have from sewing the binding on), making sure you are catching the back binding as you go.
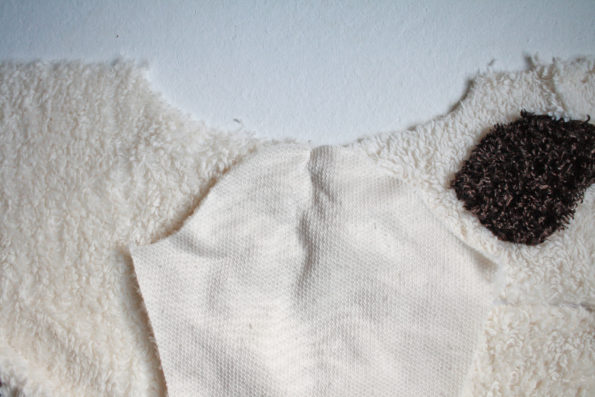
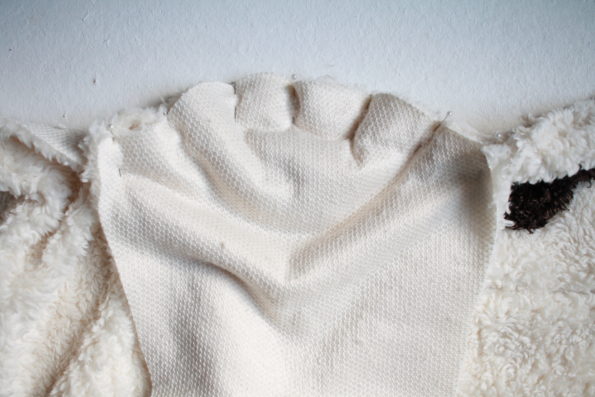
With right sides together, pin your sleeve center at the shoulder seam.
Pin at both corners and then continue to pin around the curve. Sew your sleeve on with a 3/8″ seam allowance. Repeat for the other sleeve.
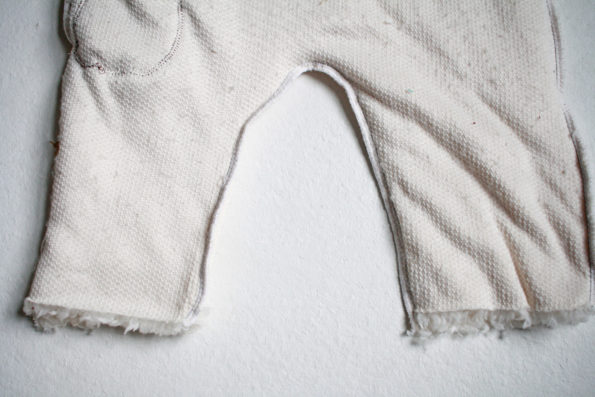
With right sides together, match your underarm seam, the bottom of the leg and the bottom of the sleeve. Sew down the sleeve, pivot, and then sew down the bodice and leg with a 3/8″ seam allowance. Repeat on the other side.
Sew around the inside of the legs.
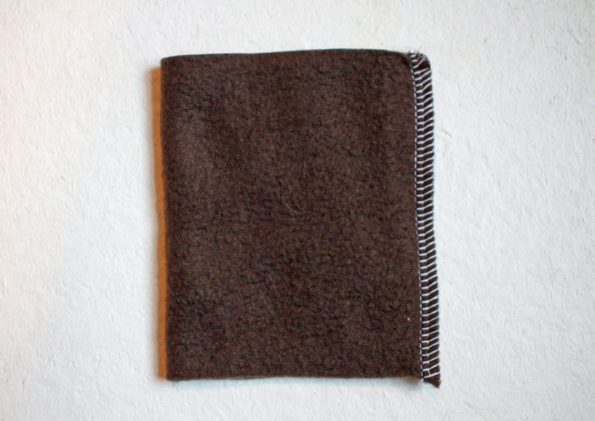
Fold all four cuffs right side together along the short end and sew together with a 3/8″ seam allowance.
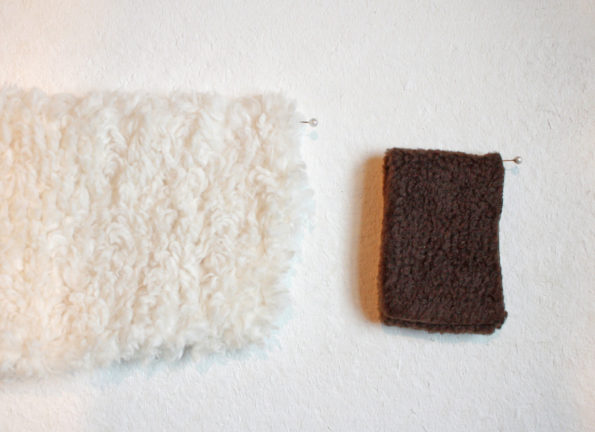
Find the center opposite your seam for both the sleeve and the cuff and mark with a pin.
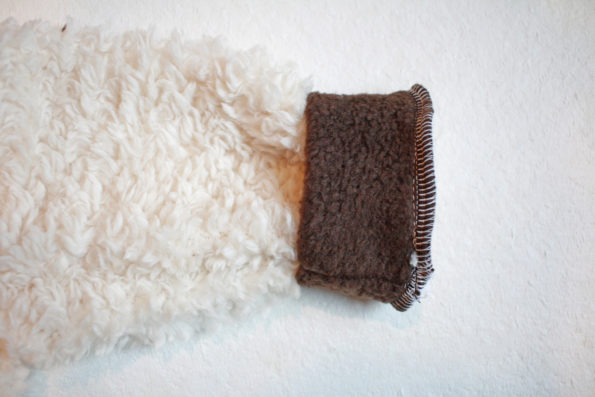
Line up pins, seams, and raw edges of the cuff and sleeve and sew with a 3/8″ seam allowance.
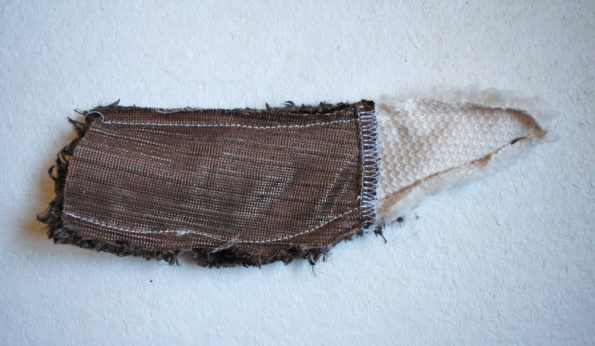
Place your tail base and tail tip right sides together and sew together with 3/8″ seam allowance. Repeat for the other side of the tail.
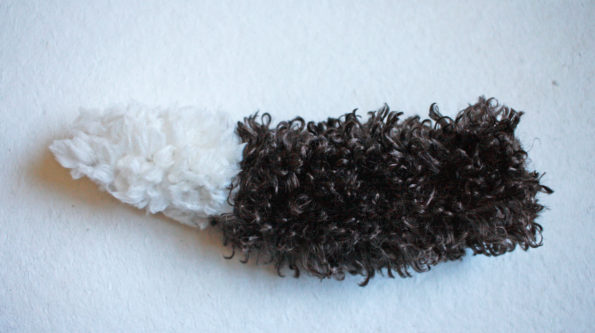
Open up tail so the tip is out and place both tail pieces right side together lining up seams. Sew around the tail with 3/8″ seam allowance, leaving the straight end unsewn. Trim your seam and flip right side out thought the opening, pushing out the point.
Stuff the tail with fiber fill and sew the end closed by hand. Then hand stitch the tail to the bodice. I would recommend trying the costume on and marking where you would like the tail. I also included a mark in the pattern where I placed the tail if you prefer.
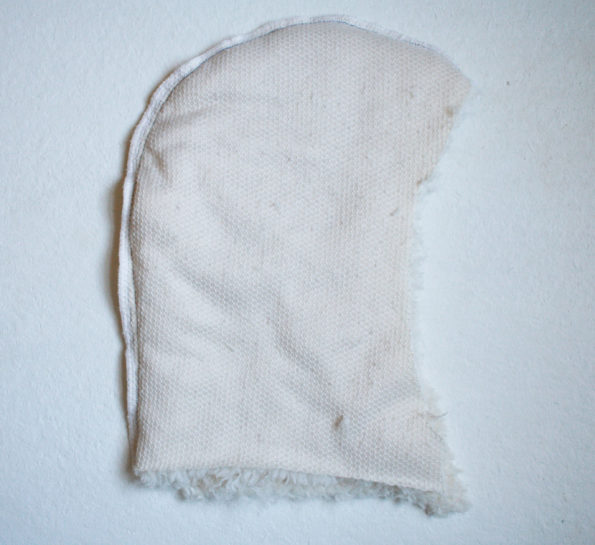
With right sides together, sew your hood together along the outside curved edge with 3/8″ seam allowance.
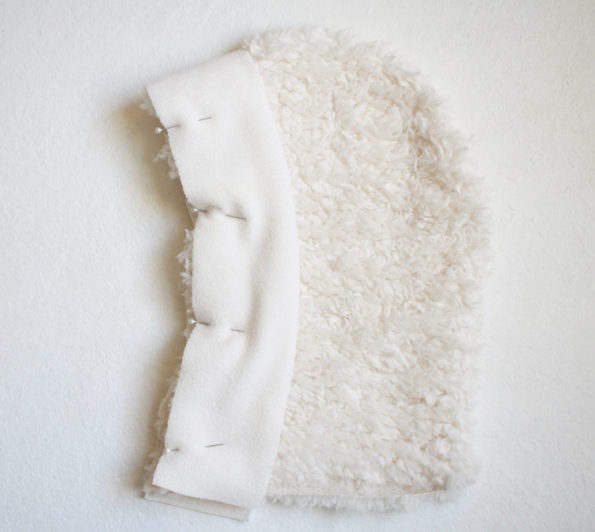
Turn the hood right side out and place your hood binding right side down along the edge of the hood. Match up bottom corners and the binding center with the center hood seam. Sew the binding on with a 3/8″ seam allowance.
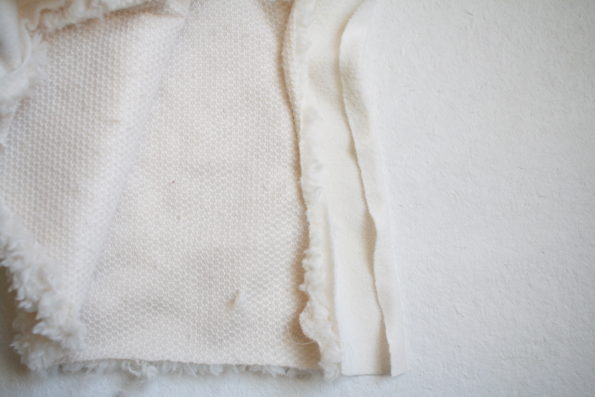
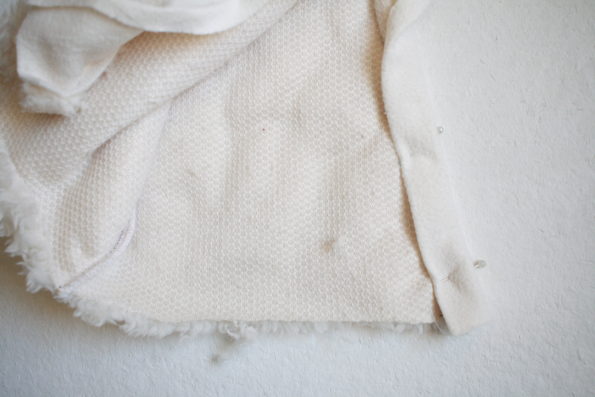
Press your binding to the wrong side 1/4″. Be careful when using your iron and test on a scrap piece of fabric first to make sure you don’t ruin your fleece.
Fold your binding over so it just covers your seam and from the right side sew in the ditch, or just slightly on your binding. I leave the bottom hood edge unhemmed since it doesn’t unravel and the fur covers the edges, but you could fold the edges over by 1/4″ and sew.
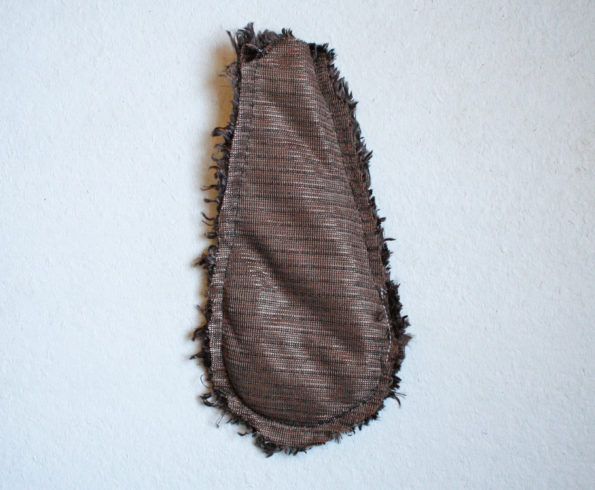
With right sides together sew along the outside of the ear, leaving the top open to turn the ear through.
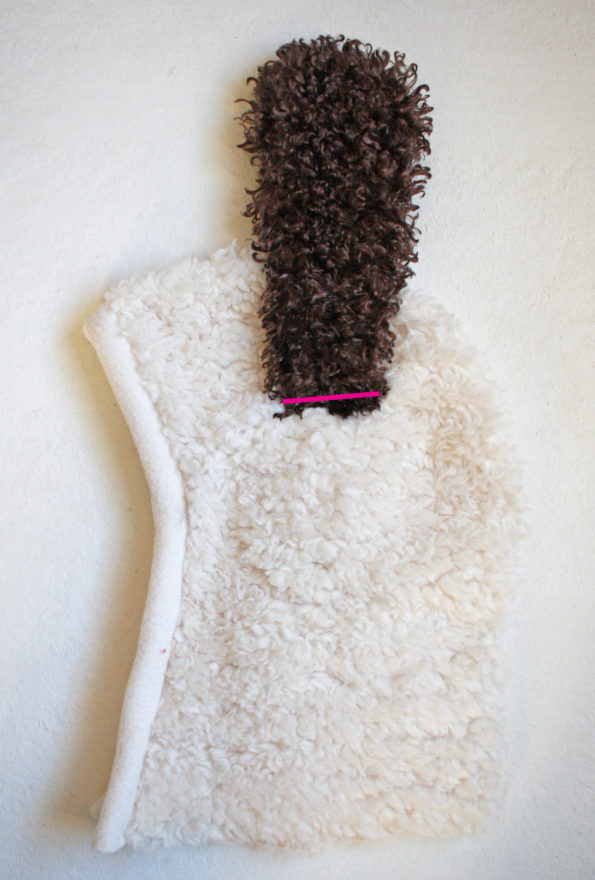
Turn the ear right side out and place where desired after trying the hood on, or use the marks on the pattern piece. Sew 1/4″ from the bottom of the ear.
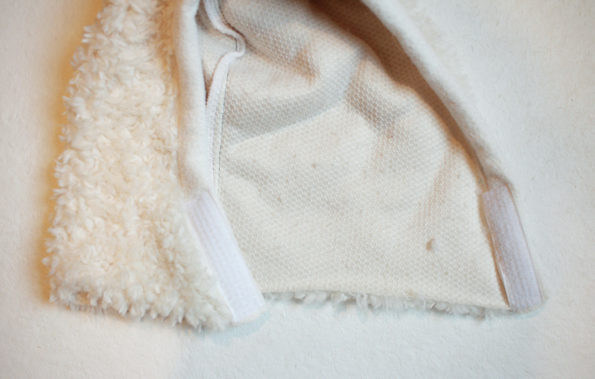
Try the hood on and mark where you would like the bottoms to overlap. My pieces overlapped by 3″, so I cut two 3″ pieces of Velcro. Sew one piece of Velcro to the inside of the binding and one on the outside, sewing around all four edges.
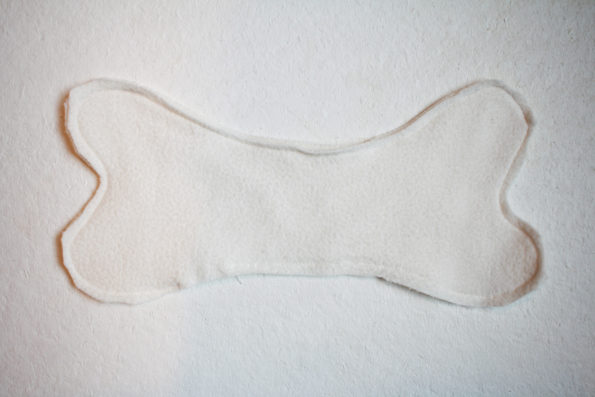
I also cut out the shape of a bone and cut two mirror images. Sew along the outside edges, leaving a 1″ turning hole. Turn right side out and stuff with fiber fill. Hand stitch the hole closed.
Monkey Costume Pieces
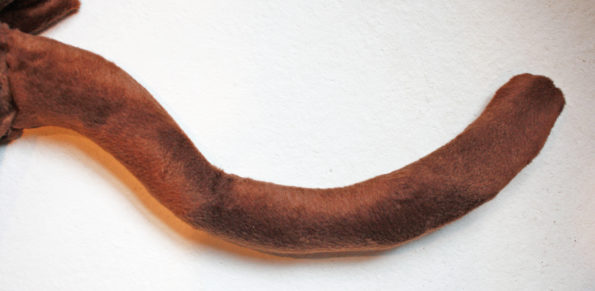
Place your two tail pieces right sides together and sew along the edges with a 3/8″ seam allowance, leaving the top short edge unsewn so you can turn the tail right sides out. After your tail is right side out, poke out all edges and stuff with fiber fill. Sew the opening shut by hand and then hand stitch the tail to the costume in the desired location.
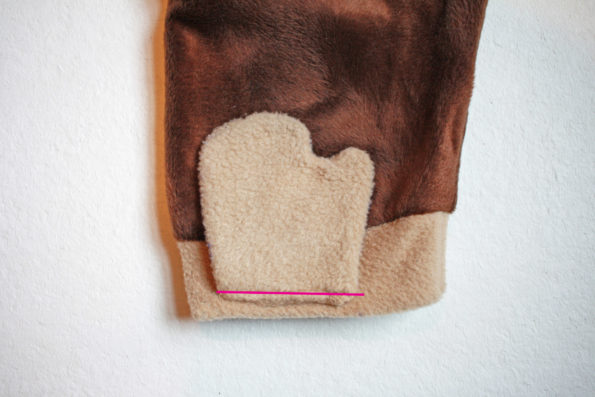
With right sides together place two feet together and sew around the edges, leaving the bottom straight edge unsewn to turn the foot through. Turn the foot right side out and poke out all edges. Place along the bottom of one of the pant cuffs with the thumb facing the inside. Sew along the bottom edge to secure.
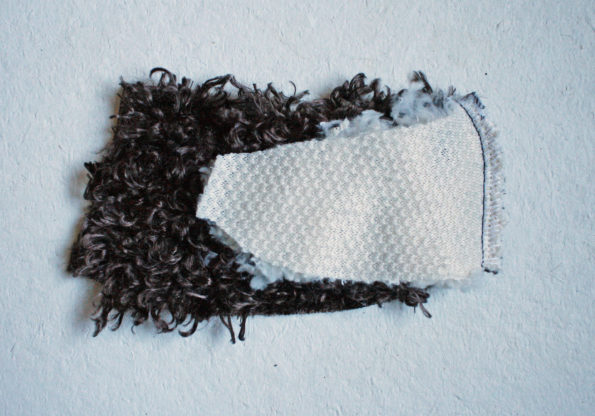
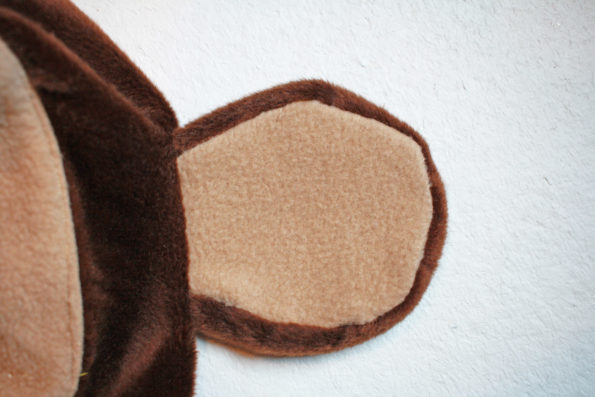
Place one outside ear and one inside ear right sides together. Your inside ear is smaller than your outside, so when turned right side out the outside ear will show from the front. It will require a bit of pinning to line up raw edges. Sew along the curved edges with a 3/8″ seam allowance, leaving the bottom straight edge open to turn right side out. I cut a piece of lightweight cardboard the size of the ear and inserted it through the opening to make my ear more rigid. You could use any light plastic or similar material that will slightly bend to fit through the opening.
Cut a small slit in the hood where you would like the ears to go just enough for the base of the ear to fit through. (The pattern placement if for the puppy ears, not the monkey ears. My monkey ears were closer to the front of the hood.) Slide your ear through the opening by about 1/4″ and sew all layers together so the opening is now closed.
And that’s it! Your costume is done! If you have any questions, please feel free to ask on the Sew a Little Seam Facebook group or email me at sewalittleseam@gmail.com.
Also we love to see your creations on the FB group as well!


Help! I am trying to make this costume, but I cannot for the life of me, figure out how the body pieces go together. There are no marks that tell you which pieces go together for the body. I got the hood, sleeve and the smaller pieces, but the front and back I just can’t figure out. Thank you.
Hi Kim,
The front and back are just two big pieces. If you place them with right sides together, you first match them at the shoulder seams. They will match up at the shoulders, the bodice and also the legs. Hope that helps.
Thanks,
Kelly
Thanks Kelly….I did finally figure out which pieces (page numbers) went together to make the front and back. I just couldn’t figure out where those pieces were on the page numbers. I had cut out all of the pieces that I recognized and then had to reprint the pattern and lay the numbered pages out in different configurations until I finally got the front and back pieces and was able to put them together. The way my printer printed the pattern, there was a tiny pieces of the neckline on a 3rd page. So all in all, I got it together, cut out and am now making a lion costume out of it for a client.
Thanks again for your input!
Kim
Ohhh, sorry. I see what you were asking now. Glad you were able to figure it out!
Kelly