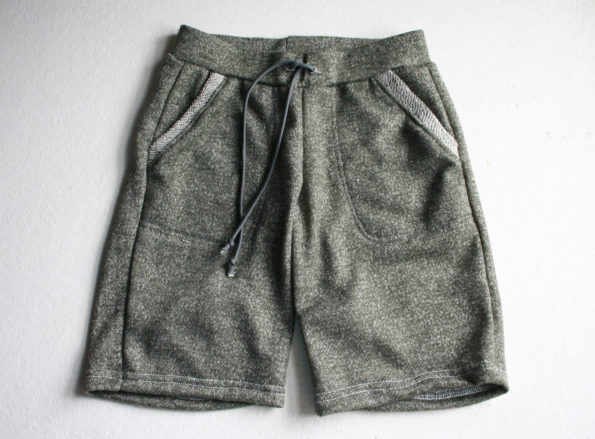
Making Your Linden Shorts with Knit
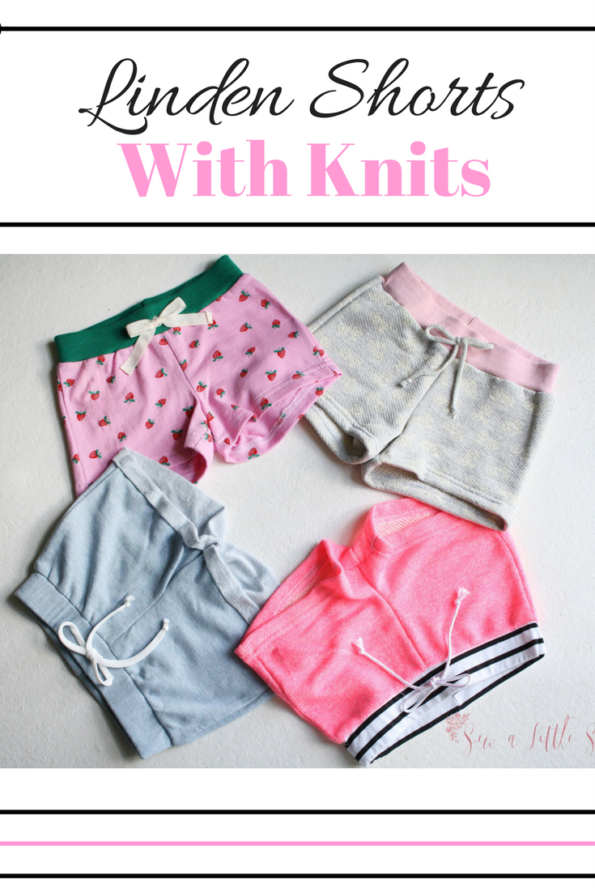
I love the look of the traditional Linden Shorts in a denim or twill, but sometimes I just want to sew something up that is quick, easy, and comfortable for my kiddos. The Linden Shorts in French terry or similar sturdy knits do the trick.
In the following tutorial I’m going to show you how to modify the Linden shorts to sew them up faster with knits. It took be about a half hour from start to finish–including pockets. I used French terry for my versions, but you could use any stable knit such as ponte, scuba, etc.
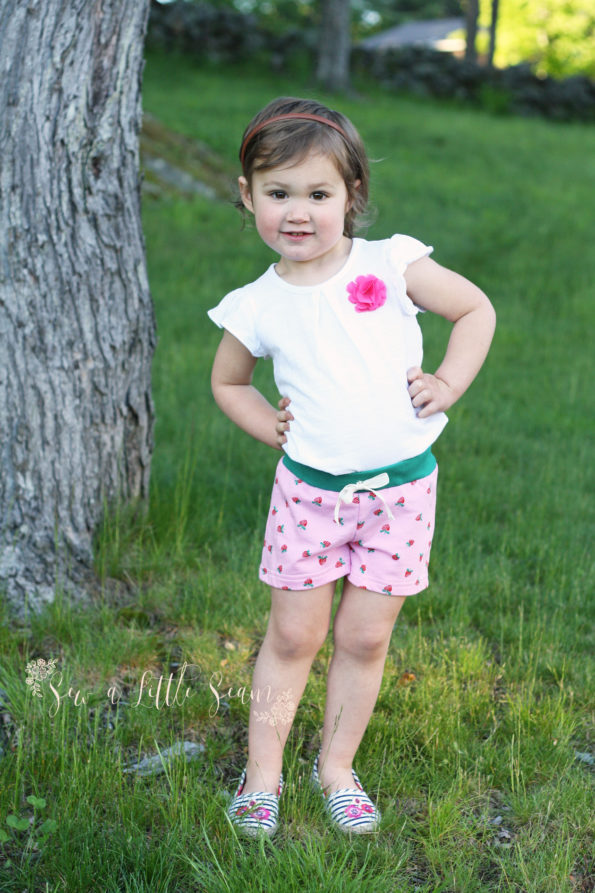
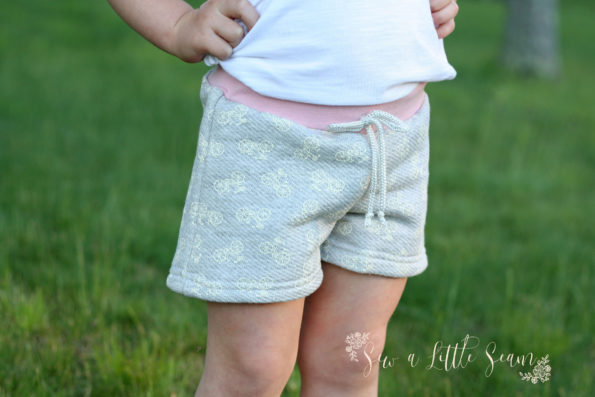
The hot pink French terry is from Raspberry Creek Fabrics, the strawberry French terry is from Funkalicious Fabric, and the bikes are from Style Maker Fabrics.
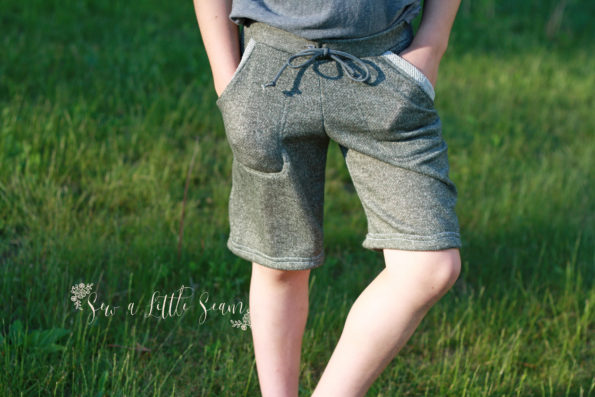
They also look great in the longer version for boys. This French terry is from Raspberry Creek and the sunglasses French terry below is from Style Maker Fabrics.
The Linden shorts are on sale the month of June with the code LindenLove, and be sure to head over to the Facebook group for details on a contest we are running for a chance to win free patterns and fabric from The Fab Clique Fabric Shop!
Let’s get started!
What you need:
A stable knit in the recommended yardage listed in the Linden pattern.
Drawstring/ties (optional)
Two 1/4″ grommets for drawstring. (You can also use buttonholes, or make a faux drawstring and just sew to the front of the shorts)
1.25″ elastic for sizes 12 months-5 years OR 1.5″ elastic for sizes 6-12 years. (See chart in pattern for measurements. Use full elastic chart).
Working with Knits
When working with knits you’ll want to use a ball point or stretch needle as well as a stretch stitch or serger.
There are only a few alterations to the pattern. If adding a pocket, I’ll show you a faster way to sew them with knits. Instead of cutting your pocket bag pattern piece on a fold, cut two mirror images. I also slightly rounded my inside bottom corner.
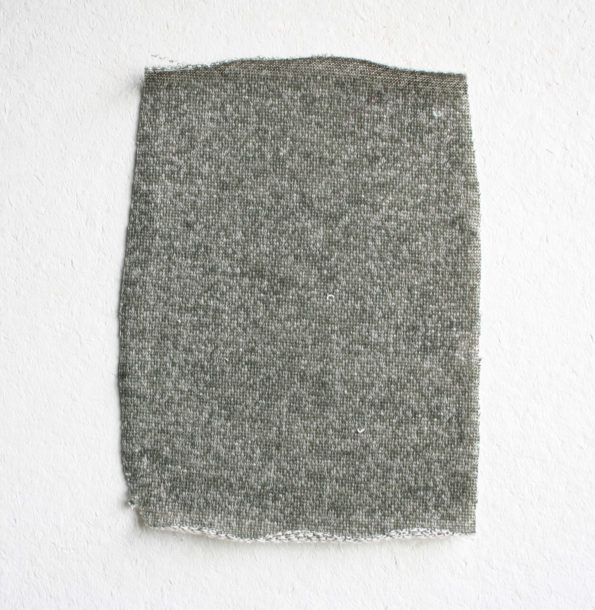
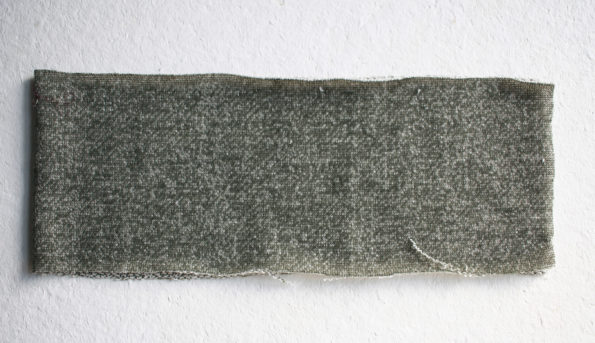
Cut two 1.75″ wide strips of fabric the length of your pocket opening. This will be your pocket edge binding.
You will not need to cut any of the additional pocket pattern pieces.
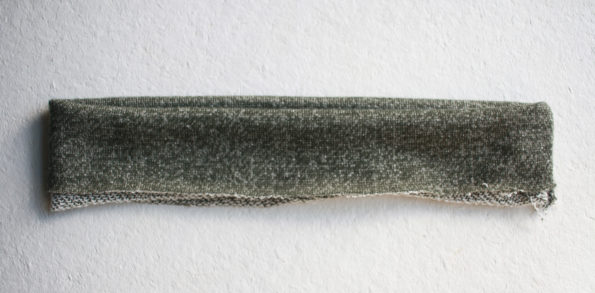
When cutting your waistband, use the width of the full elastic waistband, but cut it to the same length as your elastic measurement in the chart in the pattern. This will create a flat waistband, but if you preferred the gathered waistband, use the regular length.
The only other change to cutting is on the front pattern piece. Instead of cutting around the faux fly piece, cut straight up like the photo below.
Cut the rest of your pattern as described in the pattern instructions. If making pockets, cut your front pattern pieces with either the slanted or rounded pockets.
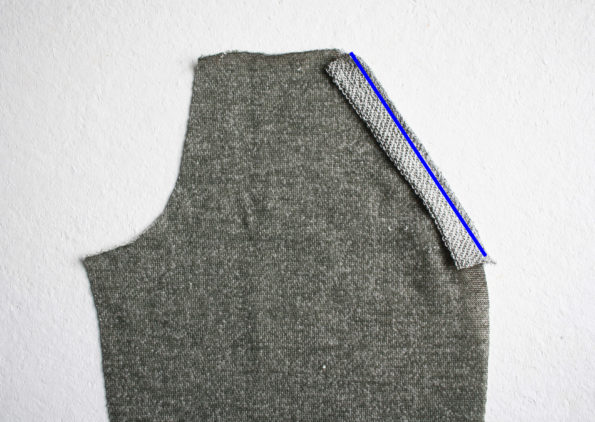
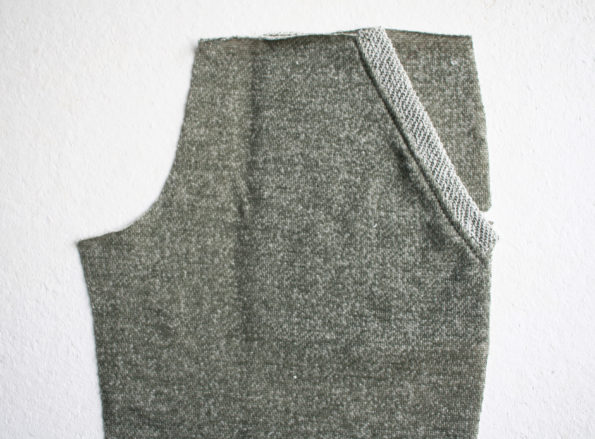
Fold the 1.75″ pocket binding strip with right sides together and line up the raw edges with the raw edges of your pocket opening. Sew your strip onto your shorts fronts with a 3/8″ seam allowance.
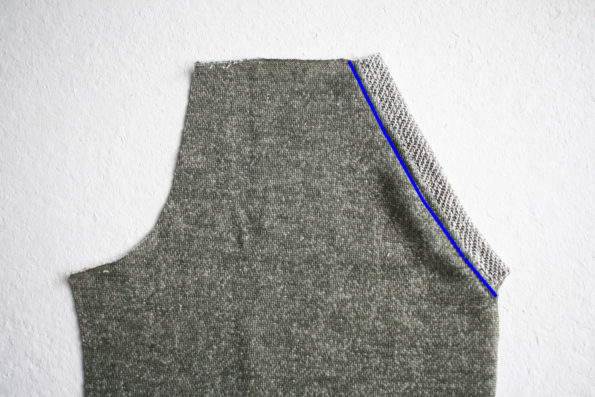
Press your binding out and topstitch 1/8″ from the seam. I use a straight stitch here, but if your child is hard on his or her pockets, you’ll want to use a stretch stitch.
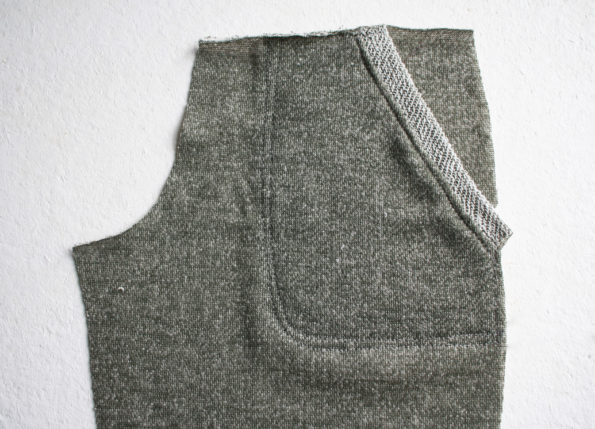
Place your pocket lining piece right side up behind your shorts, lining up the top and sides with the shorts. Baste along the top and sides to hold it in place.
Pin the inside edges of your pocket to the shorts front so it is nice and flat. Then sew 1/8″ in from the pocket edge and then again 1/4″ in from your first line of stitching. Again I used a straight stitch, but if your child will be pulling on their pockets, use a stretch stitch. You can also use a cover stitch if you have one.
Repeat for the other pocket.
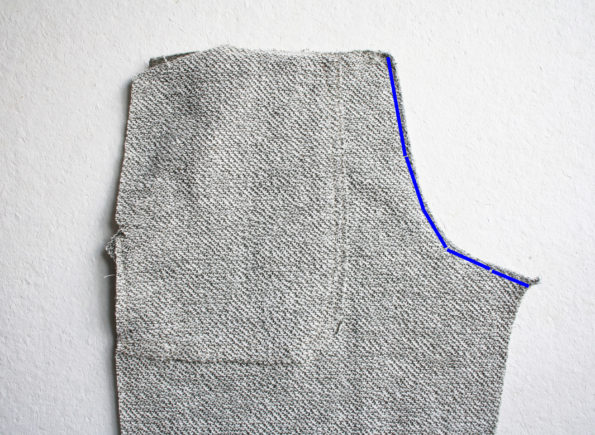
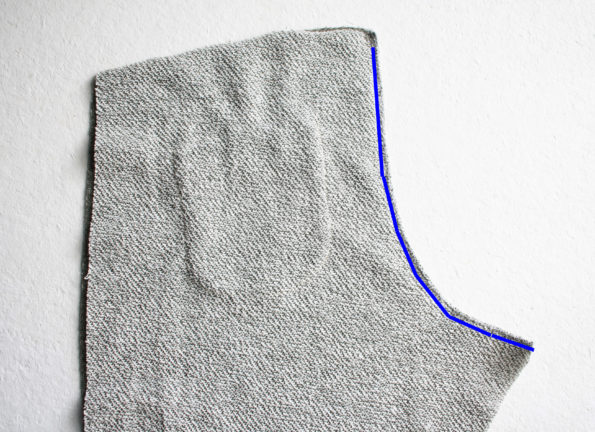
Now we are going to assemble the shorts. With the right sides of your front pieces together, sew along the crotch curve with a 3/8″ seam allowance.
Repeat for the back pieces.
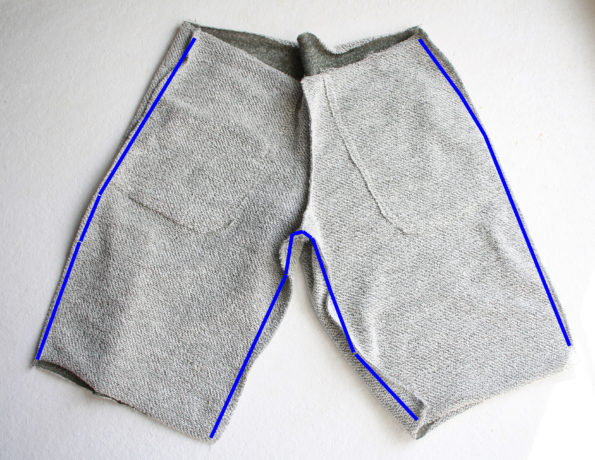
Place your front and back pieces right sides together and sew up both sides with a 1/2″ seam allowance. then sew around the inseam, also with a 1/2″ seam allowance.
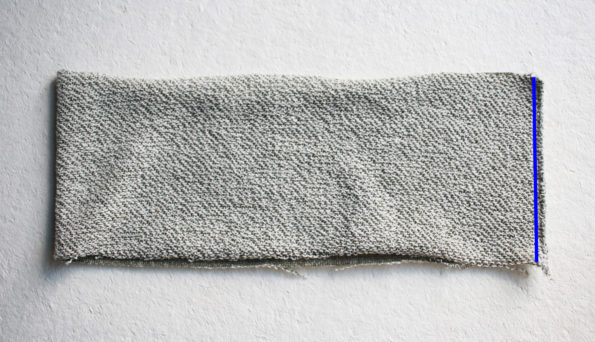
With right sides together, sew your waistband in half with a 3/8″ seam allowance.
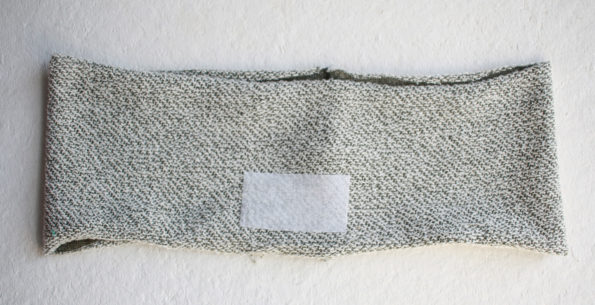
If adding a drawstring, cut a 1″ x 2.5″ piece of interfacing. Find the center front of your waistband, and apply the interfacing 5/8″ from the bottom.
Add your grommets or small buttonholes centered 1″ apart in the middle of your interfacing.
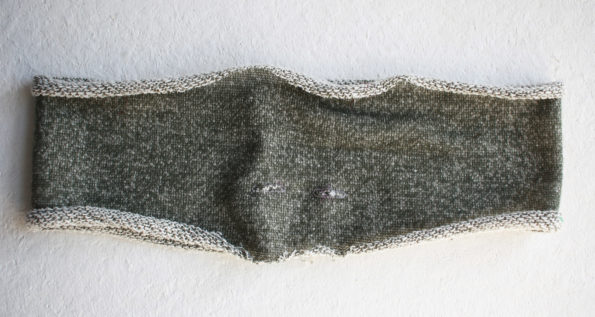
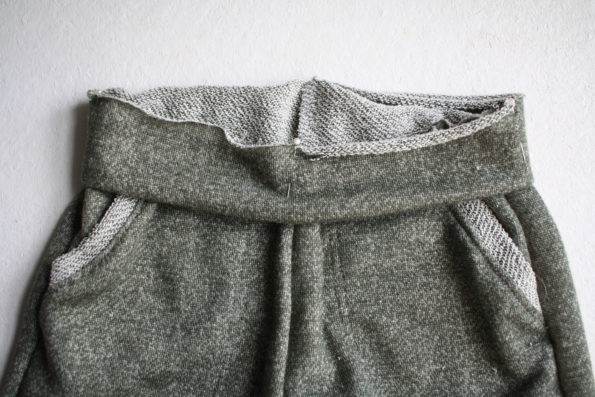
Fold your waistband wrong sides together. Mark the center front, and sides of your waistband.
Match up the center fronts, back, and sides of your waistband and shorts and pin in place with raw edges lining up.
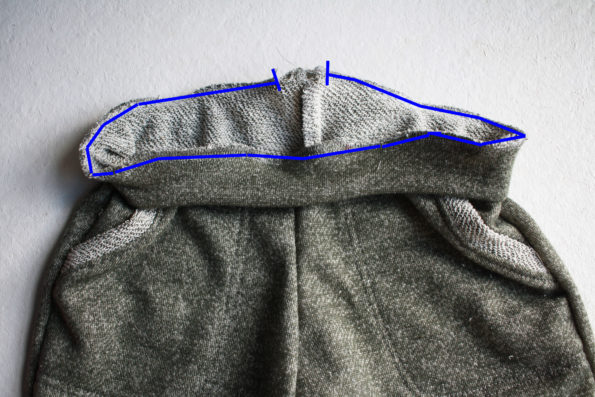
Sew your waistband to your shorts, leaving a 1″ opening in the back to insert your elastic.
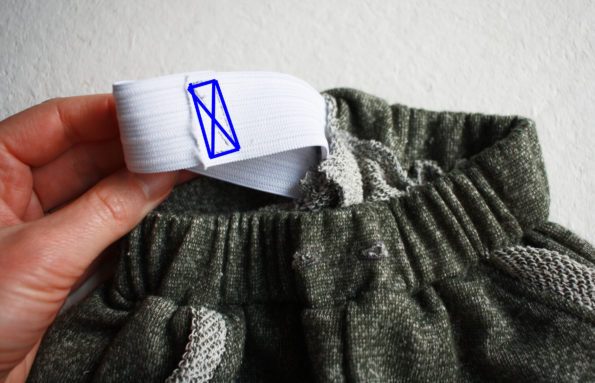
Insert your elastic, overlap by 1/2″ and sew together. Then finish sewing your waistband closed.
Add your drawstring through the buttonholes or grommets. Of if you wanted a faux drawstring, sew your drawstring to the center front of your shorts.
If you chose the regular hem option, fold your shorts to the wrong side 1″ and using a twin needle, cover stitch, or other stretch stitch, sew close to the raw edge.
If you are using the rolled option, finish the raw edges of your shorts with a serger or with a zig zag stitch and then fold to the right side 1/2″ and then again 1″. Sew along the inside and outside seams and hand stitch along the center front and back. (See the main Linden tutorial for more information.)
And that’s it! If you have any questions, feel free to contact me at sewalittleseam@gmail.com.
Share your creations on the Sew a Little Seam Facebook group.

